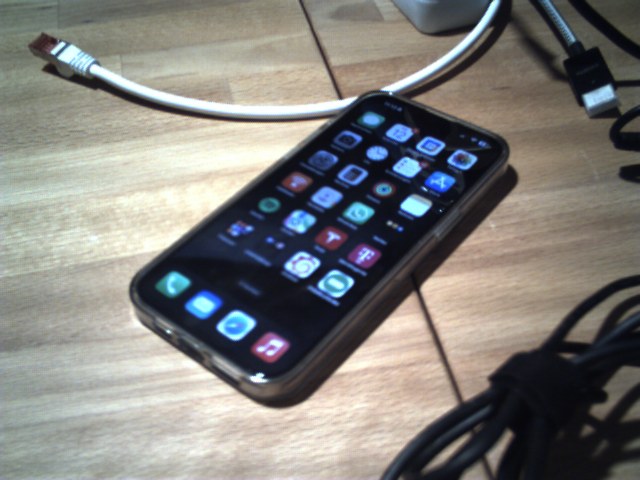
(Fig. 1: An iPhone on a wooden table, photographed with the Veo camera and decoded on a Mac)
The Veo Photo Traveler was a small camera for Palm handhelds from the early 2000s. It has the shape of an SD card with a swivel lens on top and plugs into the SD expansion slot of the Palm. It takes pictures with 640x480 pixels and stores every picture as a .pdb file (Palm Database) on the device. To get a normal image out of such a file, the pictures had to be synced to a Windows PC, where the Veo software converted them into JPEGs.
I bought mine on eBay at some point - still in its original packaging:
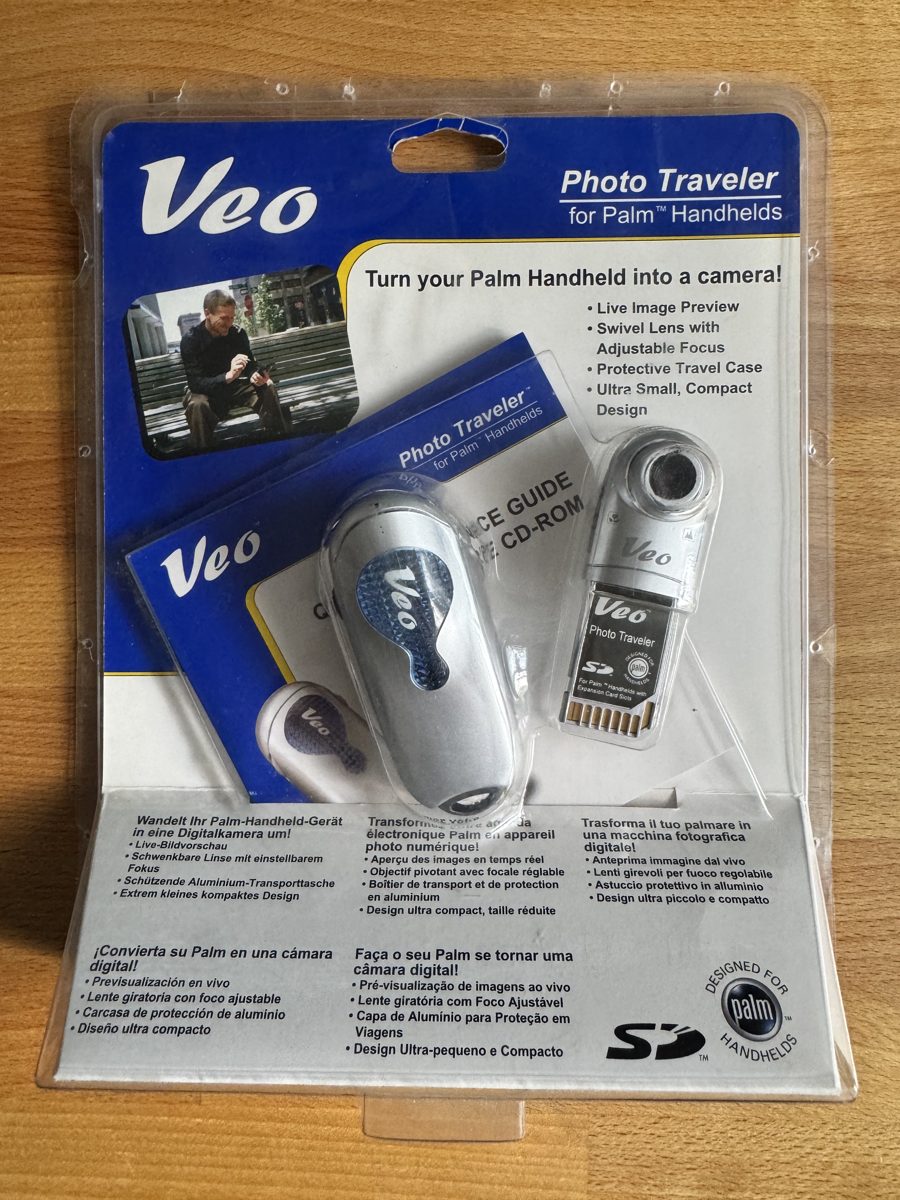
(Fig. 2: The Veo Photo Traveler for Palm Handhelds in its original packaging)
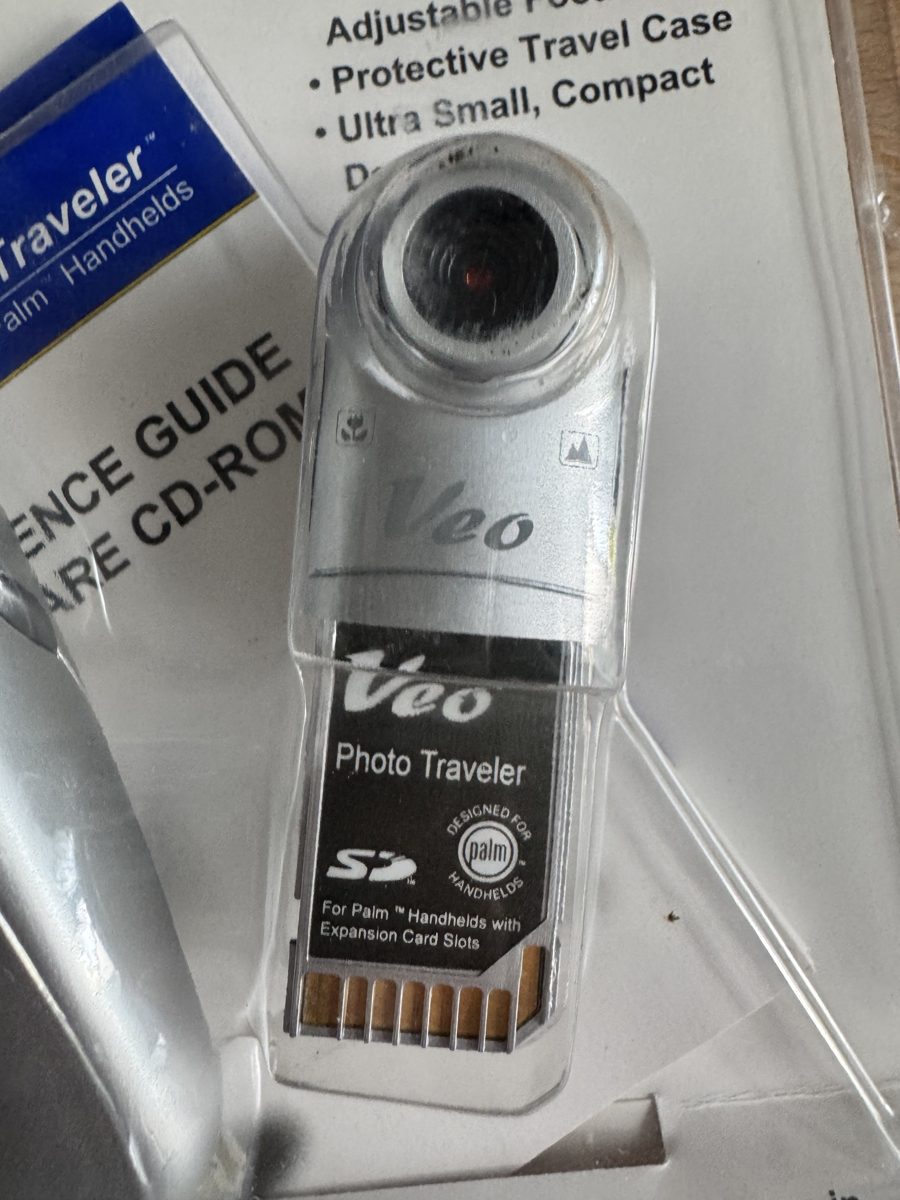
(Fig. 3: The camera itself: an SD card with a swivel lens for Palm handhelds with an expansion card slot)
The company is long gone, and so is the software. Without it, the .pdb files are just binary data. There is no documentation of the format anywhere, so I started to reverse-engineer it. From September 2025 to March 2026, with a lot of breaks, I worked on a decoder that turns these files into JPEGs again.
The result is a small Python script that decodes a picture in about 0.4 seconds.
Shortcut
If you have your own Veo pictures, you only need Python 3.8 or newer with numpy and Pillow:
pip install numpy Pillow
python3 src/veo_pdb_decoder.py picture.pdb picture.jpg
A whole folder can be converted at once:
python3 src/veo_pdb_decoder.py --batch ./pdbs/ ./output/
The source code, all intermediate versions and two test files are available on GitHub: github.com/User7142/veo-decoder
What is inside a Veo .pdb file
A Palm Database is a simple container: a 78-byte header, followed by a list of records. For the Veo, the records are:
- Record 0: 25 bytes of metadata
- Records 1 to 120: the compressed image data, four image rows per record
- Last record: a tiny preview image with 36x28 pixels in RGB565
The preview was the easy part. It is stored uncompressed, two bytes per pixel, and was the first thing I could make visible:
(Fig. 4: The 36x28 pixel preview from the last record, scaled up 8 times)
The real picture is compressed with a method the Veo software calls "Type 4". This is where the work began.
Wrong assumptions
I had four .pdb files and one JPEG that the original software had created from one of them. That JPEG was very useful: every attempt could be compared with it, as a correlation value and as PSNR.
My first idea was to glue all records together into one long bitstream and decode it. That gave a correlation of 0.65 - something was recognisable, but it was clearly wrong. The reason: each record is its own bitstream with padding bits at the end. When you concatenate the records, these padding bits are read as image data and everything behind them shifts. Each record needs its own bit reader.
The second wrong idea was a video format. The decoded values fell into four groups with very different average values, which looked like luminance and colour channels (UYVY). Converting them that way resulted in a PSNR of 7.77 dB - a colourful mess. A value that bad does not mean "tune the parameters", it means the basic assumption is wrong.
Looking into the Windows software
The breakthrough came from the Windows installer of the Veo software. It contains a compressed DLL, COMConduit.dll (147,456 bytes), which is the HotSync conduit that converts the pictures on the PC. After unpacking and disassembling it, I found the decoding routine: a function of about 1,000 bytes of x86 code.
Reading it instruction by instruction took a long time, but it showed the structure clearly: for every two image rows the decoder runs three passes, and before each pass it jumps to the next full byte in the bitstream.
It is raw sensor data
The four groups of values with the different averages were not luminance and colour. They are the four pixel types of a Bayer sensor. Every pixel of an image sensor only sees one colour, because there is a tiny colour filter in front of it. The Veo uses the GBRG order:
Row 0:  G  B  G  B  G  B  ...
Row 1:  R  G  R  G  R  G  ...
For the iPhone picture, the average values of the four pixel types are:
| Green (in the blue rows) | 76 |
| Blue | 24 |
| Red | 129 |
| Green (in the red rows) | 78 |
Both greens are nearly identical, blue is dark and red is bright - exactly what you would expect from an indoor picture under warm light. The Veo does not store a finished picture, it stores what the sensor saw.
Decompressed, but without any further processing, the raw data looks like this. The fine grid in the picture is the colour filter:
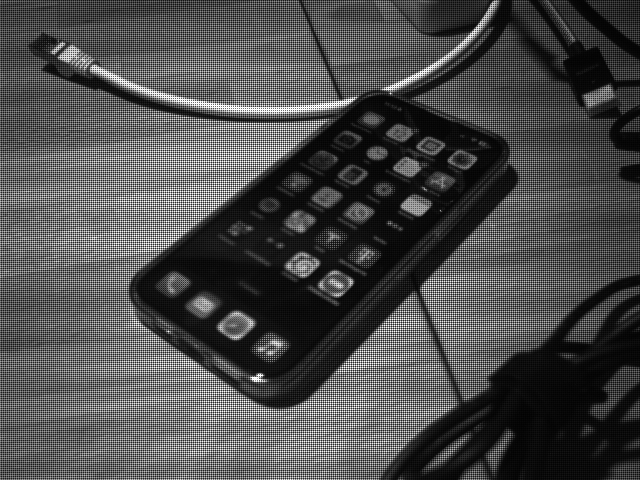
(Fig. 5: Raw sensor data after decompression, still as a grey image with a fine grid pattern)
Zoomed into a 32x32 pixel area at the edge of the cable, the pattern is easy to see. On the right, the same pixels are coloured by the filter in front of them:
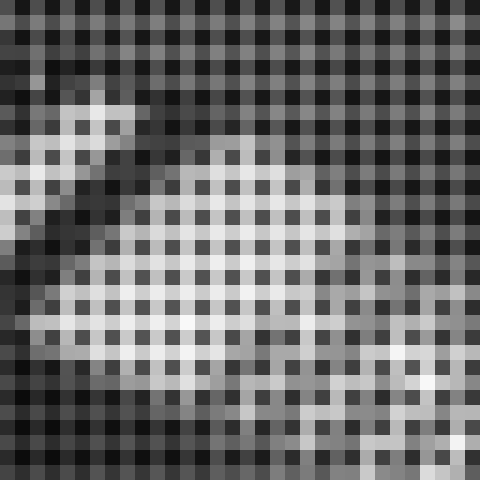
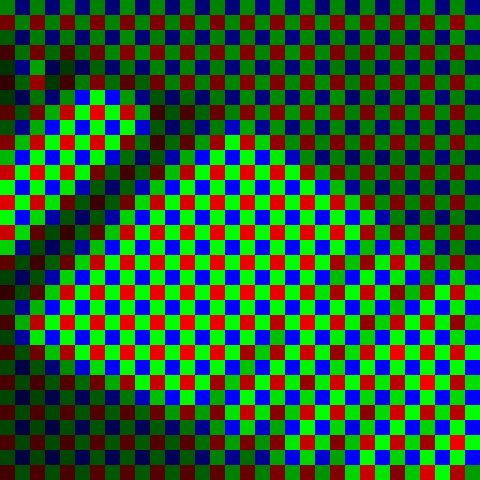
(Fig. 6: 32x32 pixels of raw data on the left, the same pixels coloured by their Bayer filter on the right)
The Type 4 compression
Each record contains four image rows, decoded in two calls with two rows each. Every call has three passes:
- Pass 1: the blue pixels of the first row
- Pass 2: the red pixels of the second row
- Pass 3: the green pixels of both rows, alternating between the rows. Each green pixel is predicted from its neighbour in the other row, which is already known at this point.
Every value is stored relative to the previous one, with three possible codes:
1                  repeat the previous value
0 00000 + 8 bits   literal: the next 8 bits are the new value
0 SDDDD            difference of 1 to 15, S is the sign
Neighbouring pixels are usually similar, so most values only need one or six bits instead of eight. That is the whole compression - simple, but a good fit for a small device with little computing power.
The core of the decoder in Python:
def decode_delta(reader, prev):
    if reader.read_bit() == 1:
        return prev                      # repeat
    code = reader.read_bits(5)
    if code == 0:
        return reader.read_bits(8)       # literal
    sign = (code >> 4) & 1
    mag = code & 0x0F
    return (prev - mag if sign else prev + mag) & 0xFF
One more surprise: two of my four files are marked as 320 pixels wide in the metadata. Decoding them with 320 pixels only used 49% of the data. With 640 pixels, 100% of the data is used and the picture is correct. All files are 640 pixels wide internally - what the flag really means is still unknown.
From raw data to a picture
Two steps are missing to get a normal picture:
- Demosaicing: For every pixel, the two missing colours are calculated from the neighbours (bilinear interpolation).
- White balance: Without it, the picture is far too orange, because the red pixels are much brighter than the blue ones:
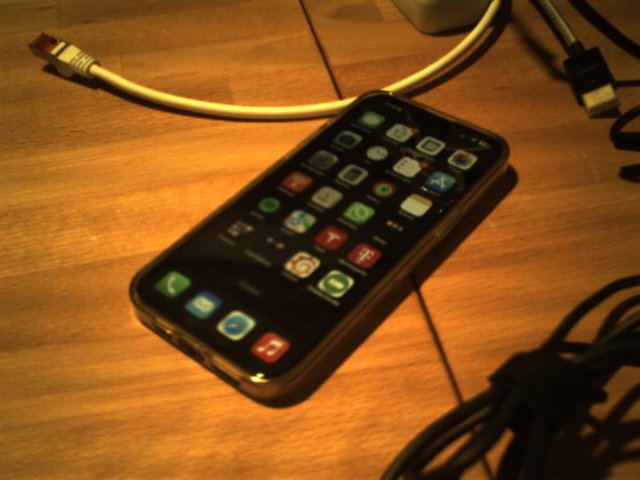
(Fig. 7: The picture after demosaicing, but without white balance)
The white balance uses the "gray world" assumption: on average, a picture should be grey, so every colour channel is scaled to the same mean value. For the iPhone picture, blue has to be amplified more than five times. The result is Fig. 1 at the top of this article.
Compared with the JPEG of the original Veo software, the decoder reaches a correlation of 0.984 and a PSNR of 24.46 dB. That is not bit-identical, because the original software uses its own demosaicing and JPEG compression, but visually there is no difference.
It works outdoors as well:
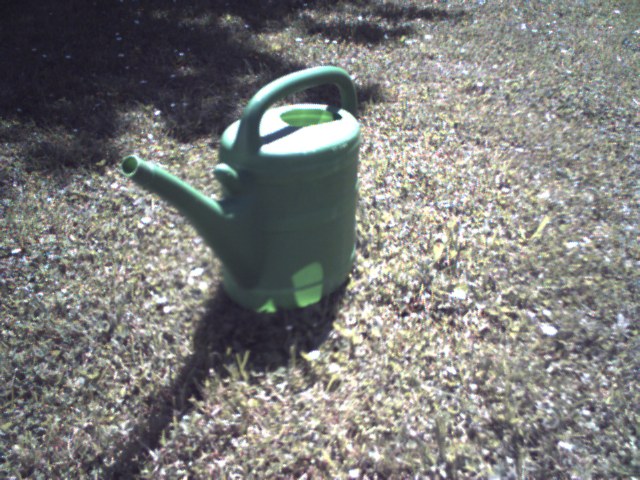
(Fig. 8: A watering can on the lawn, decoded from a Veo .pdb file)
What I learned
- Look into the original software earlier. I spent months guessing. The disassembly answered the important questions in a few weeks.
- Look at the numbers. Four groups with very different averages were a strong hint for a Bayer sensor. I just did not read it that way at first.
- Measure how much data is used. If a decoder only consumes half of the data, the model is wrong, even if the picture looks almost right.
- Keep the failed versions. All versions from v3 to v9 are in the repository. They show the way, not only the result.
Comments on "Decoding the Veo Camera for Palm OS"
Comments are moderated before publication. Only substantive and constructive comments will be approved.