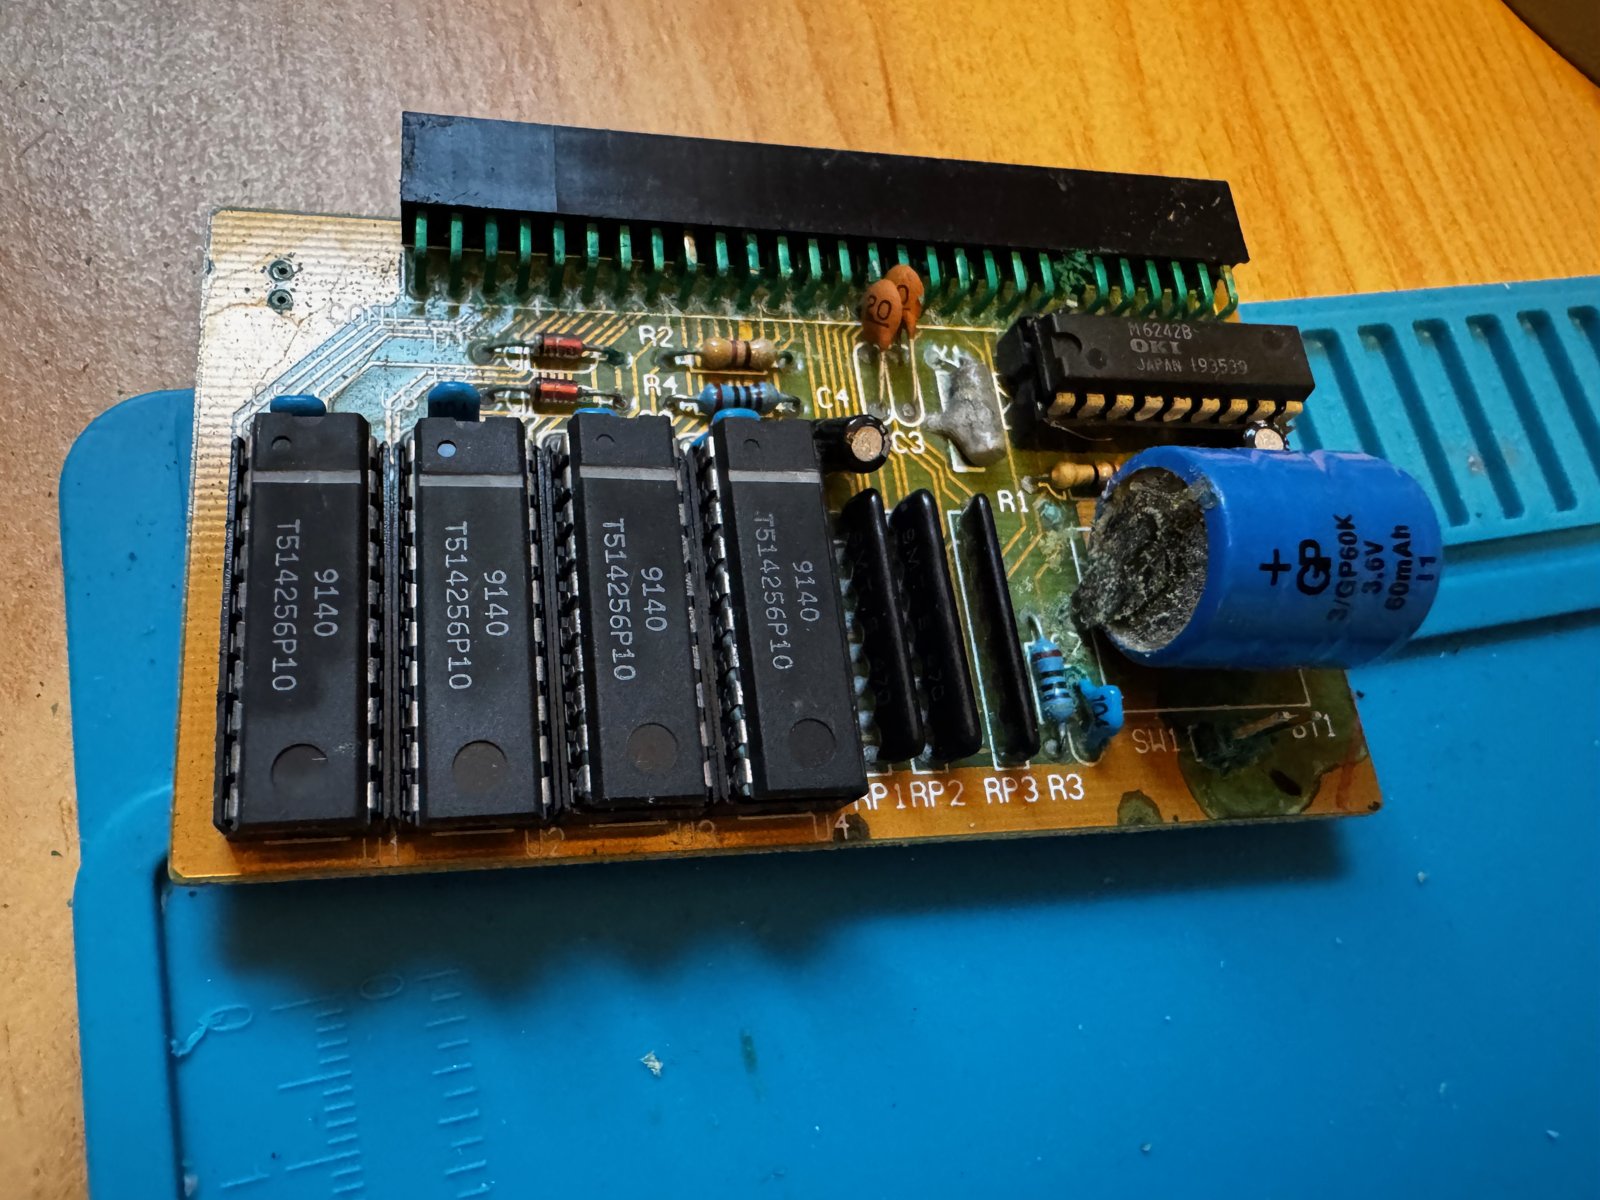
(Fig. 1: A leaked GP 3.6V Ni-Cd battery next to the OKI M6242B real-time clock on a memory expansion for the Amiga 500)
Introduction
Many mainboards and expansion cards from the late 1980s and early 1990s keep the BIOS settings and the real-time clock alive with a small rechargeable battery soldered directly onto the board. Usually, it is a 3.6V Ni-Cd battery in a barrel shape, like the blue GP battery above (3/GP60K, 3.6V, 60mAh).
After 30 years, these batteries leak. The electrolyte is alkaline and eats into traces, vias and components around it - and it spreads further over time. So the best thing you can do for an old board is to remove the battery, even if it still seems to work.
In this article, I use two examples: a memory expansion for the Amiga 500 with a leaked battery, and my Colani HighScreen BlueNote II. But the same applies to the mainboards of many old PCs.
Removing the Old Battery
The battery above sat on a memory expansion with a real-time clock for the Amiga 500. It had already leaked, and after removing it, the corrosion underneath was visible:
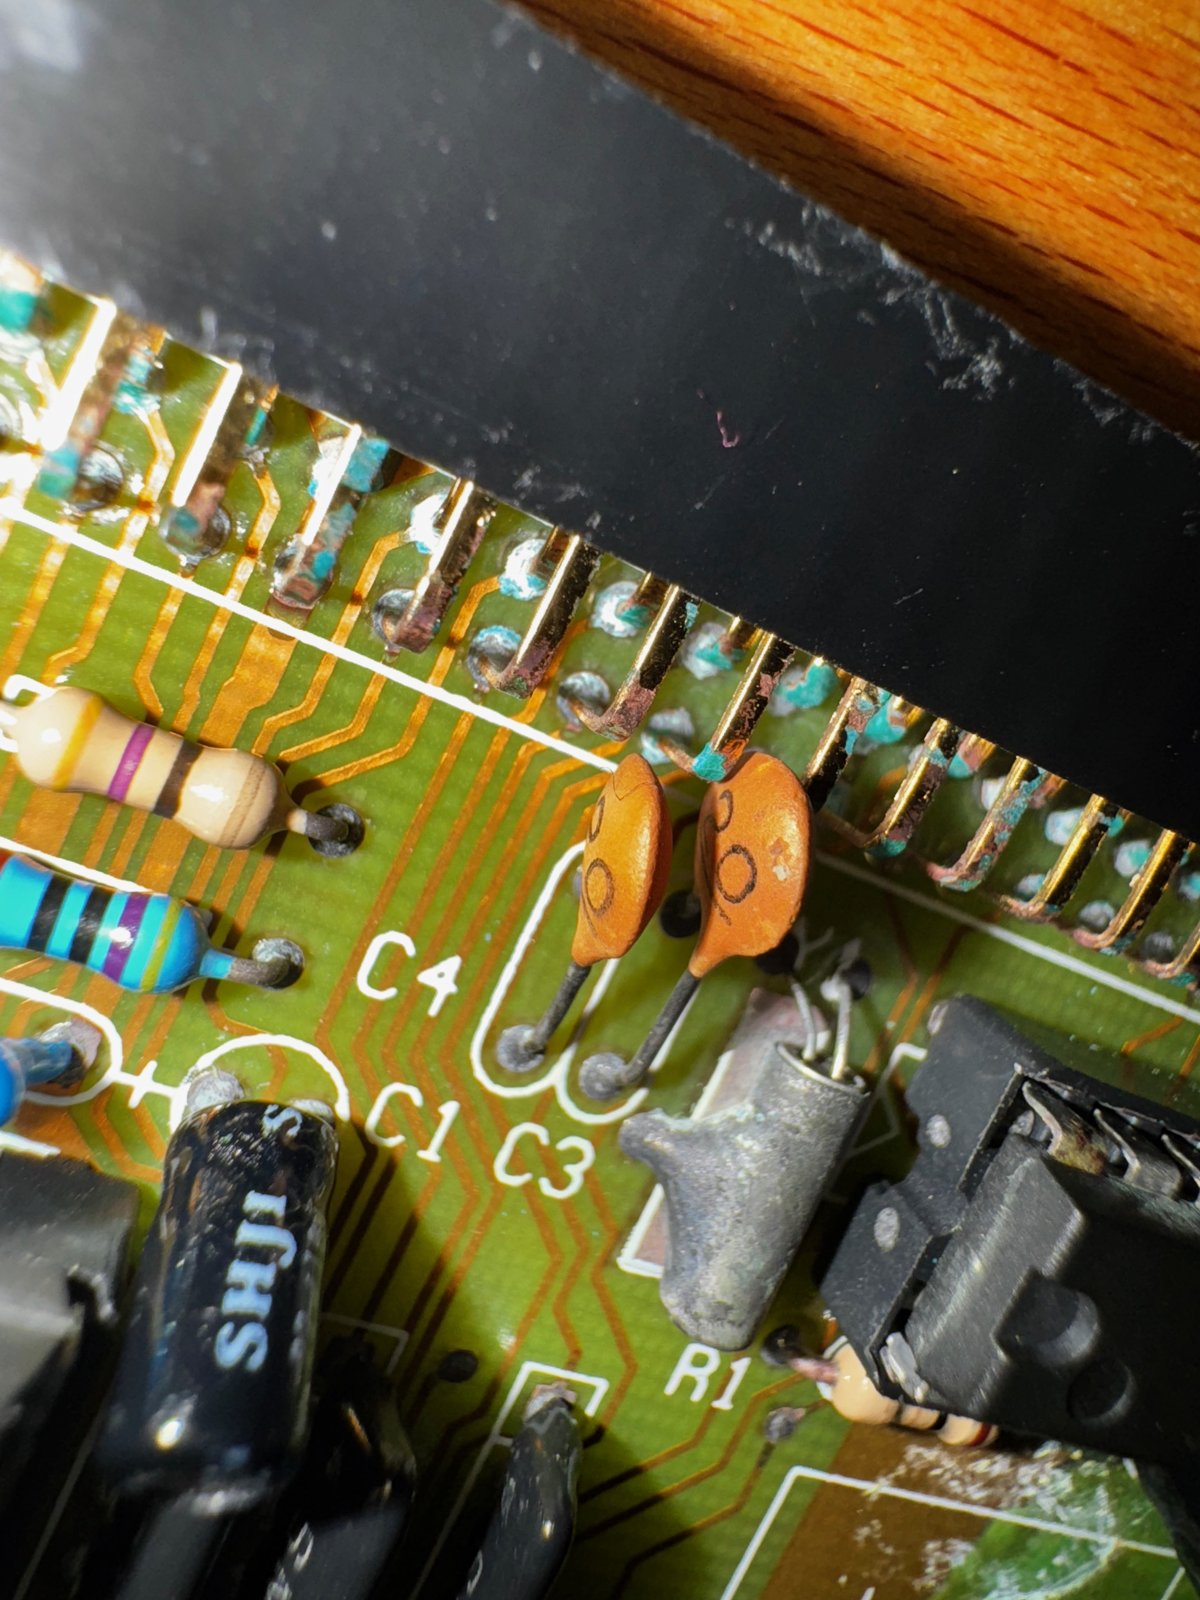
(Fig. 2: The area around C1, C3 and C4 after removing the battery)
I cleaned the area with vinegar (to neutralize the alkaline electrolyte) and isopropyl alcohol. Unfortunately, it was too late for this card: I could not get it working again. In the end, I bought a replacement card on eBay. I had asked on Reddit whether the board could be saved: Can this expansion board be saved? There is also a short video of the card on Imgur.
So the lesson is: remove these batteries before they leak - not after.
BIOS Battery Technical Details
Old boards charge their battery as long as the computer is switched on. Not all of them use Ni-Cd: here is an old Varta Ni-MH pack (3.6V, 60mAh) next to a non-rechargeable lithium coin cell with wires, as IBM used it in their laptops:
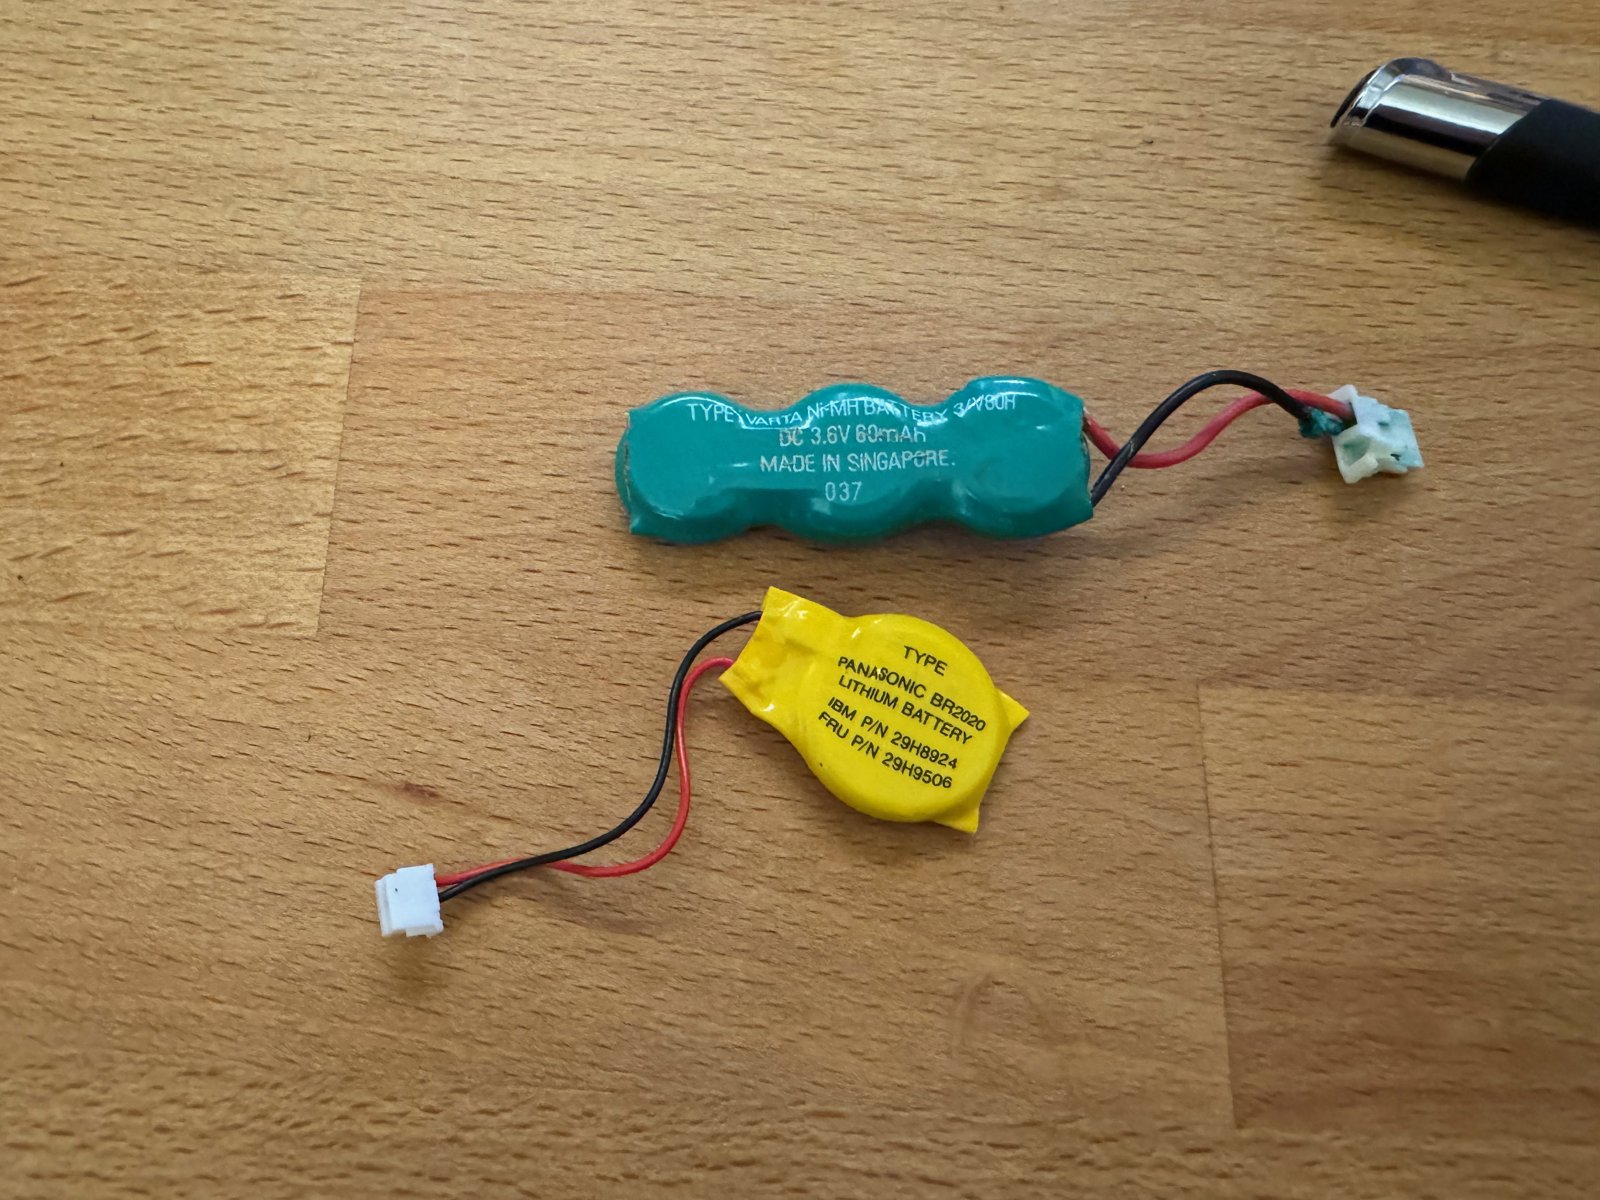
(Fig. 3: A Varta Ni-MH 3/V80H (3.6V, 60mAh) and a Panasonic BR2020 lithium coin cell (IBM P/N 29H8924))
Often, these systems are tolerant enough to run with a modern CR2032 coin cell instead (3V, not rechargeable). But there is one important point: a CR2032 must never be charged. If you simply solder a CR2032 in place of the old battery, the board will try to charge it. A lithium cell that is being charged can heat up, leak or even burst.
That's why you need a diode in series with the CR2032. It lets the current flow from the battery to the board, but blocks the charging current from the board to the battery:
Board (+) ---|<|--- (+) CR2032
              diode
Board (-) ---------- (-) CR2032
The cathode (the side with the ring) points to the board, the anode to the plus pole of the CR2032.
Why a Schottky Diode?
A normal silicon diode, like a 1N4148 or 1N4001, has a forward voltage of around 0.7V. That means that only about 2.3V of the 3V of the CR2032 would reach the board - which could be a bit low for the CMOS RAM and the clock.
A better choice is a Schottky diode, which has a forward voltage of only about 0.3-0.4V. Common types are the 1N5817 or 1N5819. They are part of many cheap diode assortments:
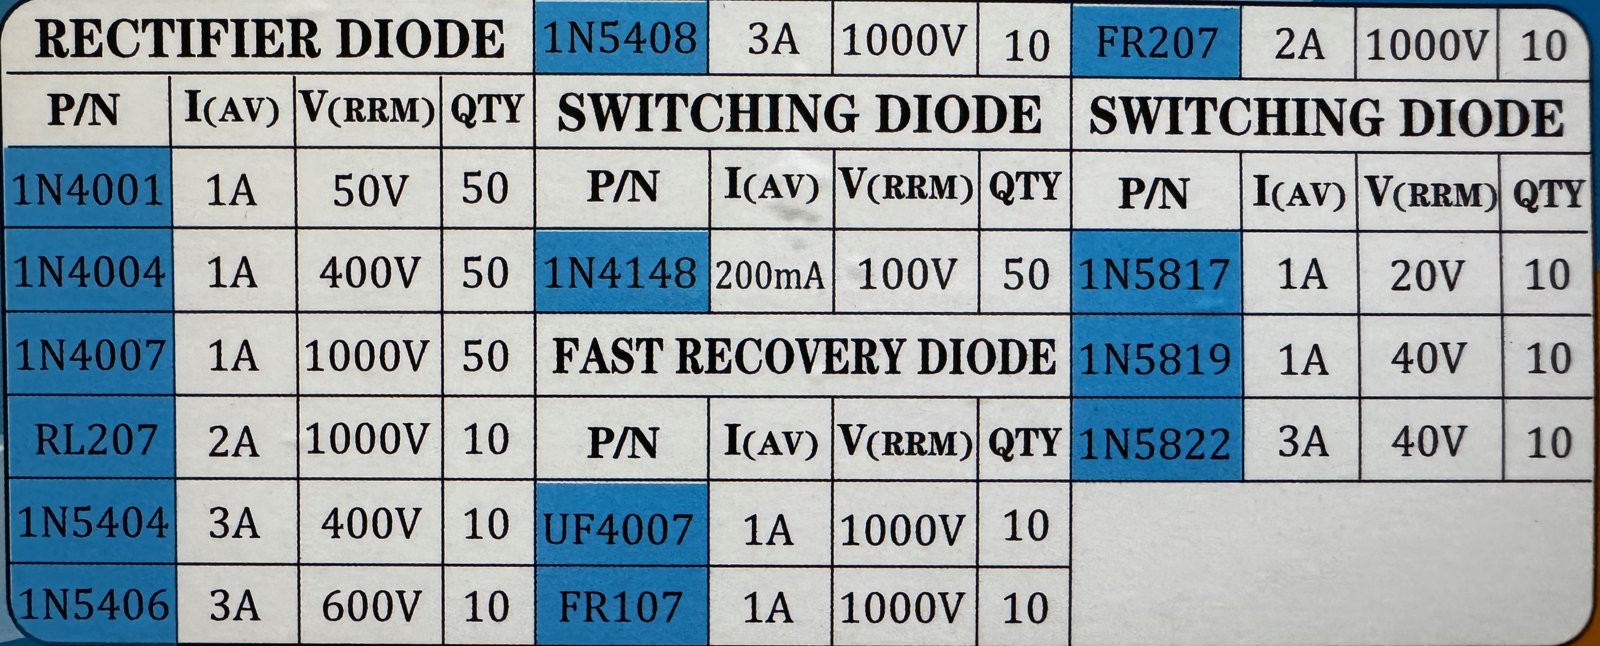
(Fig. 4: A diode assortment: the 1N5817, 1N5819 and 1N5822 on the right are Schottky diodes)
Examples
A simple way to do this: a coin cell holder with two wires, the diode in the plus line and everything insulated with Kapton tape. This can be connected to the battery pads or the battery connector of almost any board:
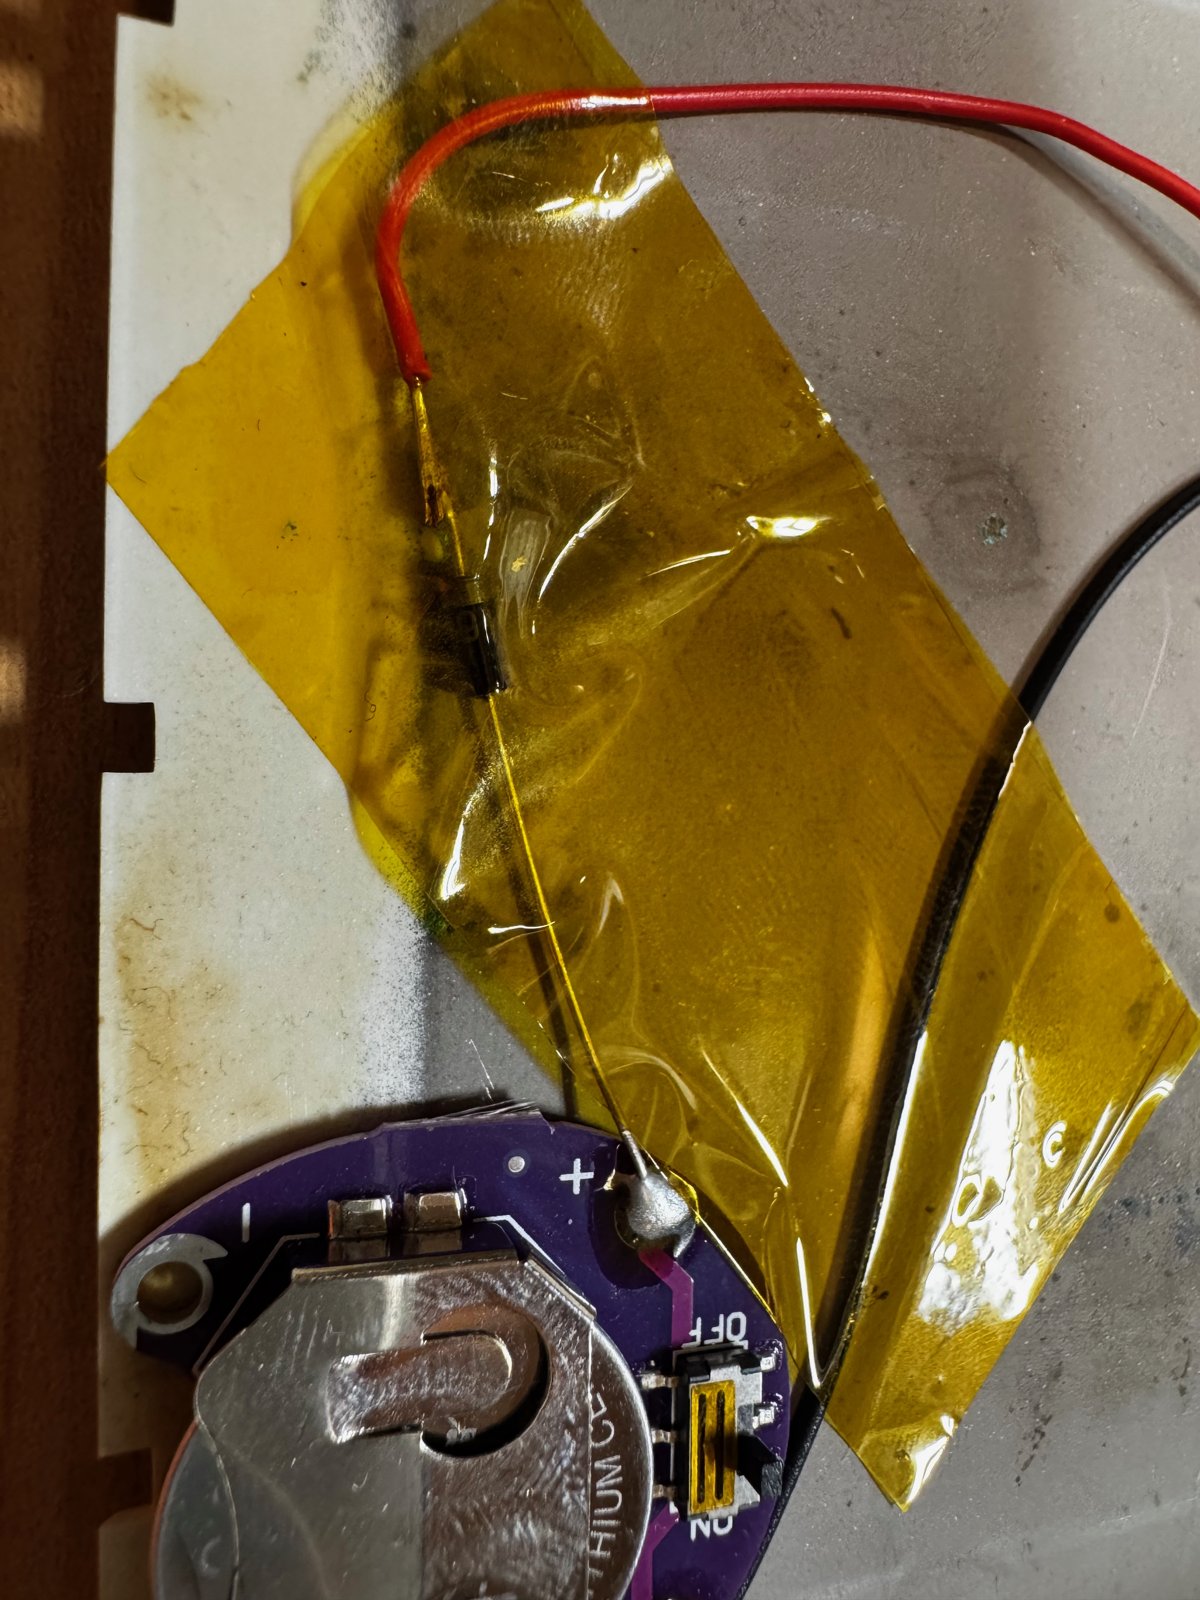
(Fig. 5: A coin cell holder with the diode, insulated with Kapton tape)
In my Colani HighScreen BlueNote II, a CR1225 coin cell was installed:
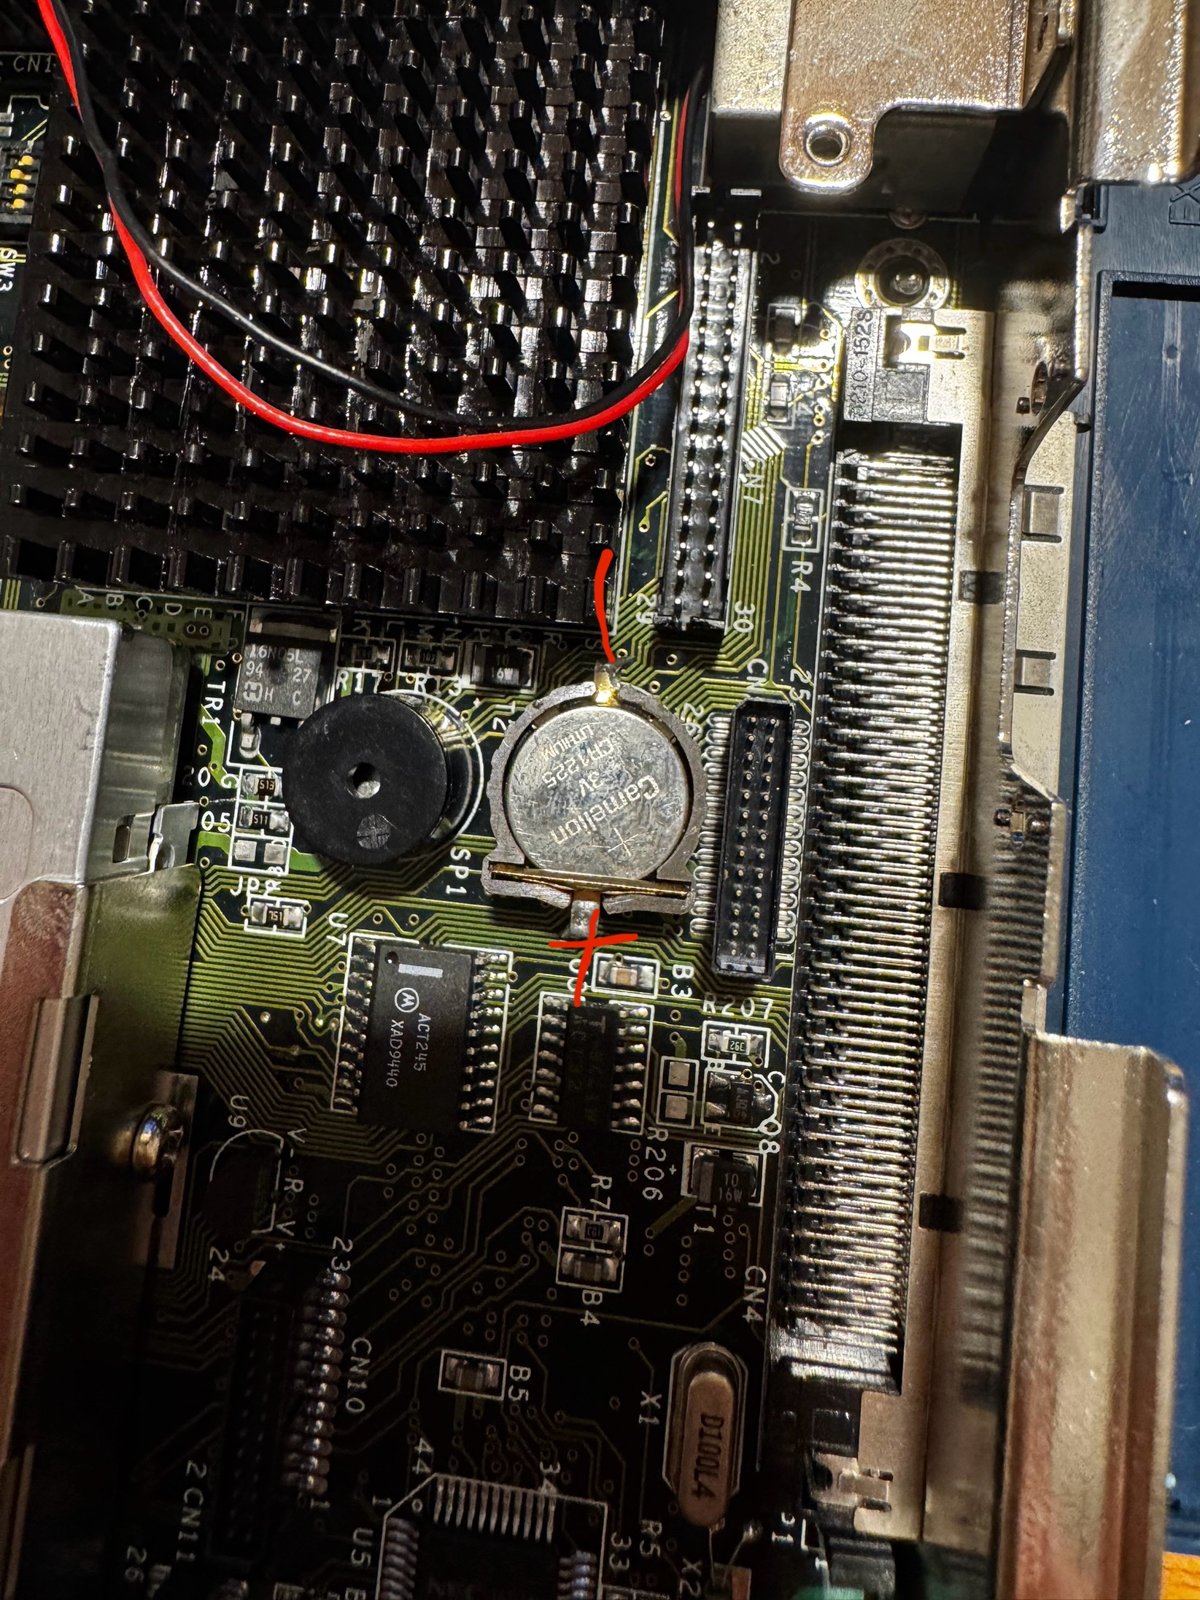
(Fig. 6: The original CR1225 coin cell in the Colani HighScreen BlueNote II)
I did not have a CR1225 at hand, so I replaced it with a CR2032 and a diode that prevents the notebook from charging it.
One more thing to keep in mind: after replacing the battery, the BIOS settings are lost, and some old BIOSes come up with surprises. My Colani suddenly asked for a ROM password - see Unlocking the BIOS on a Colani HighScreen BlueNote II After Battery Replacement.