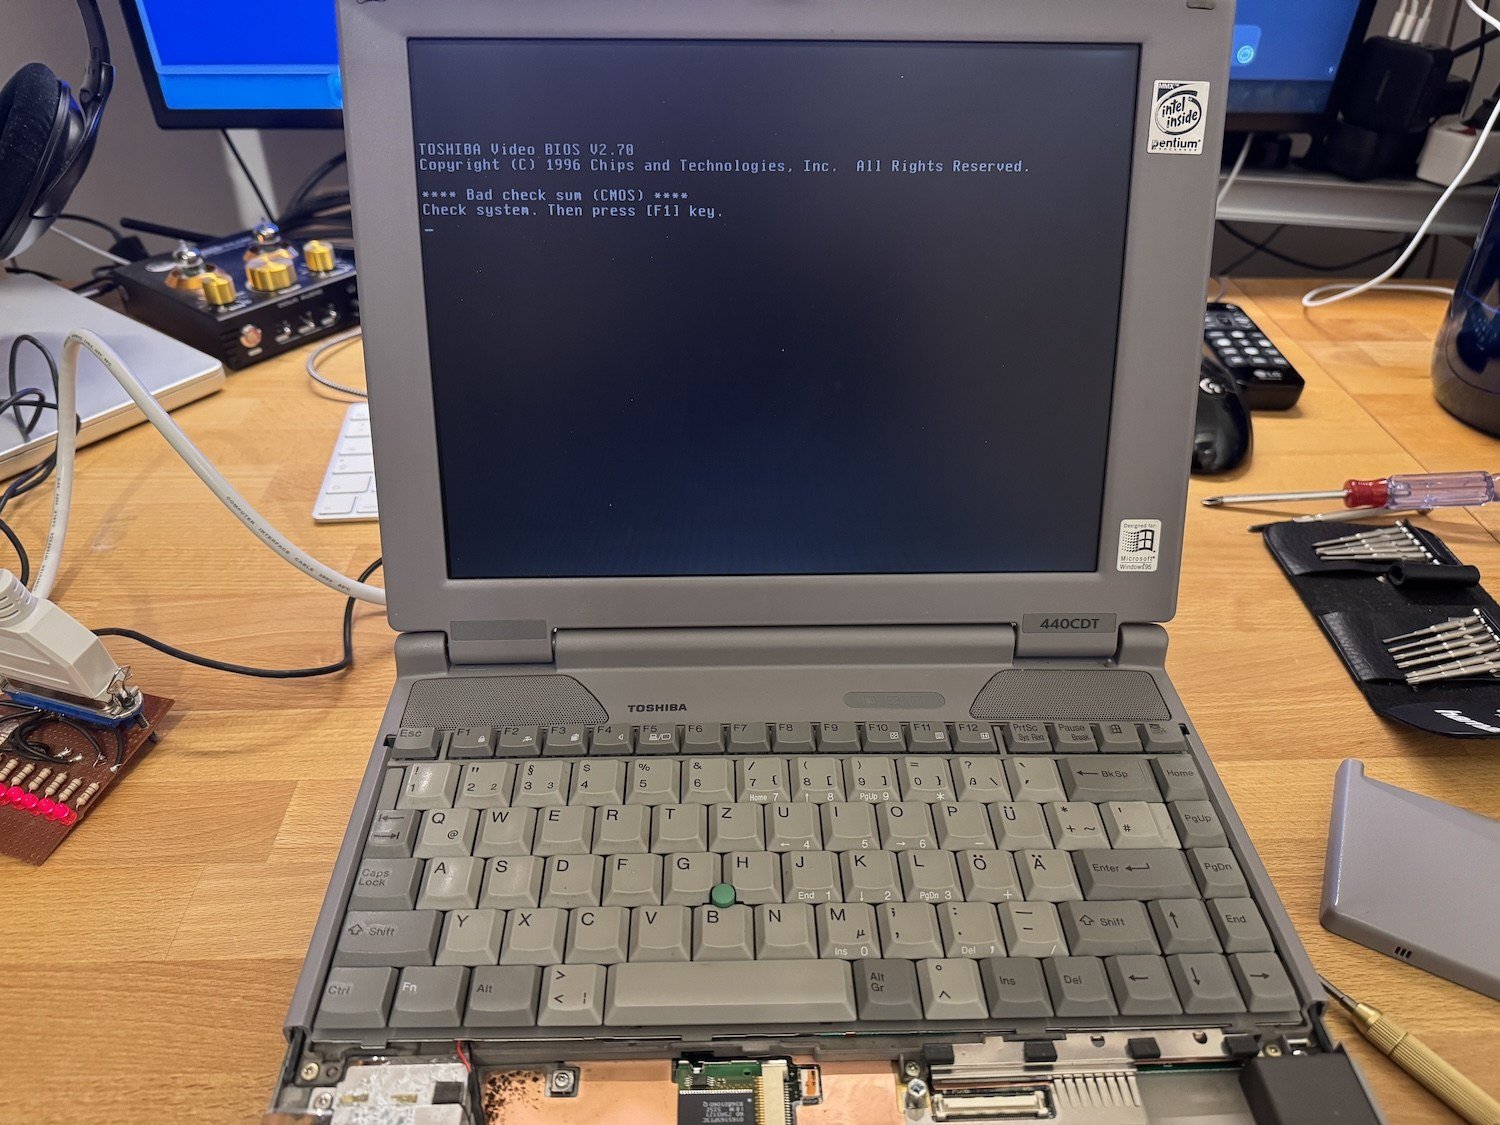
(Fig. 1: The Toshiba Satellite Pro 440CDT on my desk, opened up during the repair)
In November 2024, I bought a Toshiba Satellite Pro 440CDT second-hand. When it arrived, it booted up just fine. Then I unscrewed the palm rest to check the BIOS battery and saw that it had leaked. In the 440CDT, the CMOS battery sits under the palm rest, so at first glance no circuit board was affected. I cleaned everything with vinegar and alcohol and let it dry overnight in a small room with a dehumidifier.
After reassembling it, the laptop did not boot anymore. All I got was a blinking Caps Lock LED.
This article sums up how I found the problem - and it took two weeks, a self-made LPT board from my school days and a lot of help from the people on Vogons. The whole thread is here: Toshiba Satellite Pro 440CDT Not Booting, Showing Blinking Code. A big thank you especially to Thermalwrong, who knows these Toshiba boards better than anyone else I know.
The Blink Code
My first guess was that the laptop simply does not want to boot without a CMOS battery. So I bought new batteries. With the new RTC battery (3.6V) alone, it still showed the same blink code. I also ordered the second battery (7.2V, I guess for the suspend feature).
Thermalwrong checked his dead 460CDT mainboard and got the same Caps Lock blinking. It is just a startup indicator, not a meaningful error code. His advice: get a POST code reader for the parallel port and take the mainboard out to check for corrosion under the battery connectors. The maintenance manual for this series is available on archive.org.
Taking the Laptop Apart
At first, the boards looked very clean:
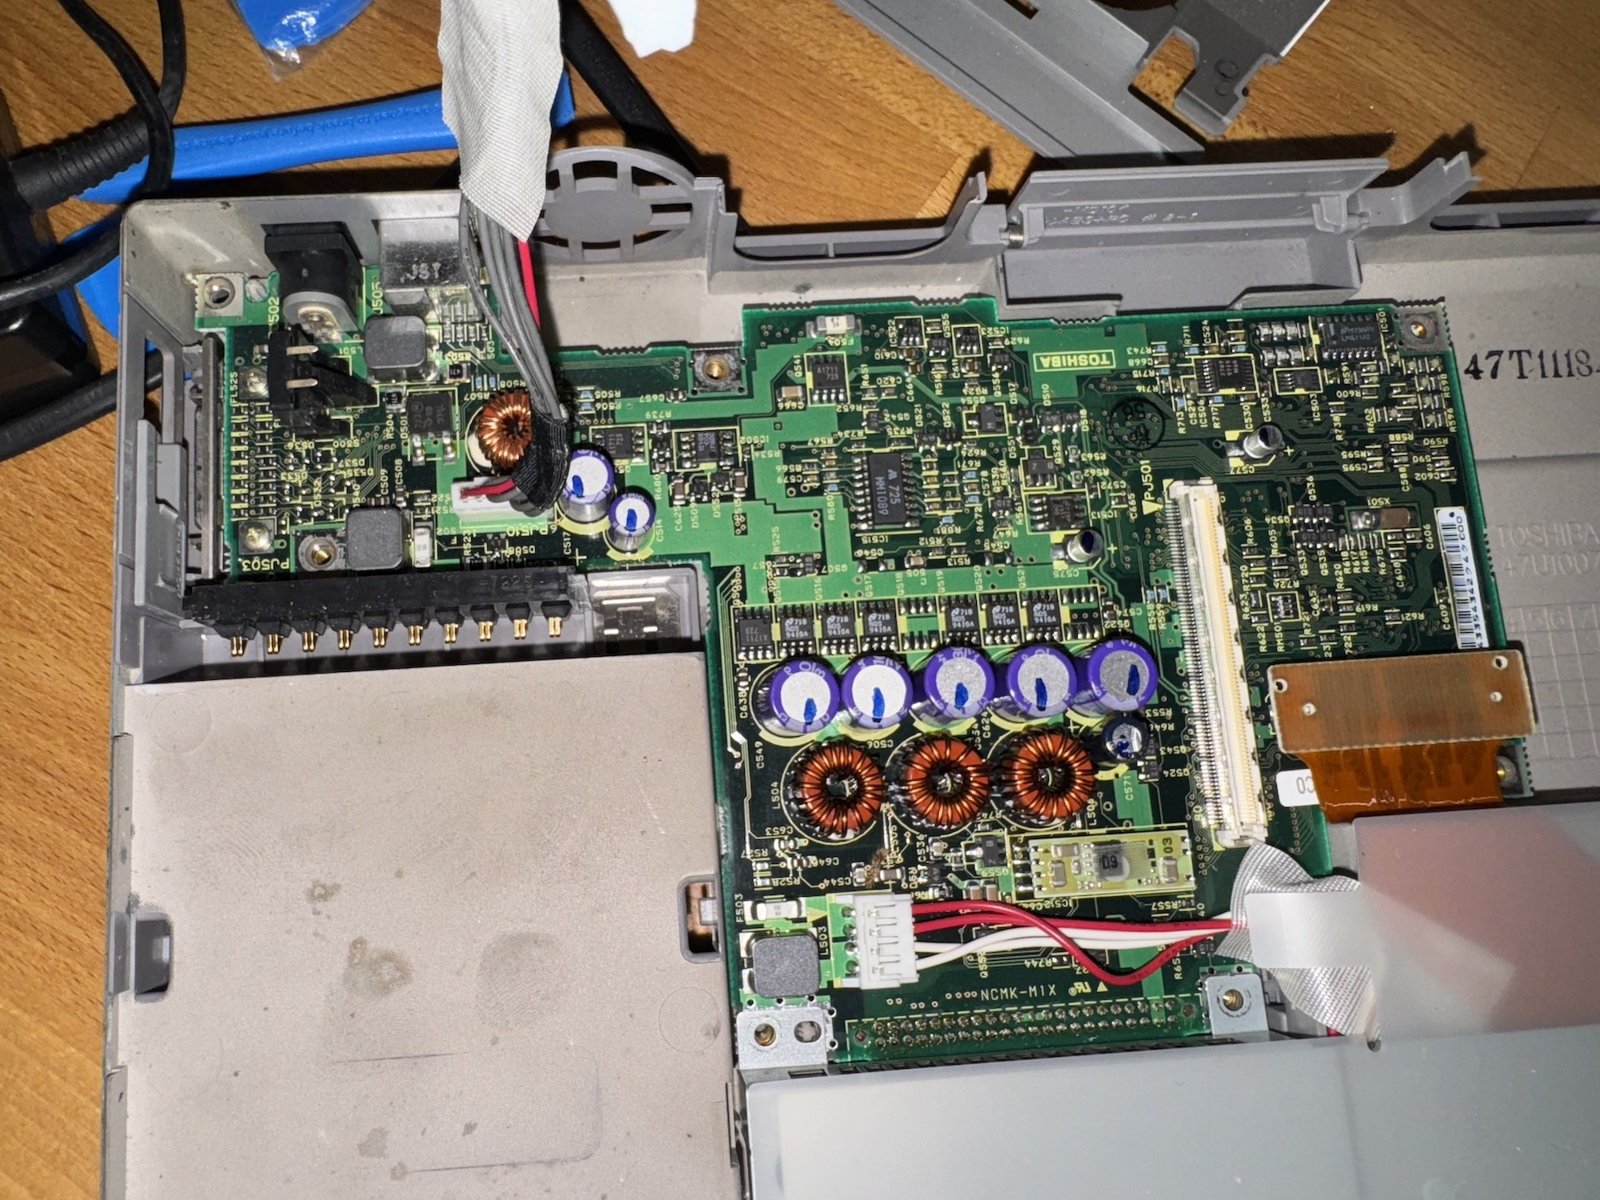
(Fig. 2: The power board)
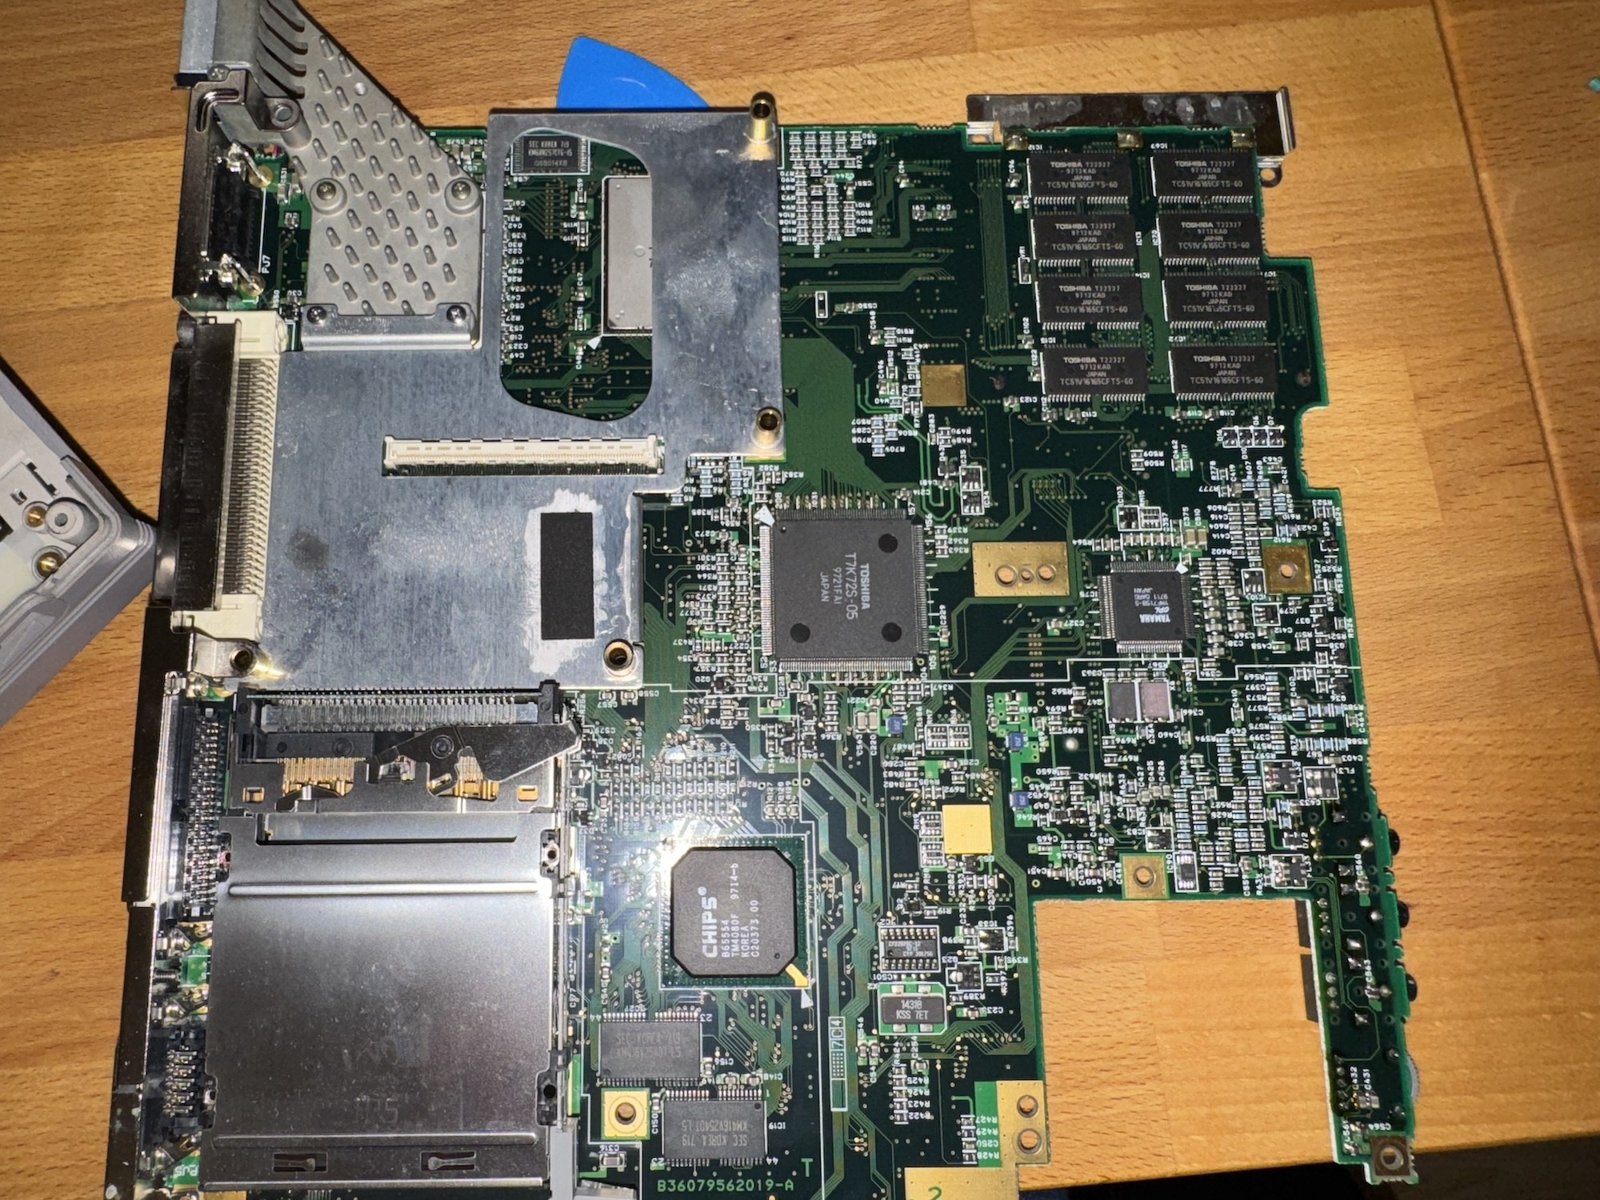
(Fig. 3: The mainboard - bottom side)
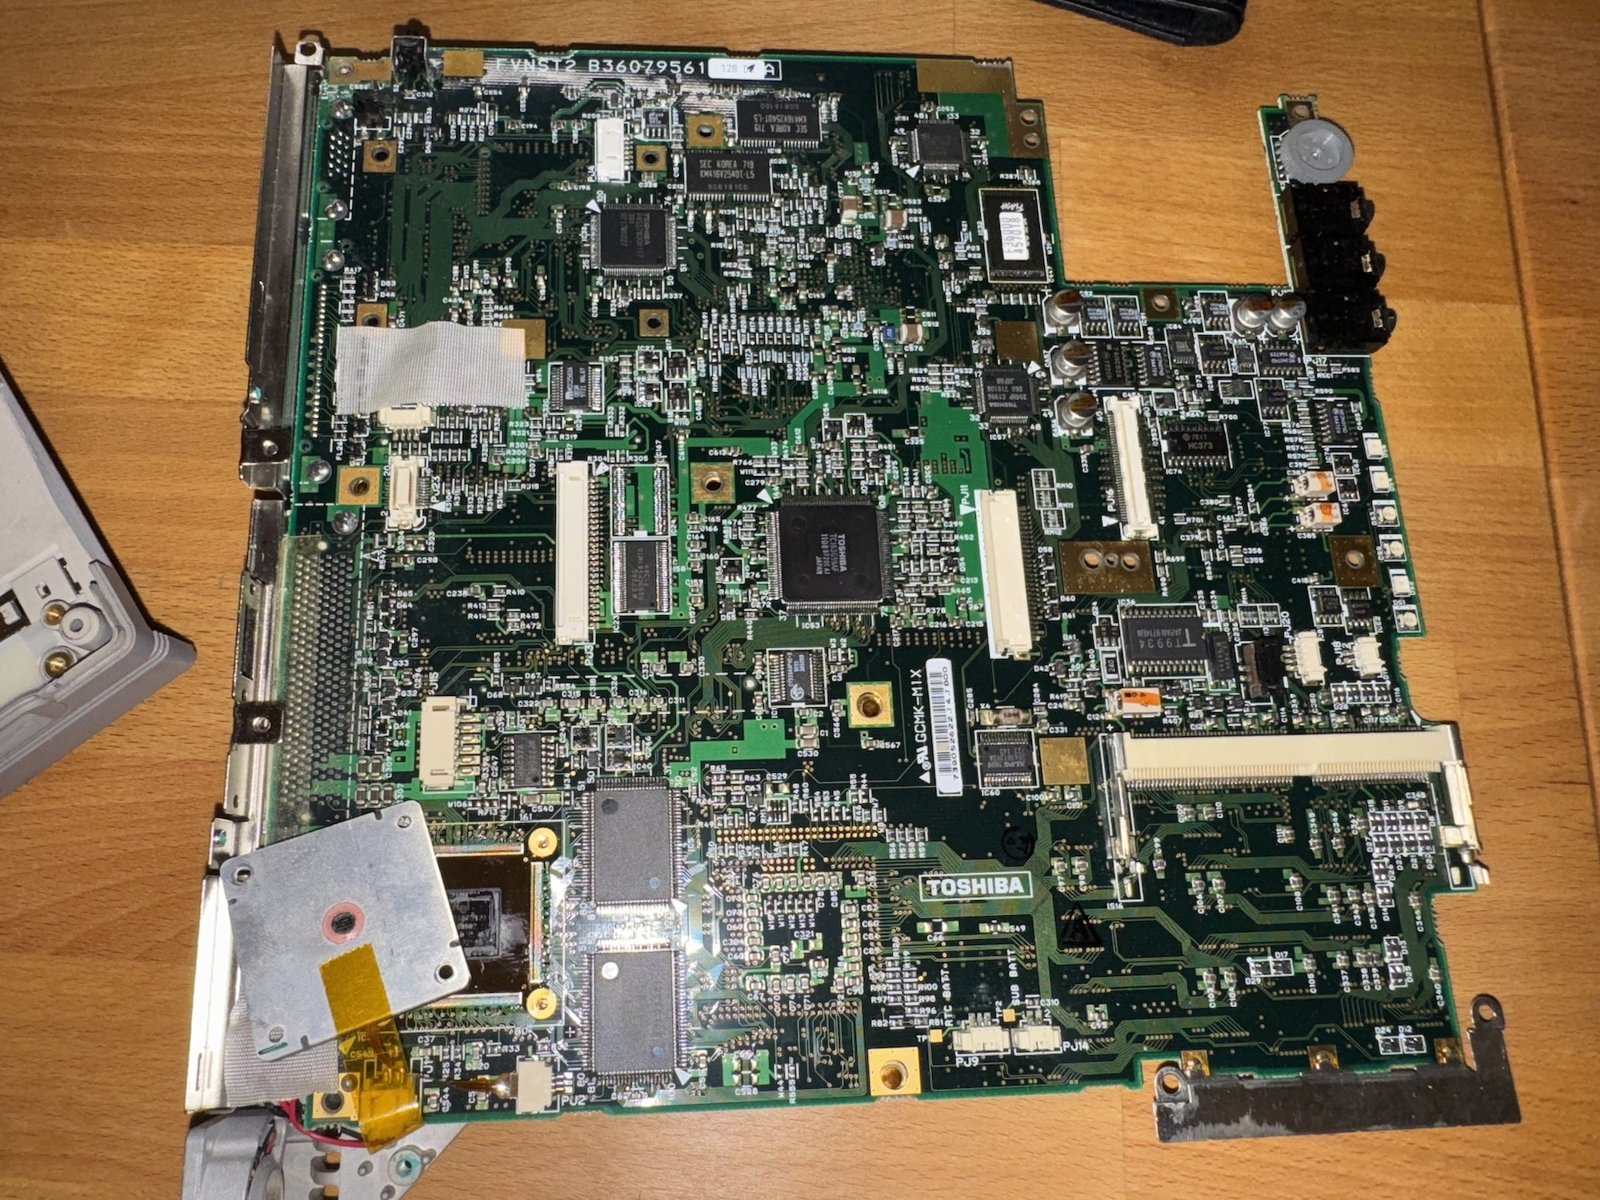
(Fig. 4: The mainboard - top side)
But a closer look showed that not everything was as clean as it should be:
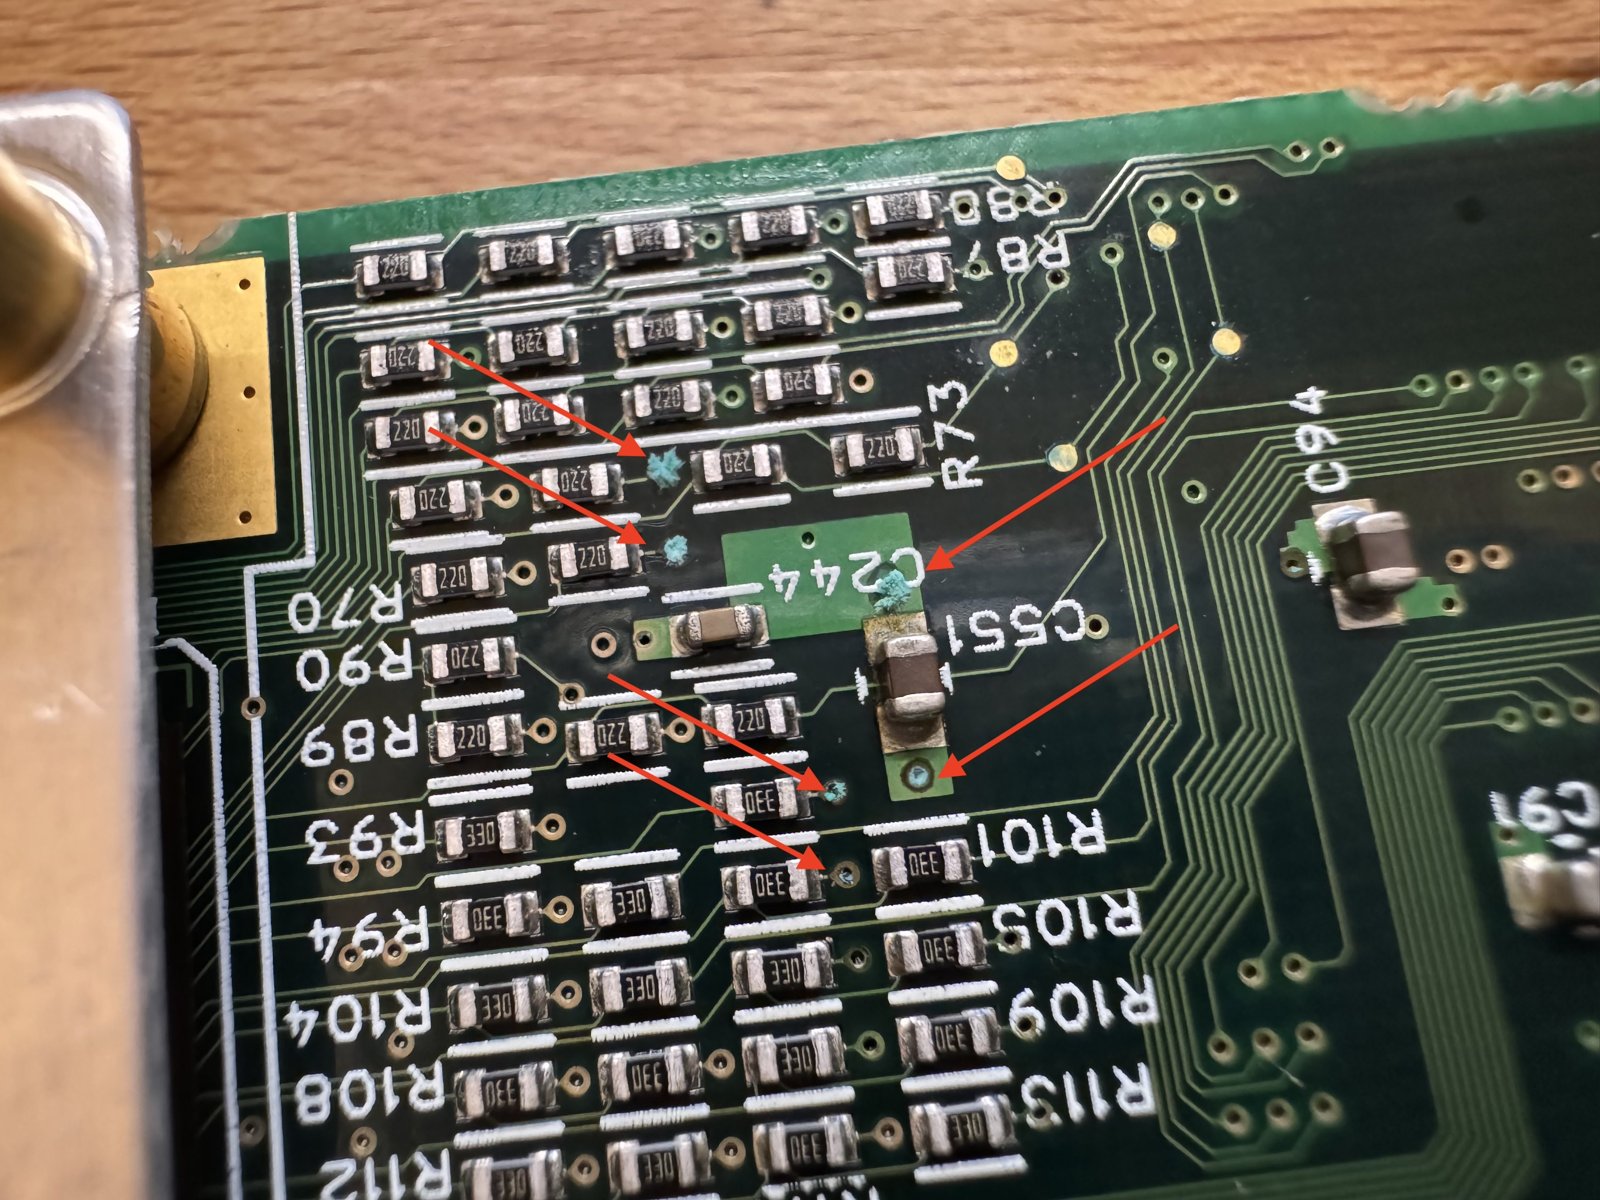
(Fig. 5: Corrosion between the termination resistors)
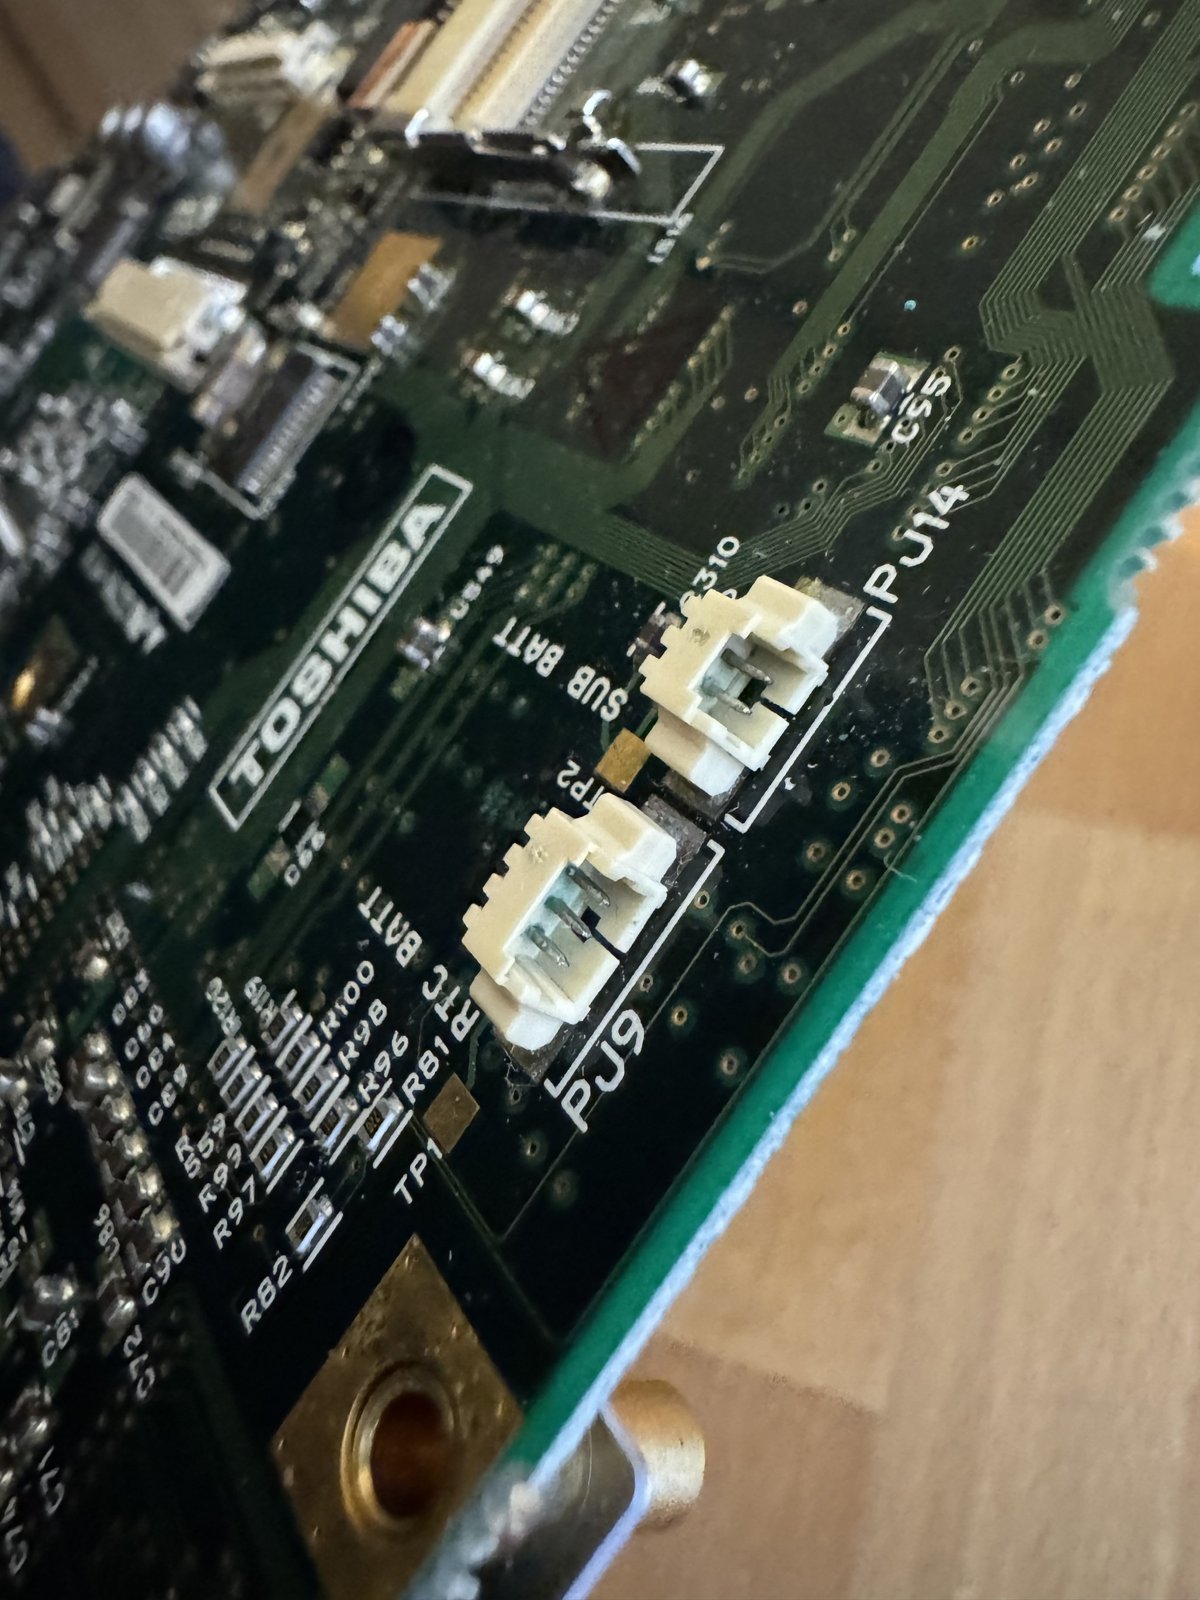
(Fig. 6: The corroded battery connectors (PJ9 and PJ14))
The small SMD parts marked "220" and "330" are 22 Ohm and 33 Ohm resistors. I checked every one of them with my multimeter (a Metra Hit 26M): the 22 Ohm ones showed around 23.9 Ohm, the 33 Ohm ones around 35 Ohm. Since all of them were about the same, I assumed that they were fine. The traces I was able to follow were fine, too.
I had thought about vinegar again, but Thermalwrong recommended isopropyl alcohol and a pick tool to crack off the green stuff. Vinegar left on the board can finish off traces that are already weak. So I cleaned the affected areas with isopropanol (99%):
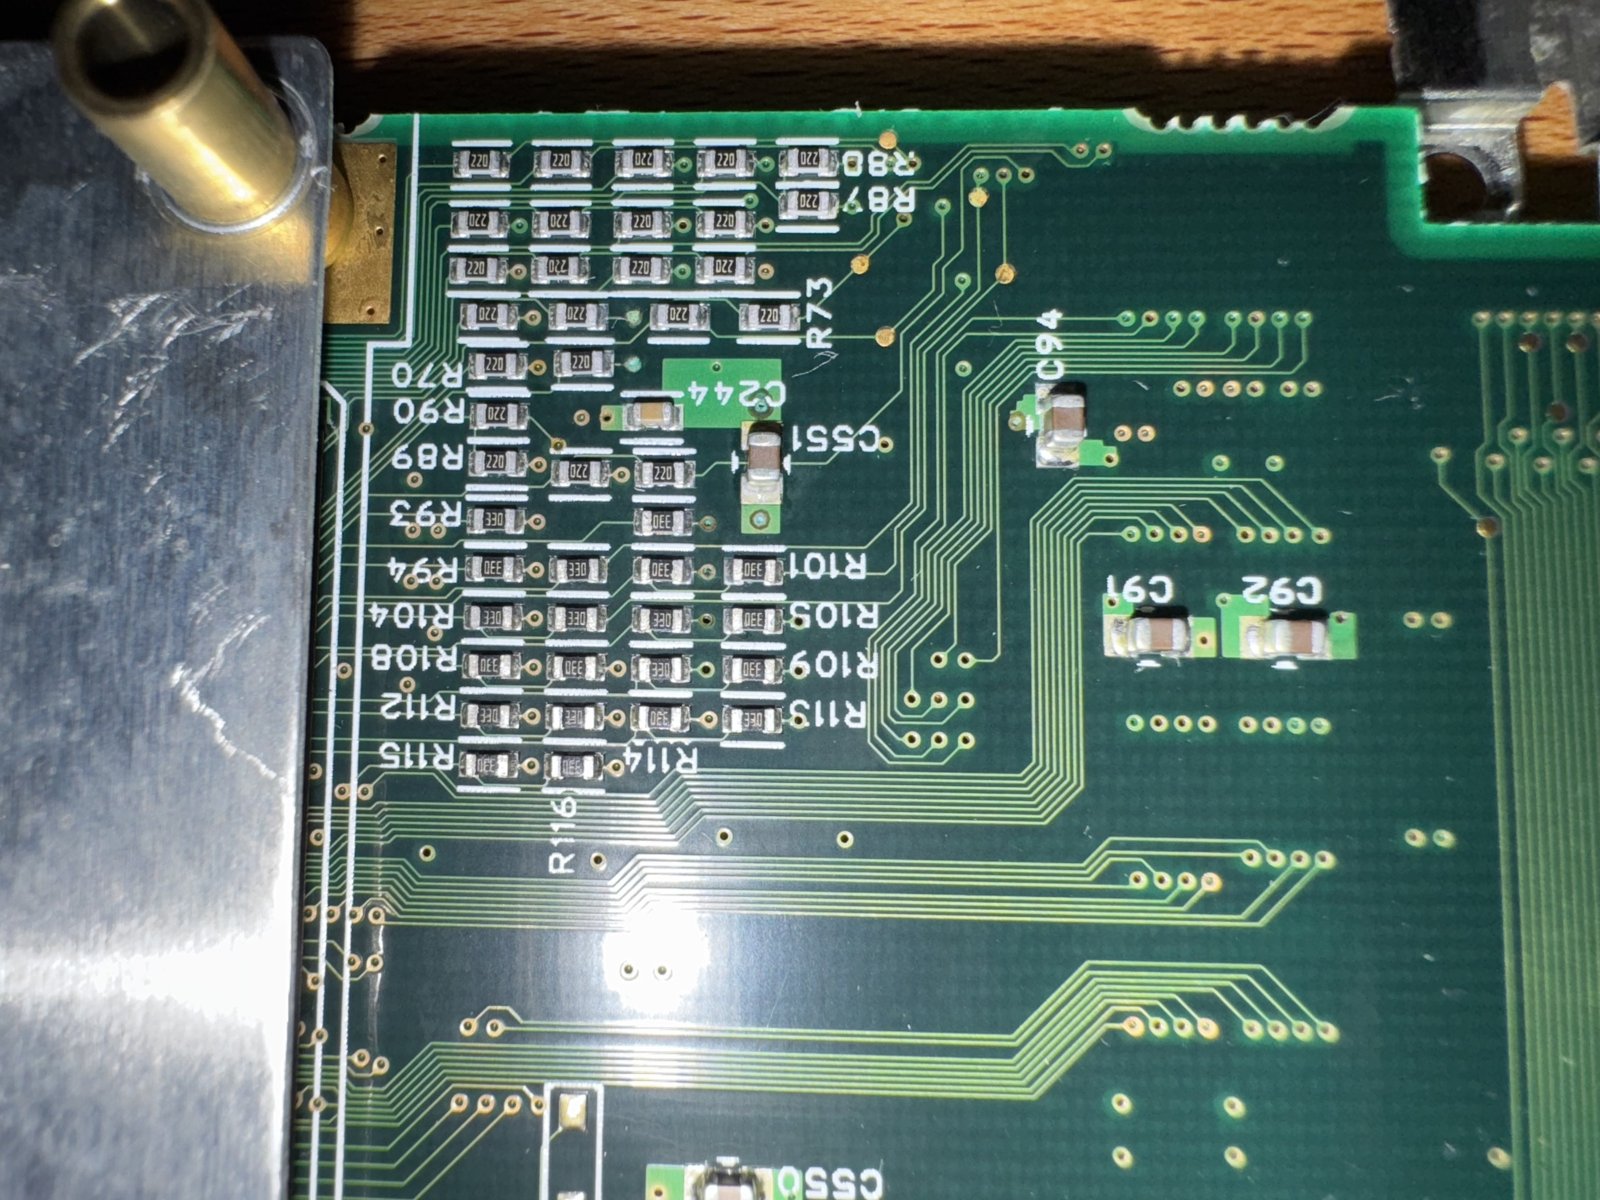
(Fig. 7: The cleaned bottom side)
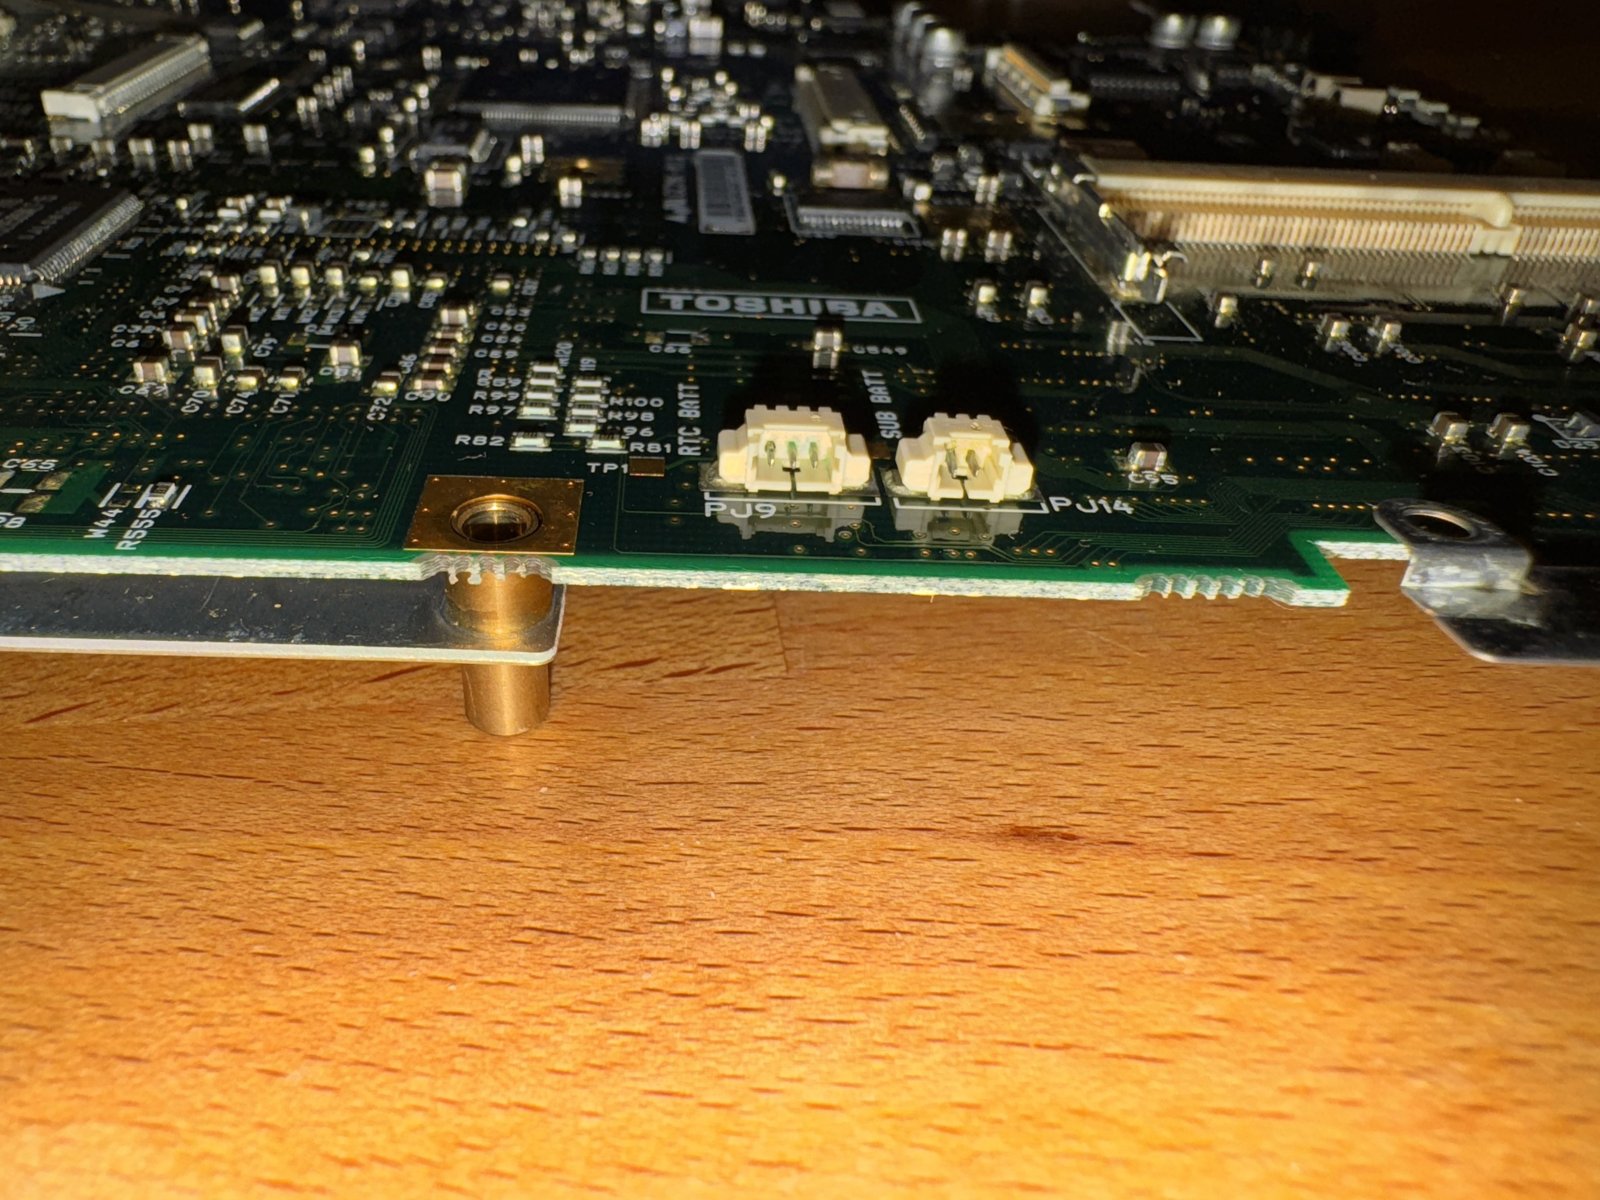
(Fig. 8: The cleaned battery connectors)
Reading POST Codes with a 20-Year-Old LPT Board
The POST code reader I had ordered would take weeks to arrive. But I still had a small board that connects the eight data lines of the parallel port to LEDs. I soldered it about 20 years ago at school, when we learned how to control the parallel port with Java. I never thought it would come in handy again.
The Toshiba maintenance manuals show exactly this kind of setup: eight LEDs on the parallel port, read as a binary number. Right after power on, all LEDs light up (FFH), then they all turn off (00H). Then 02H shows up:
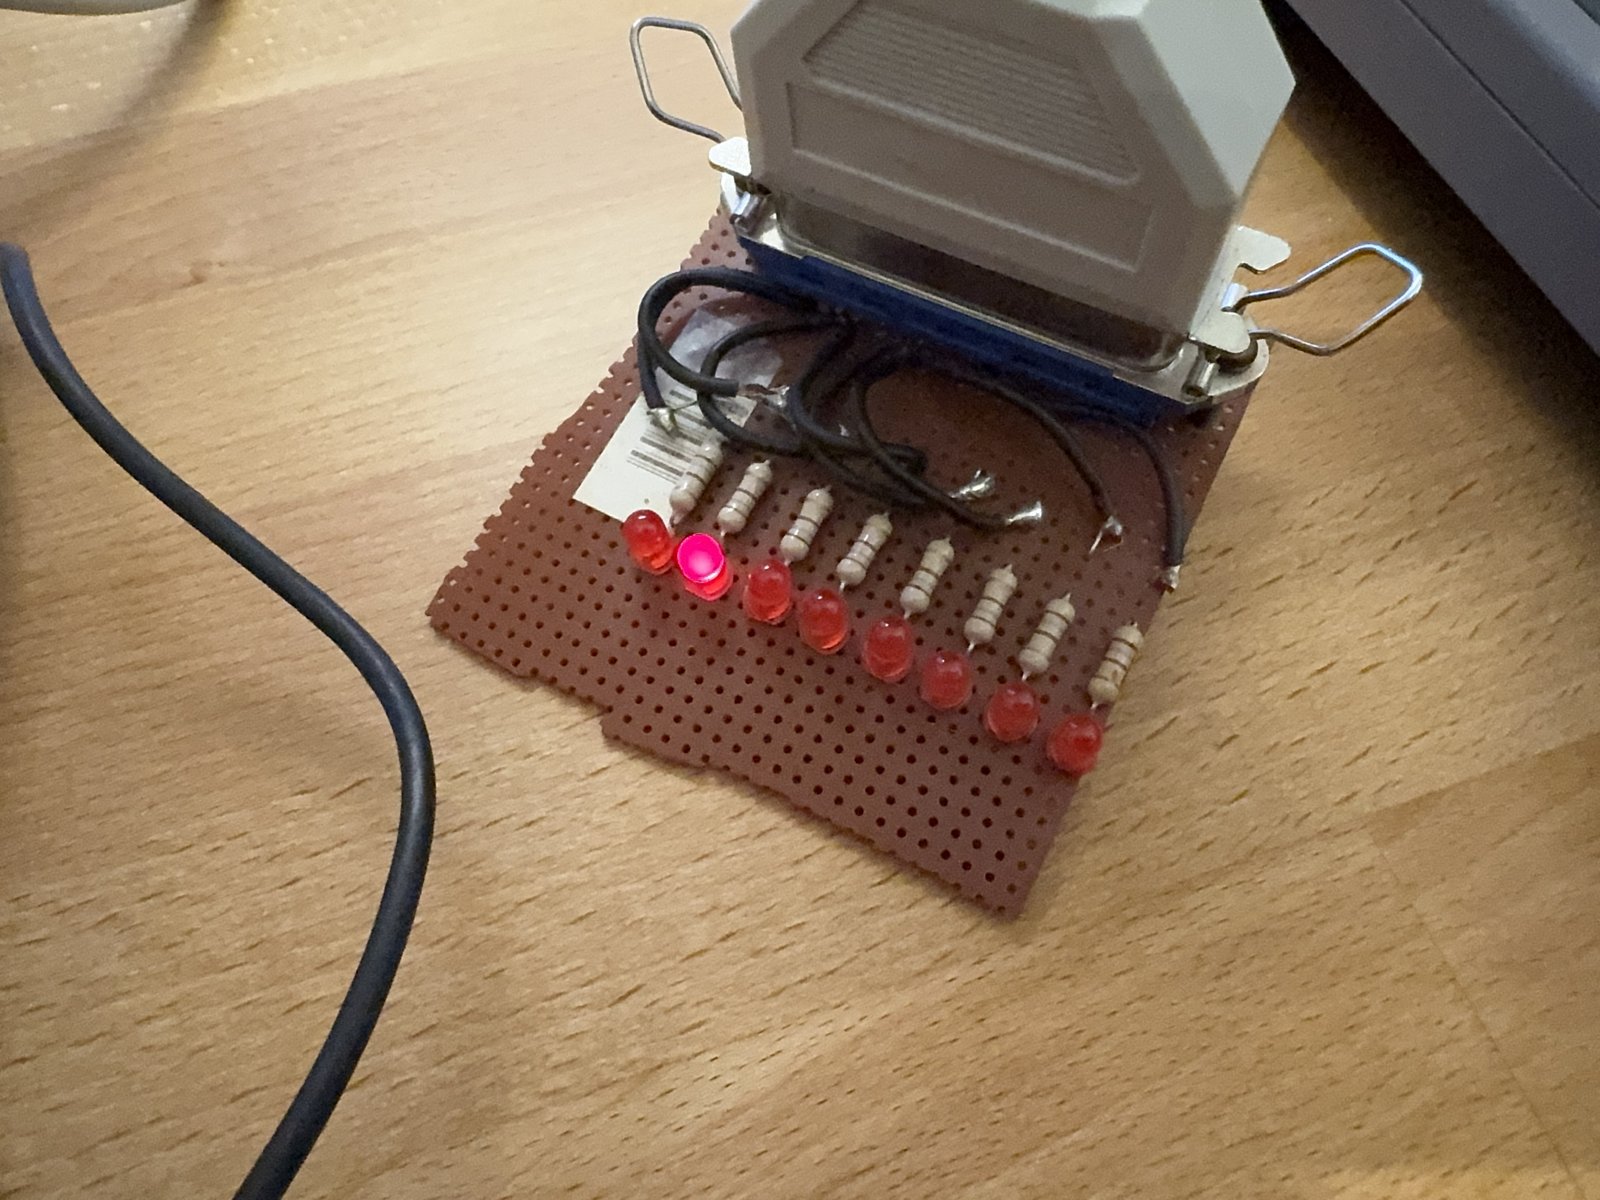
(Fig. 9: POST code 02H on the LPT board)
And then it gets stuck at 05H:
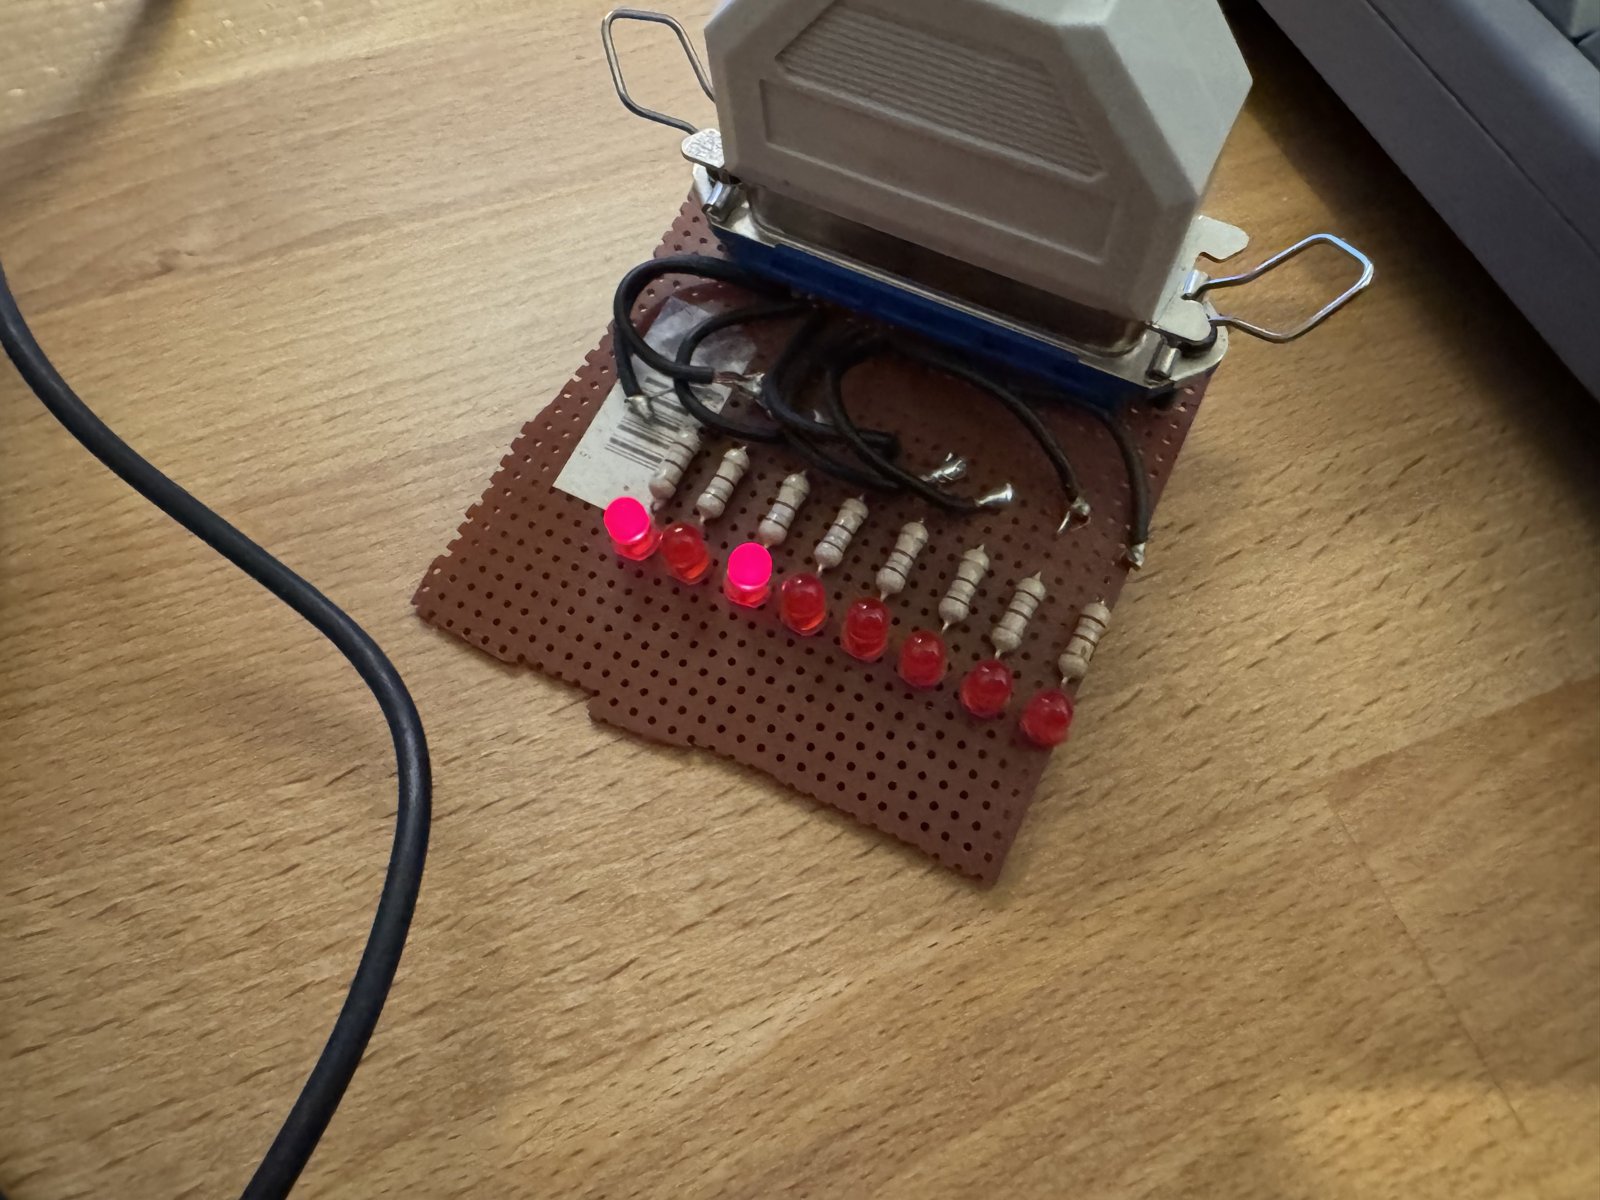
(Fig. 10: Stuck at POST code 05H)
According to the maintenance manual, 05H means "SM-RAM check".
The RAM Module
I tested it with and without the RAM module it came with: same result. Luckily, my IBM ThinkPad 380Z also uses 144-pin EDO RAM, so I put its module into the 440CDT:
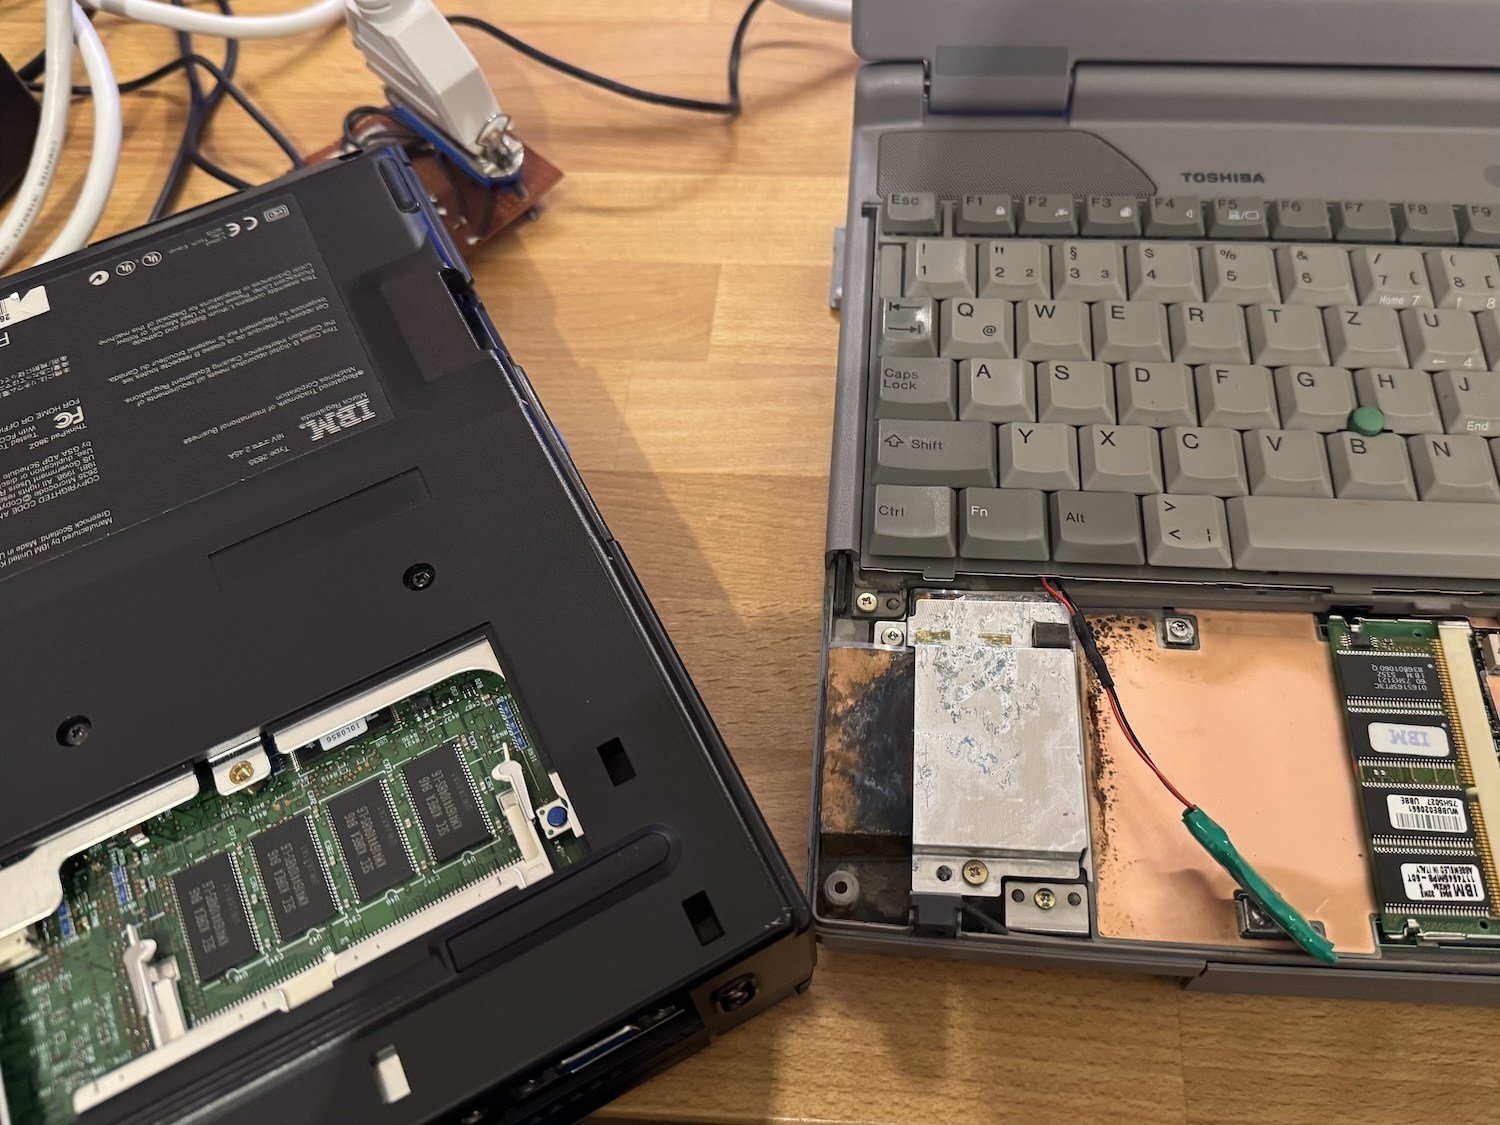
(Fig. 11: The RAM module from the ThinkPad 380Z in the 440CDT)
And it booted! But only until the memory test:
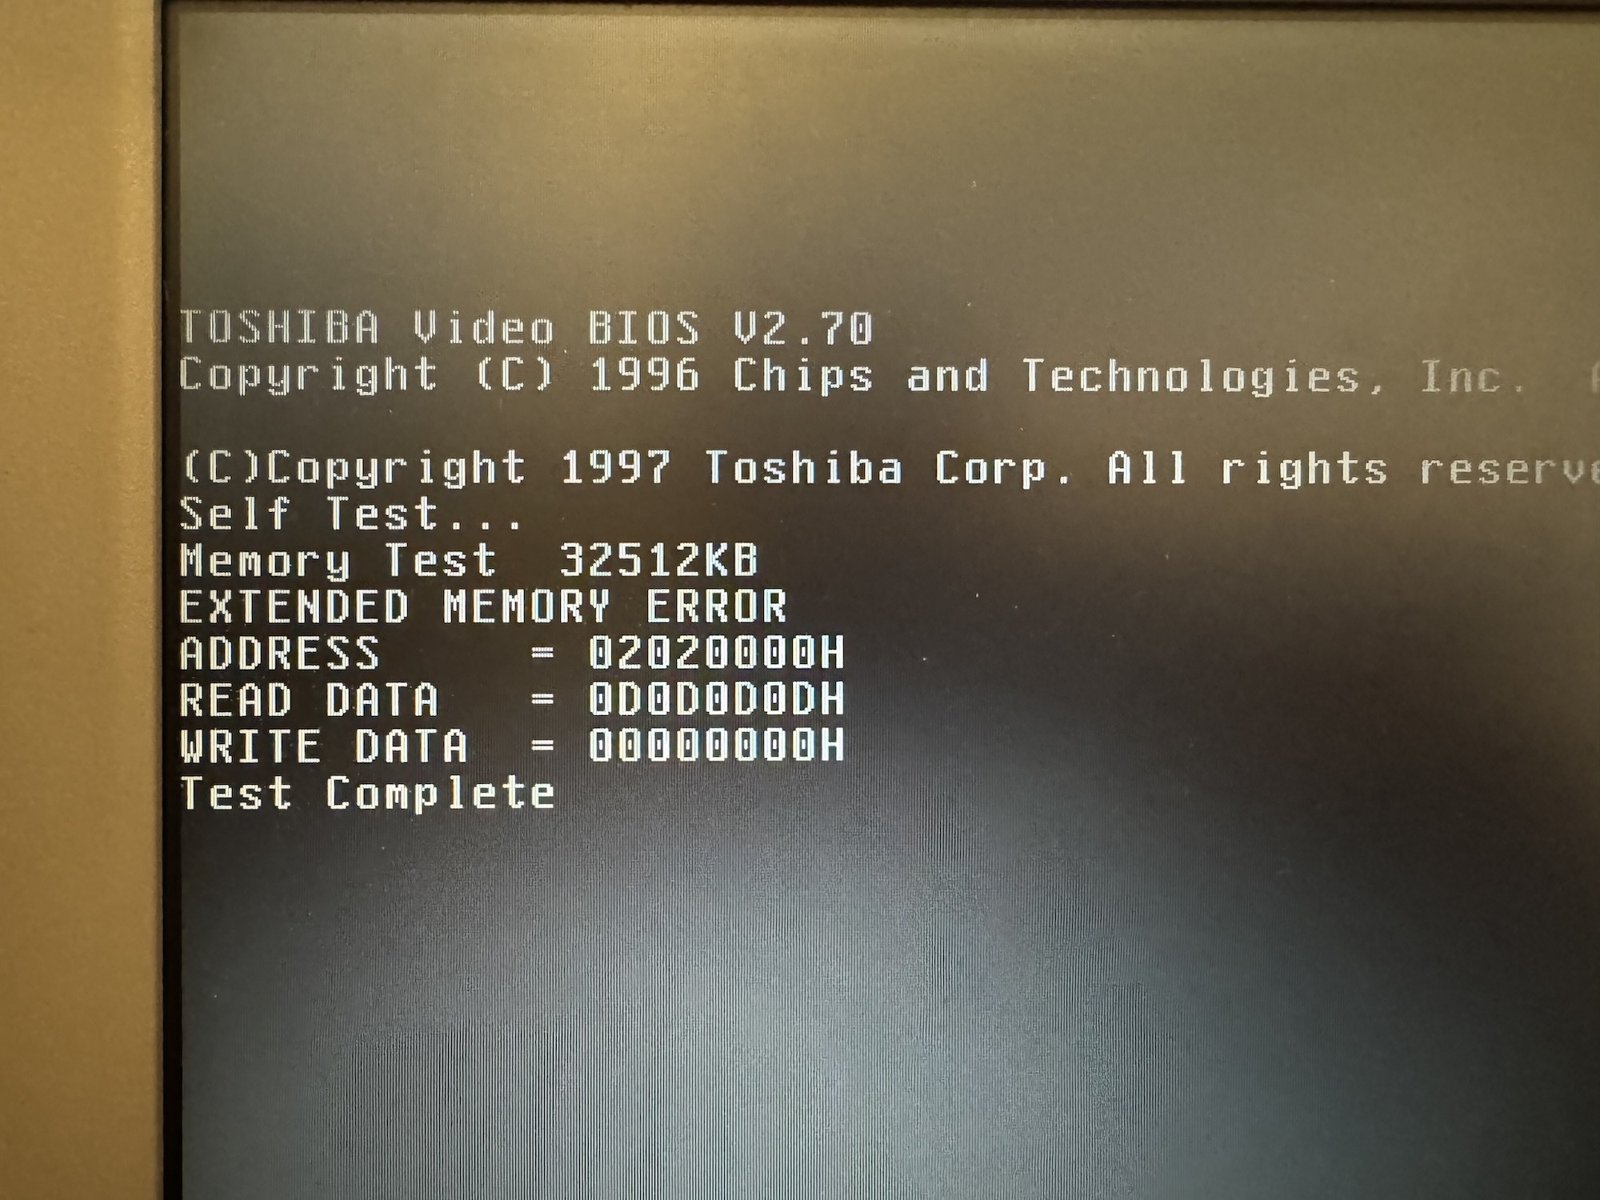
(Fig. 12: Extended memory error during POST)
This is the original module that came with the 440CDT:
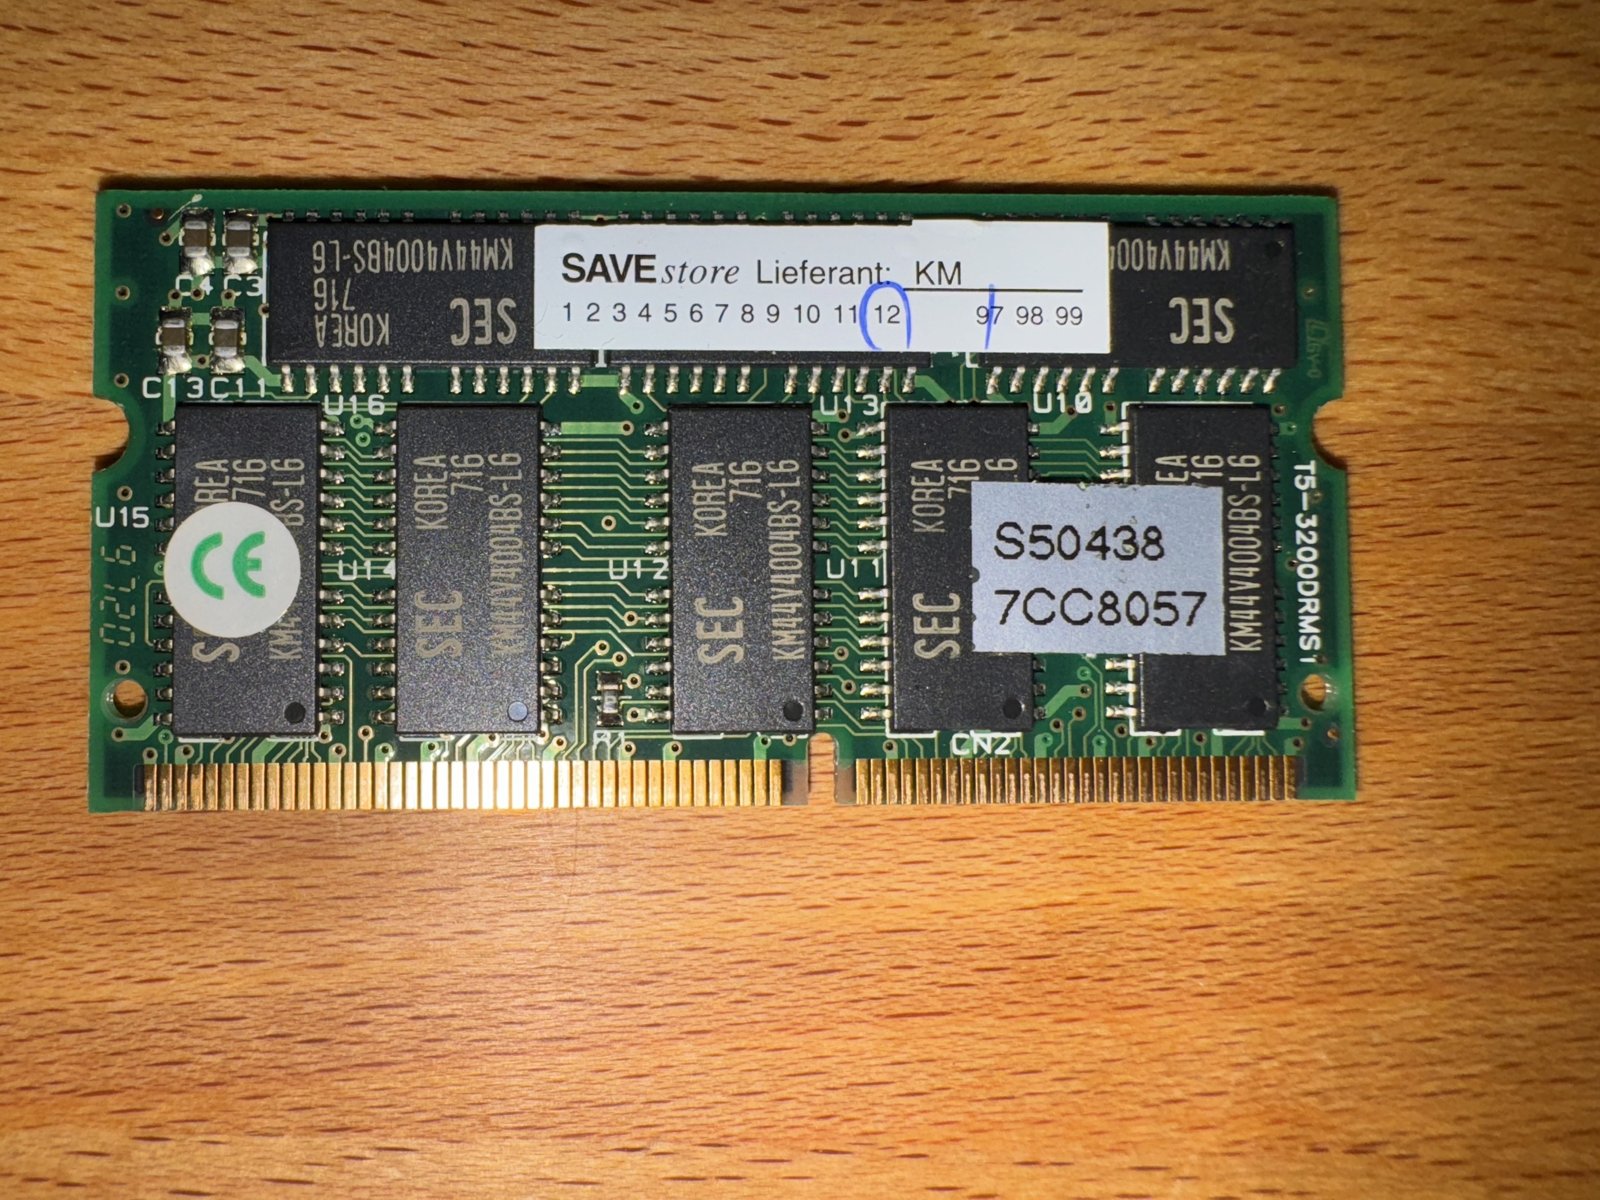
(Fig. 13: The original RAM module)
I cleaned its contacts, the RAM slot and the area around it with isopropanol. After that, the laptop started with its original module, too - without any error during POST:
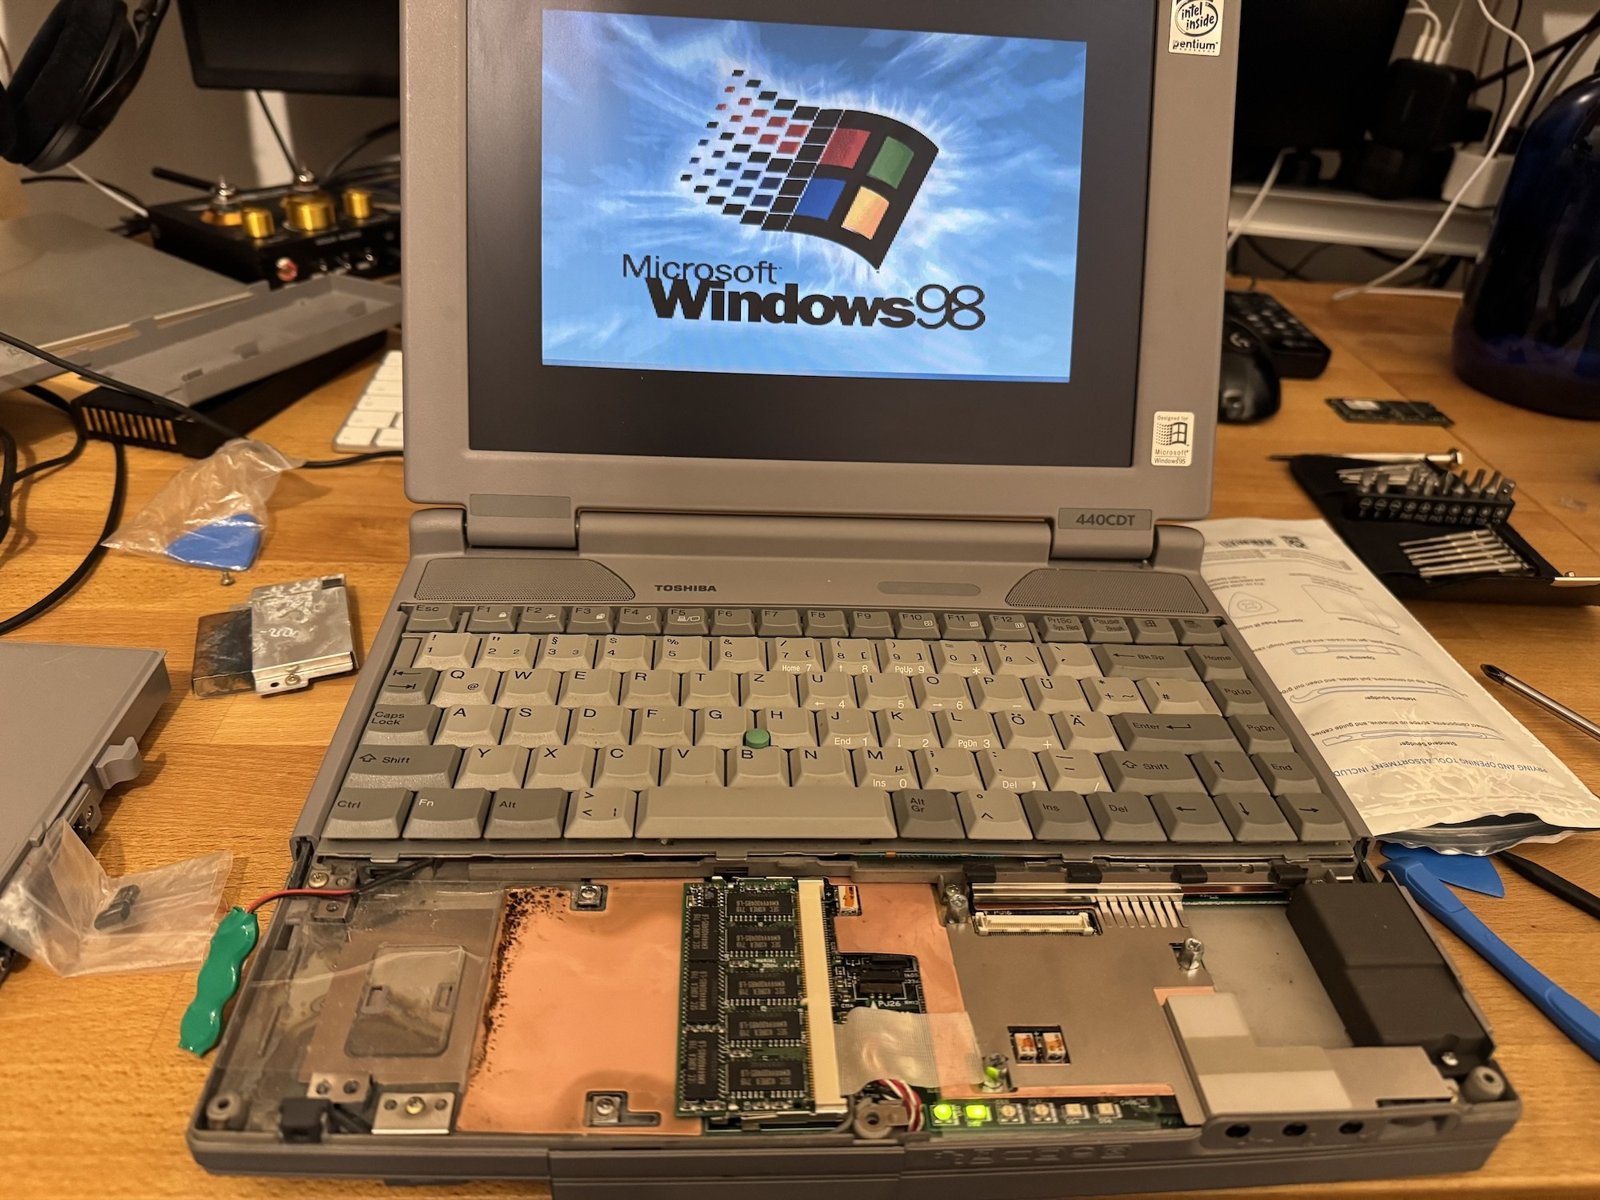
(Fig. 14: Booting again with the original module)
A note on the RAM: Toshiba lists the pins of the 144-pin modules in a different order in their maintenance manuals (1-72 on one side, 73-144 on the other). That made it look like Toshiba used a non-standard pinout. Thermalwrong later confirmed that they are standard JEDEC EDO SO-DIMMs, so any 144-pin EDO SO-DIMM works.
Not Fixed Yet: Fault in MS-DOS Extender
I wanted to install Windows 95. Neither of my two floppy drives for the 440CDT worked, but one of the CD-ROM drives did. So I booted from a Windows 98SE CD, partitioned and formatted the hard drive, copied the Windows 95 setup files to it and started the setup. Scandisk completed, the setup showed up for a second, and then this appeared:
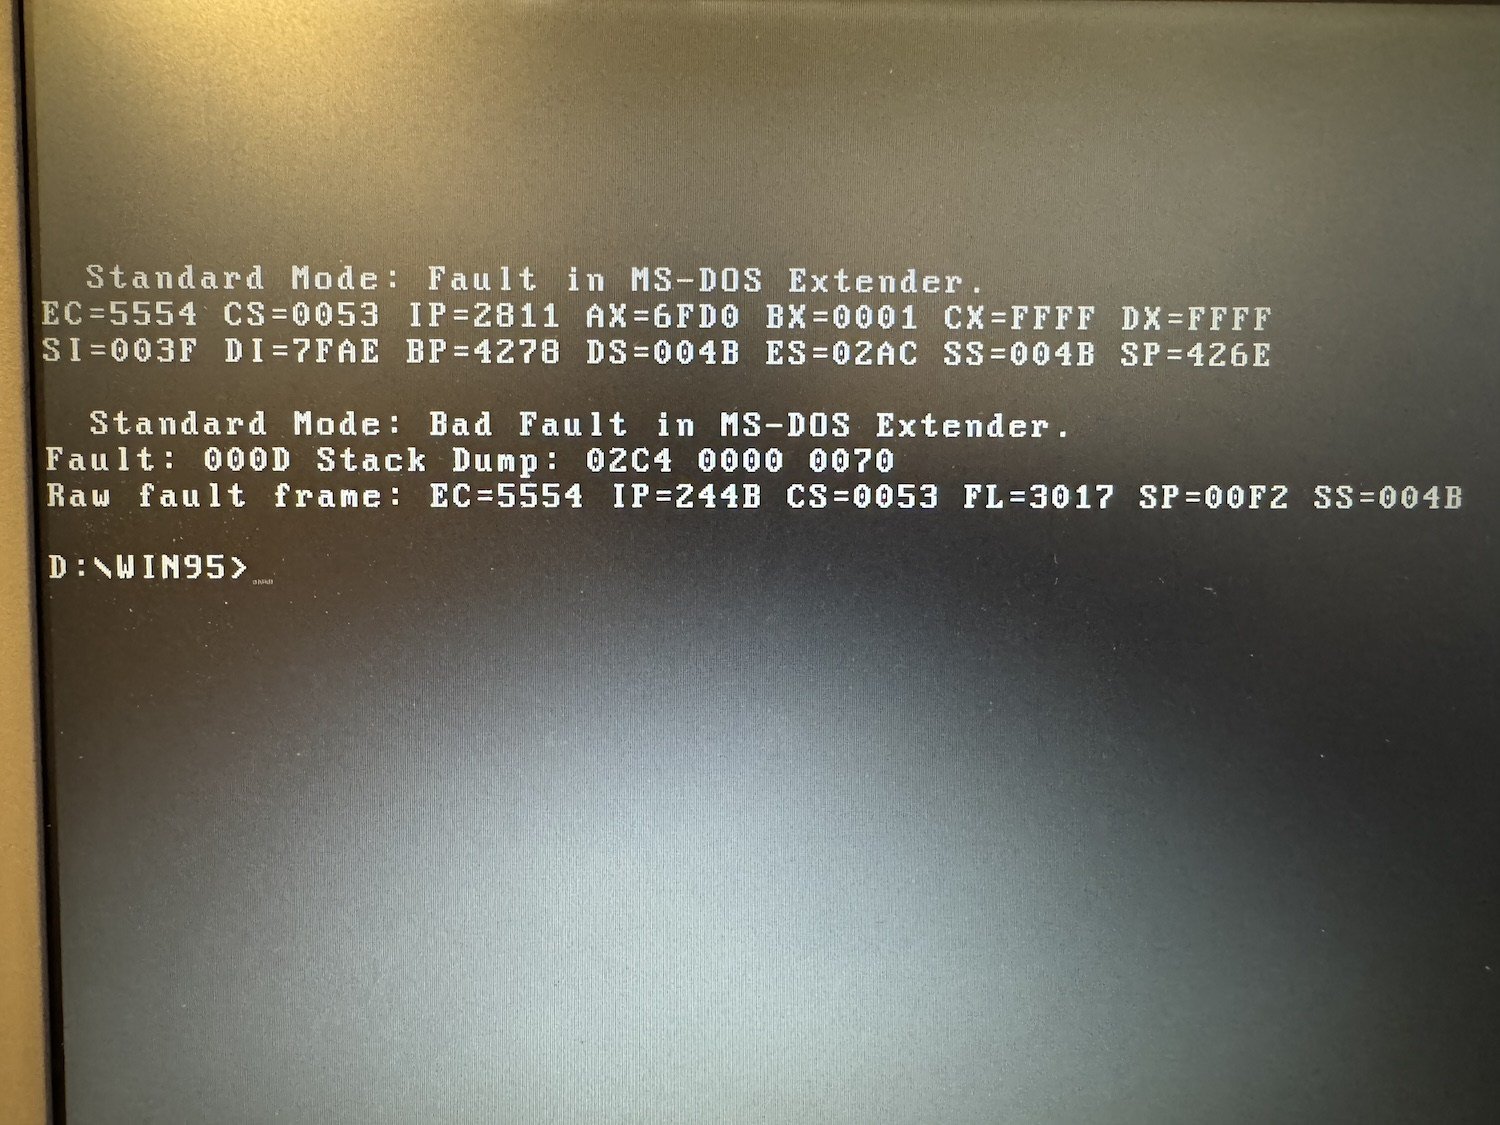
(Fig. 15: "Fault in MS-DOS Extender" after starting the Windows 95 setup)
The new 7.2V battery did not change anything here. I had seen this error before on an Acer desktop, where a new CPU fixed it. Others had fixed it with new RAM. MemTest86 did not find any error in three passes:
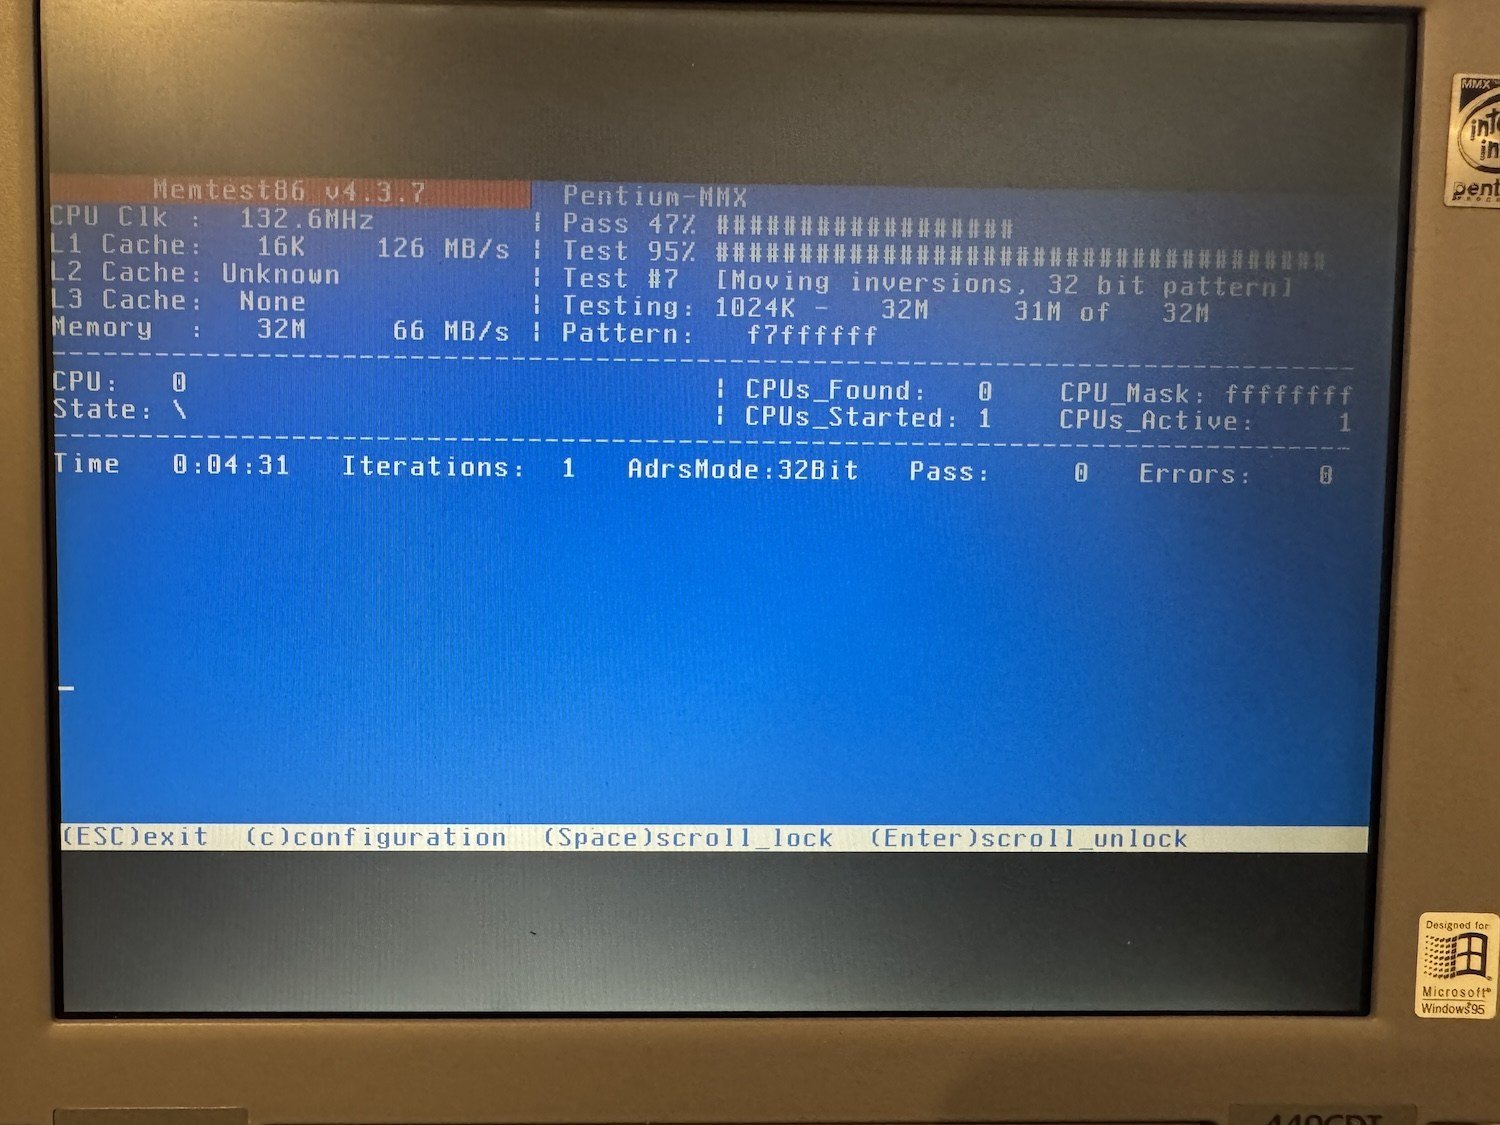
(Fig. 16: MemTest86 only sees 32MB)
But during POST, the laptop showed 48MB:
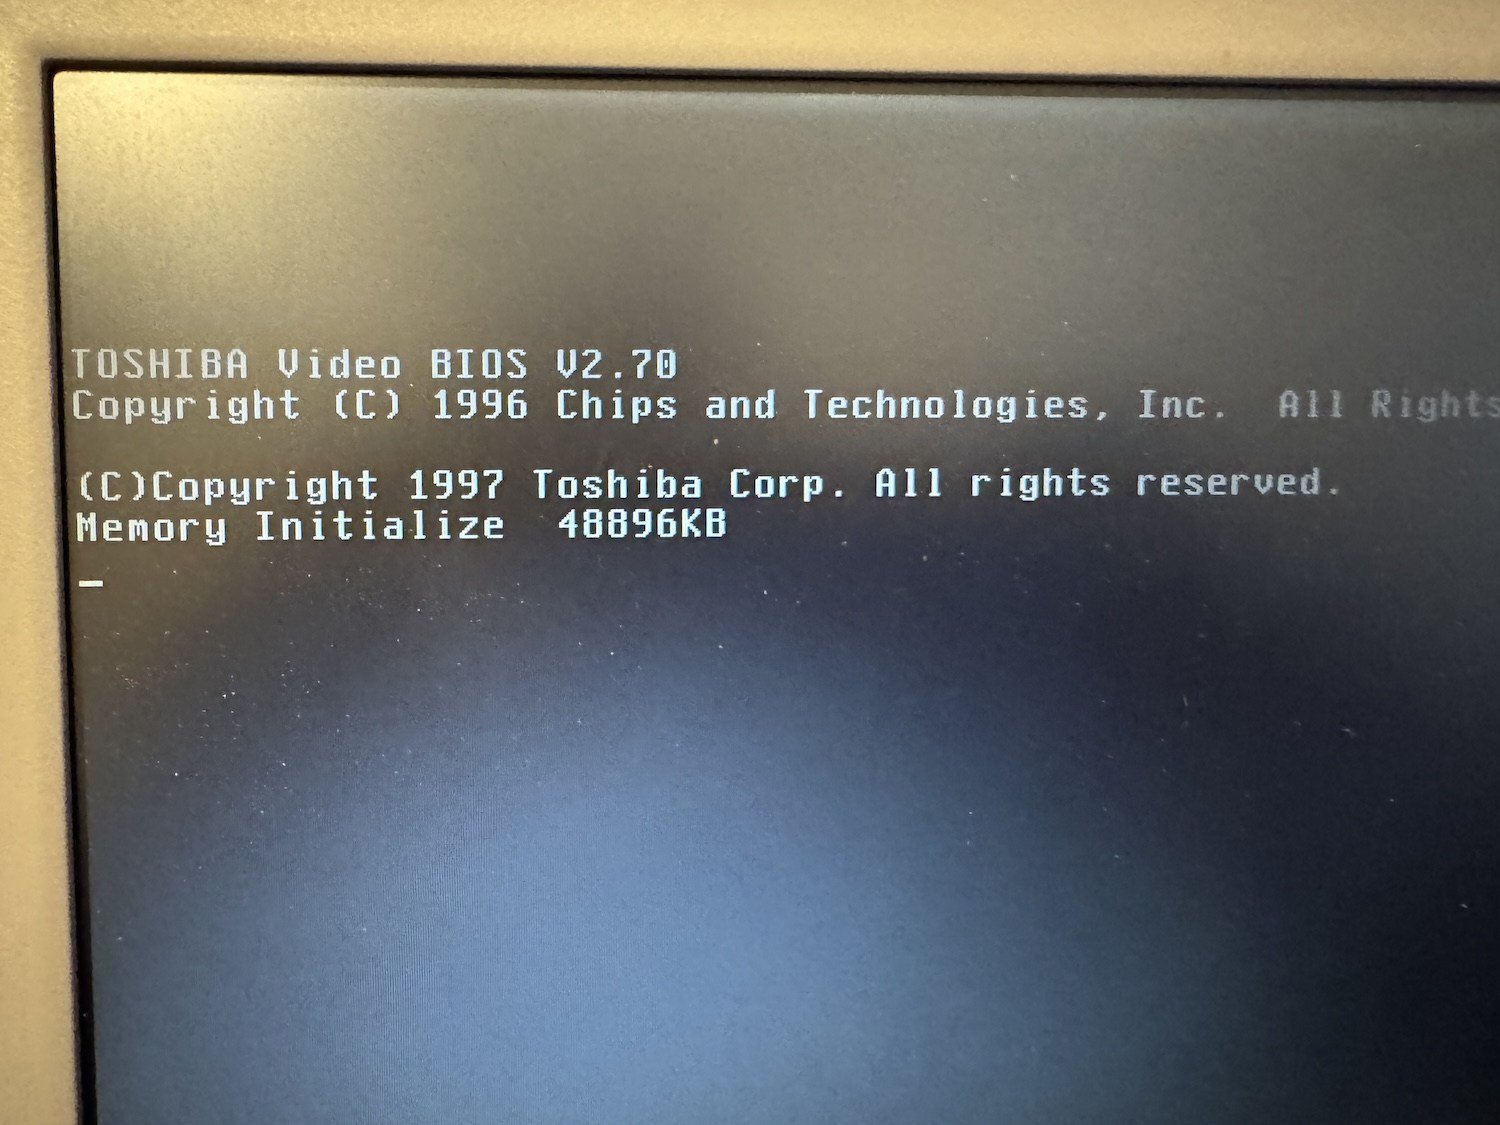
(Fig. 17: 48MB during POST: 16MB on-board plus the 32MB module)
MemTest only tested the 32MB of the module. And without a module, the laptop did not boot at all and stopped at 05H, even though it has 16MB of on-board memory. With a 64MB module, it was the same: 80MB in the BIOS, 64MB in the operating system:
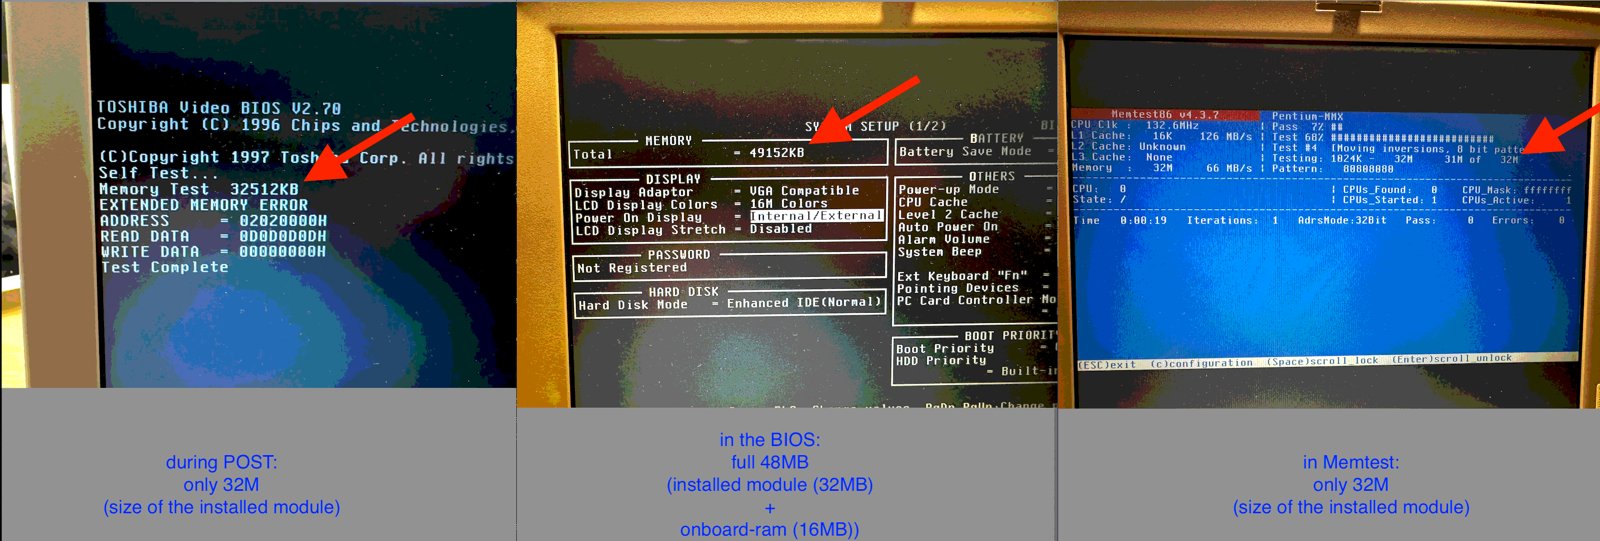
(Fig. 18: During POST, in the BIOS and in MemTest: the on-board memory is shown, but never used)
So the on-board RAM was the problem.
Searching for the Broken Line
My first thought was to replace the on-board RAM chips (Toshiba TC51V16165CFTS-60). Thermalwrong stopped me: the fact that the laptop does not boot without a module is the important hint. The on-board memory has its own address lines, separate from the SO-DIMM. When they are broken, the chipset cannot reach the on-board chips. The gold test pads on these lines have no solder mask, so they corrode faster than everything else.
What made the search possible in the first place: on his own 460CDT board, Thermalwrong had painstakingly traced where the memory address, RAS, CAS and Write-Enable lines run, and he shared the result as an annotated picture with every line marked in color. Without this map, I would have had to follow every single trace myself. He published it under the CC BY 4.0 license, so I can show it here:
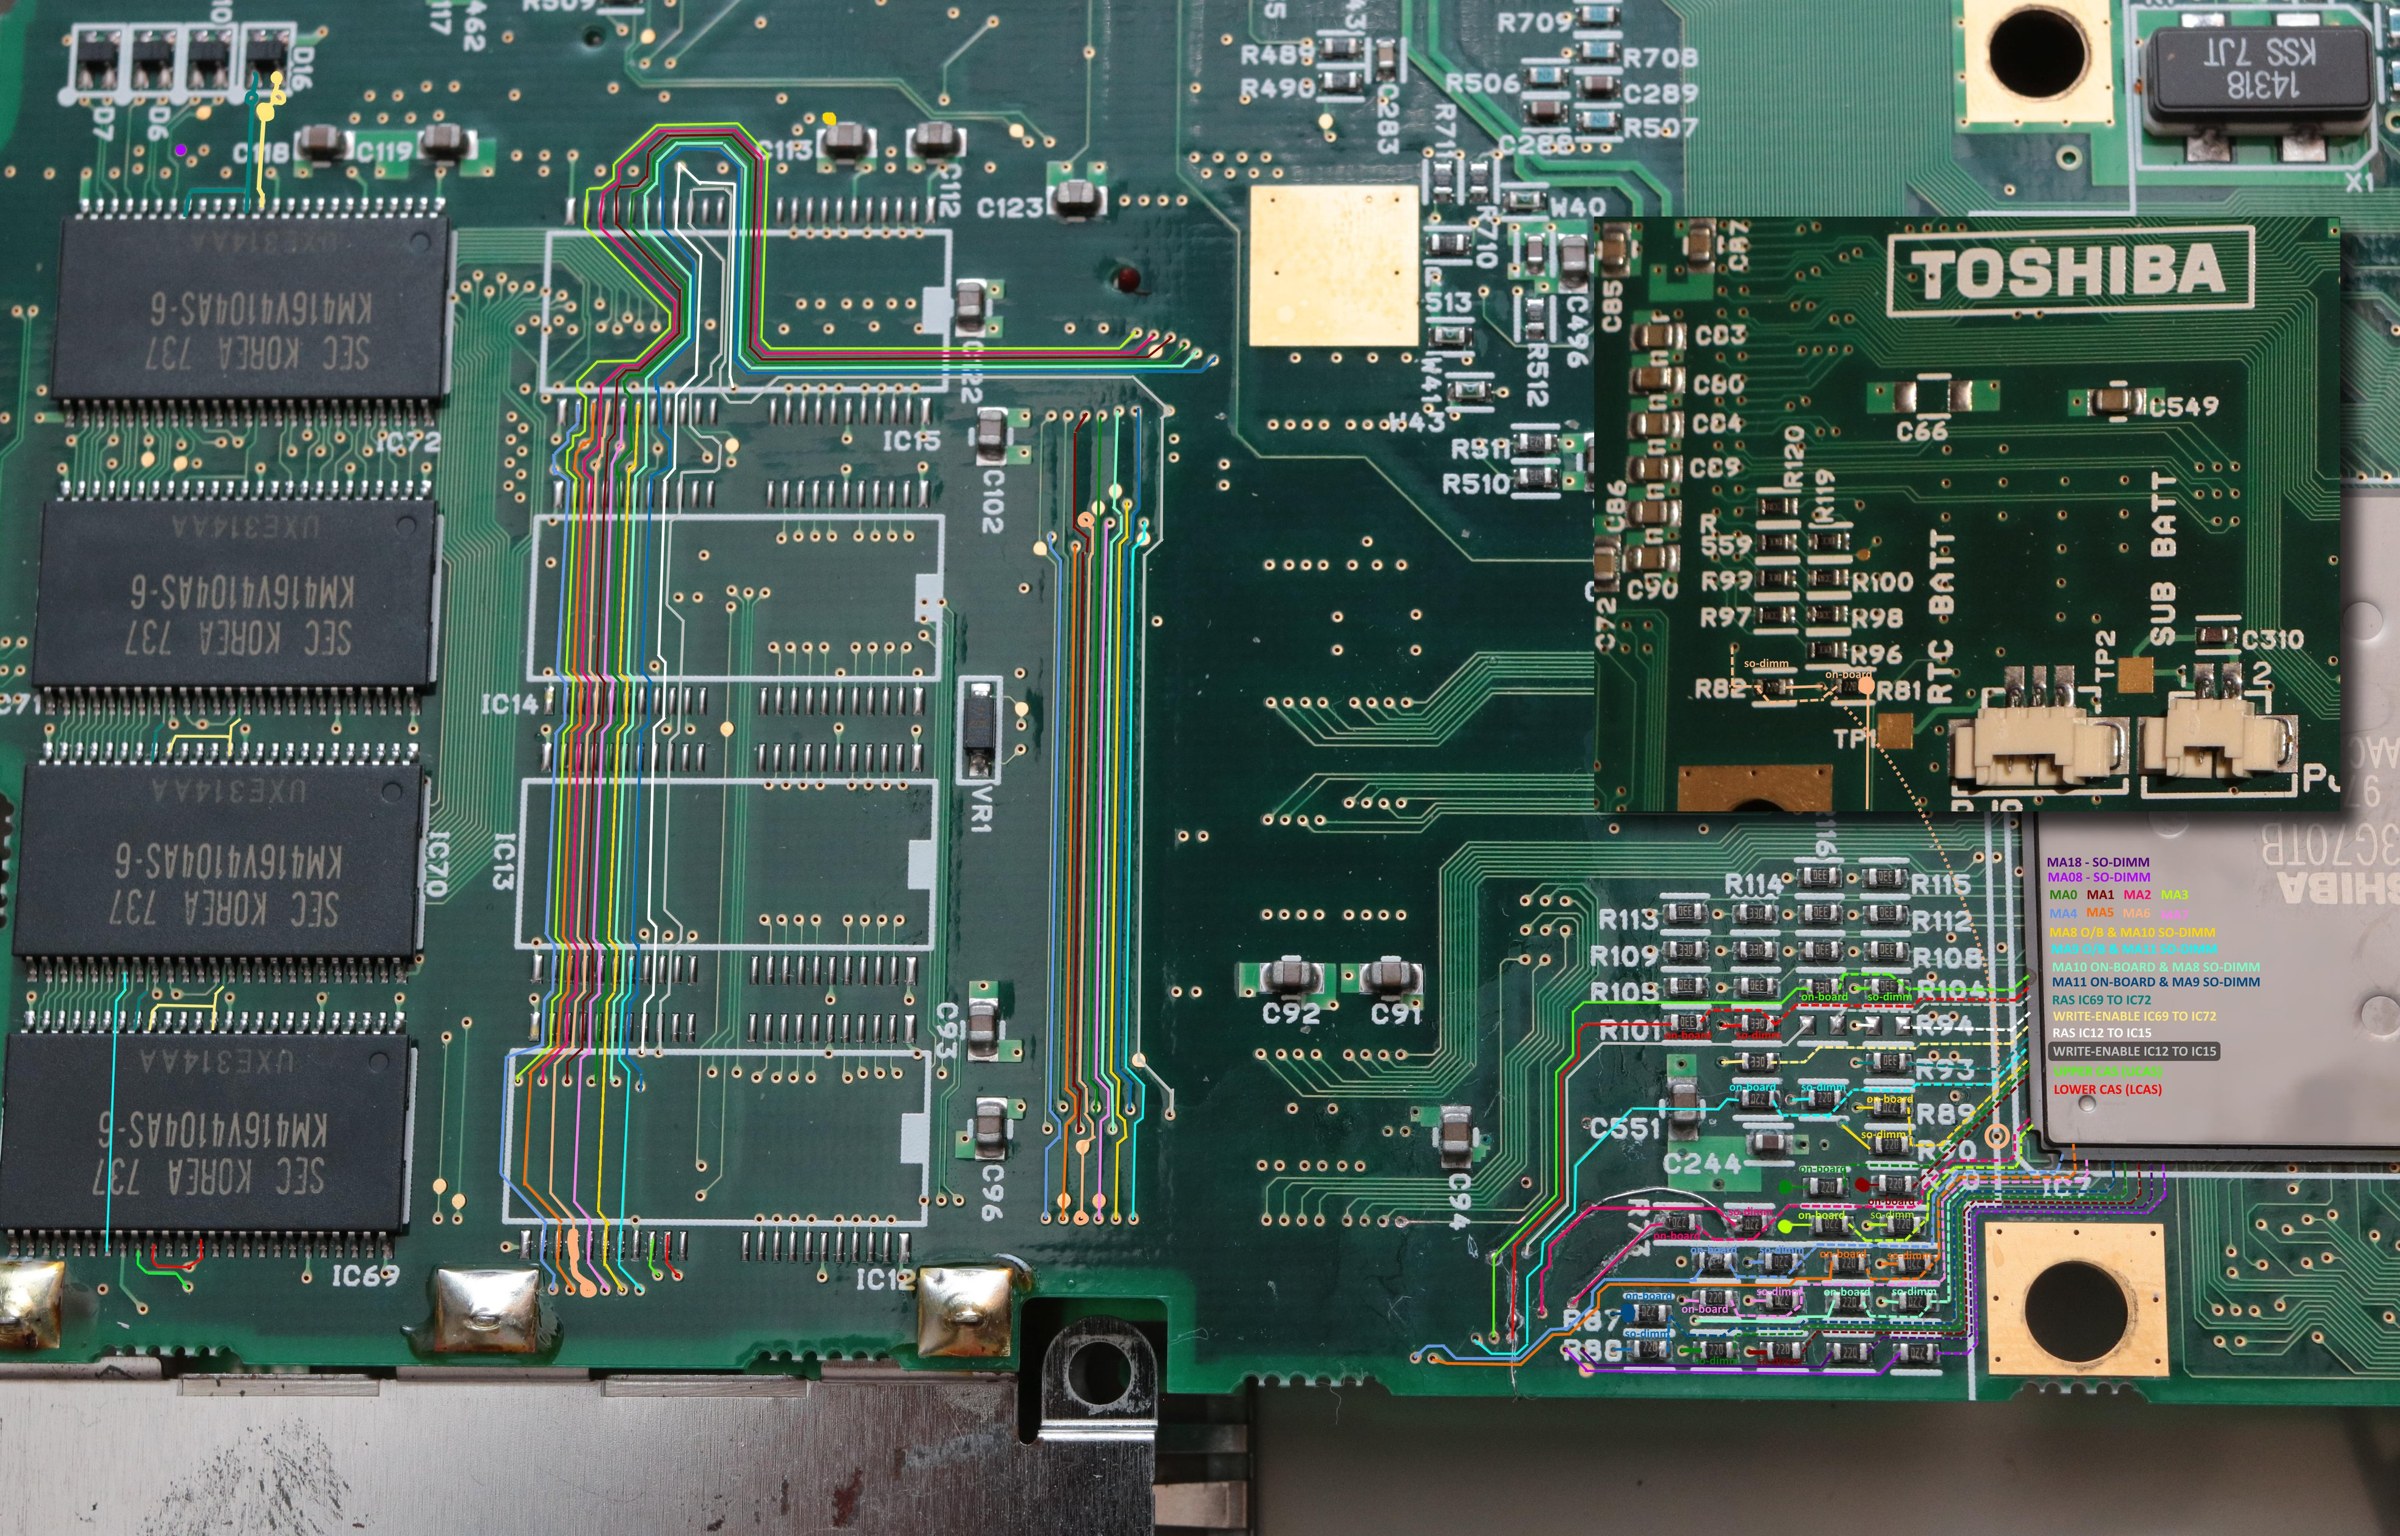
(Fig. 19: Thermalwrong's map of the memory address, RAS, CAS and Write-Enable lines on his 460CDT board. Picture by Thermalwrong, from his post on Vogons, licensed under CC BY 4.0)
The 440CDT has two banks of on-board memory: IC69 to IC72 and IC12 to IC15. On the 460CDT, only one bank is populated with 64Mbit chips. On the 440CDT and 230CX, both banks are populated with 16Mbit chips for 16MB.
With the datasheet of the RAM chips and the marked picture, I measured the supply pins first and then all the lines, one by one:
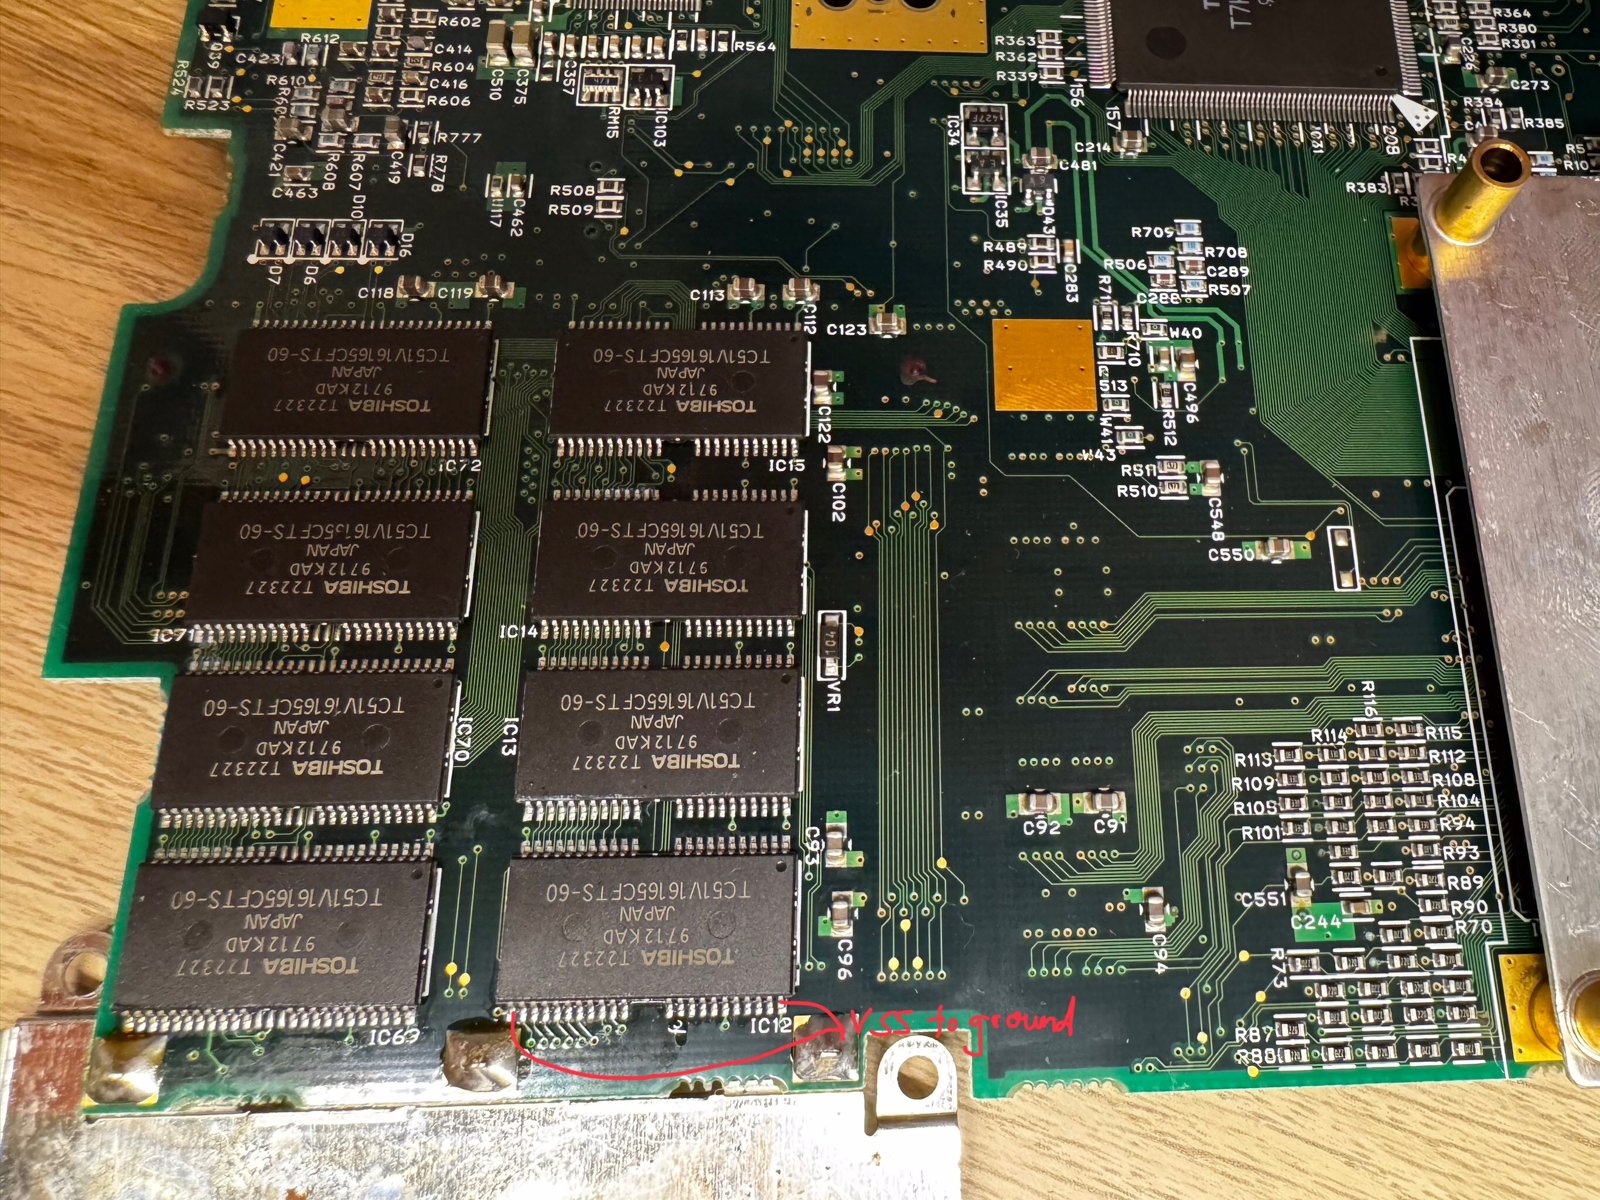
(Fig. 20: Measuring the Vss pins against ground)
And finally I found it:
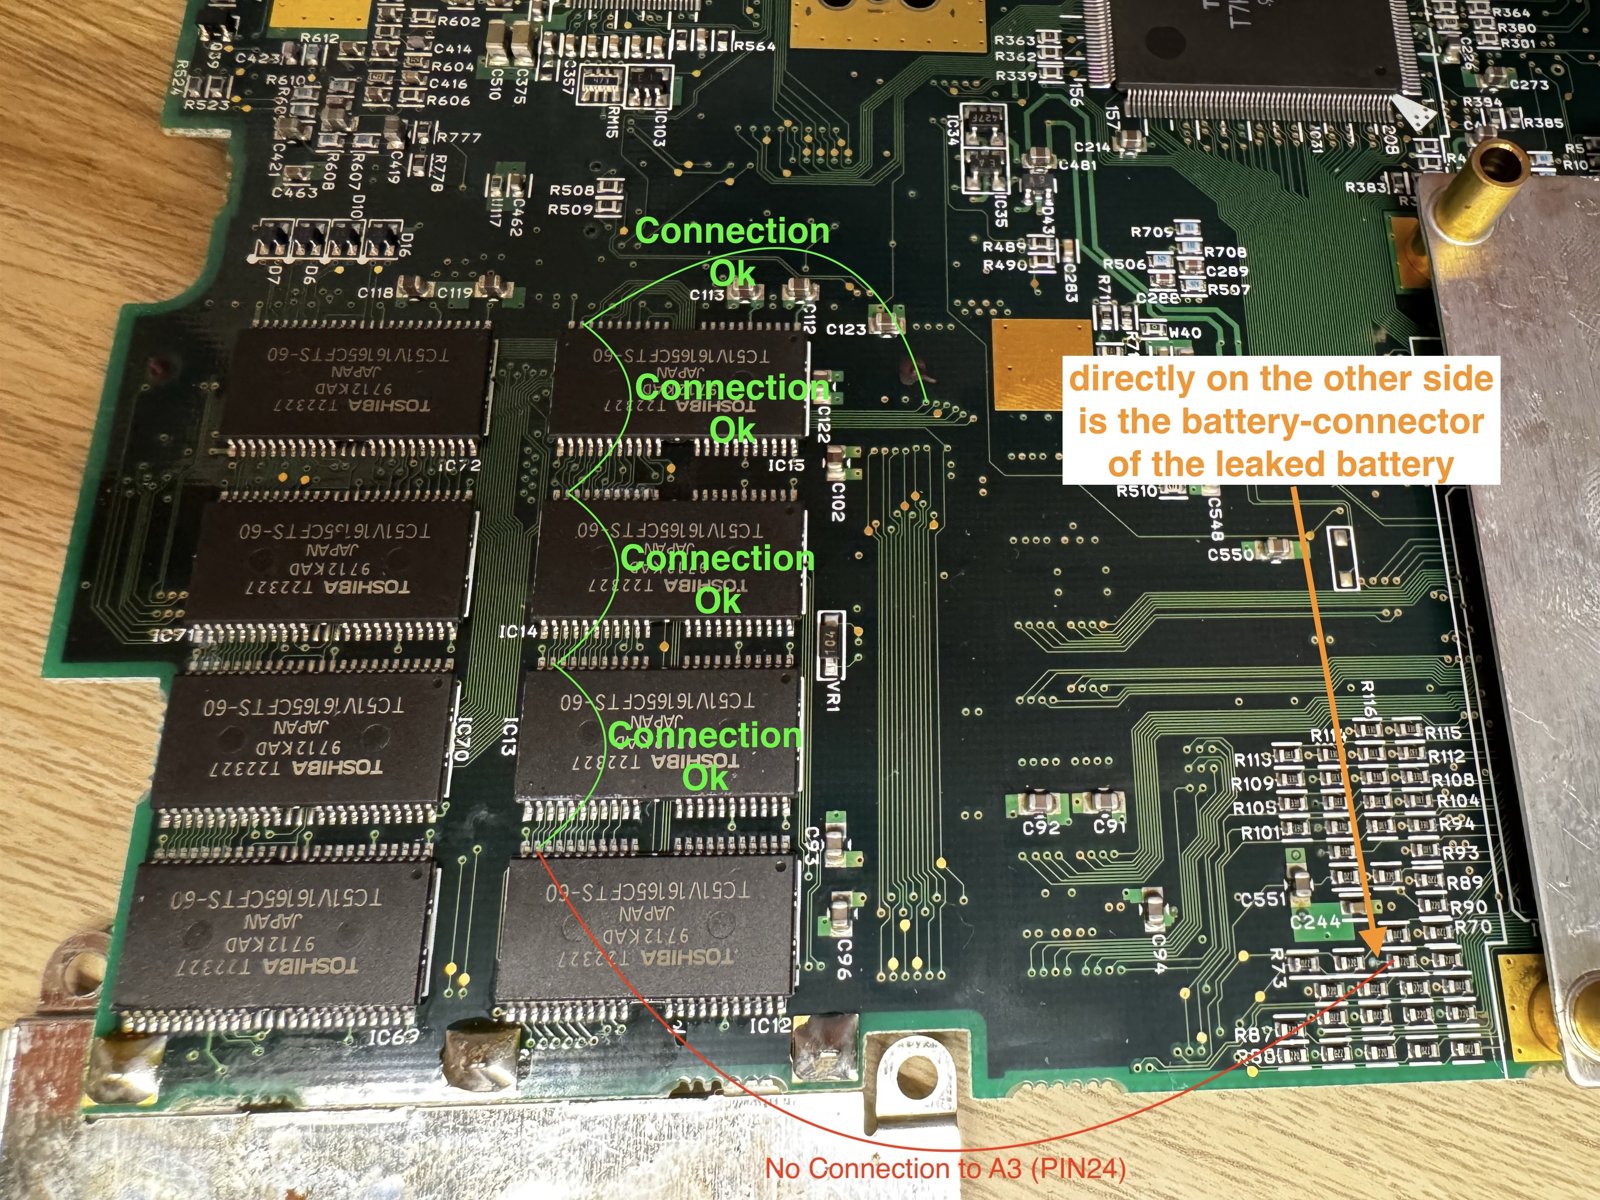
(Fig. 21: No connection to A3 (pin 24) - directly on the other side of the board is the connector of the leaked battery)
Address line A3 had no connection to pin 24 of the RAM chip. The battery connector of the leaked battery sits exactly on the other side of the board, behind the resistor.
The Patch Wire
I soldered a new wire from the resistor to pin 24 of the RAM chip. It is not pretty, and yes, this was the thinnest wire I had at hand:
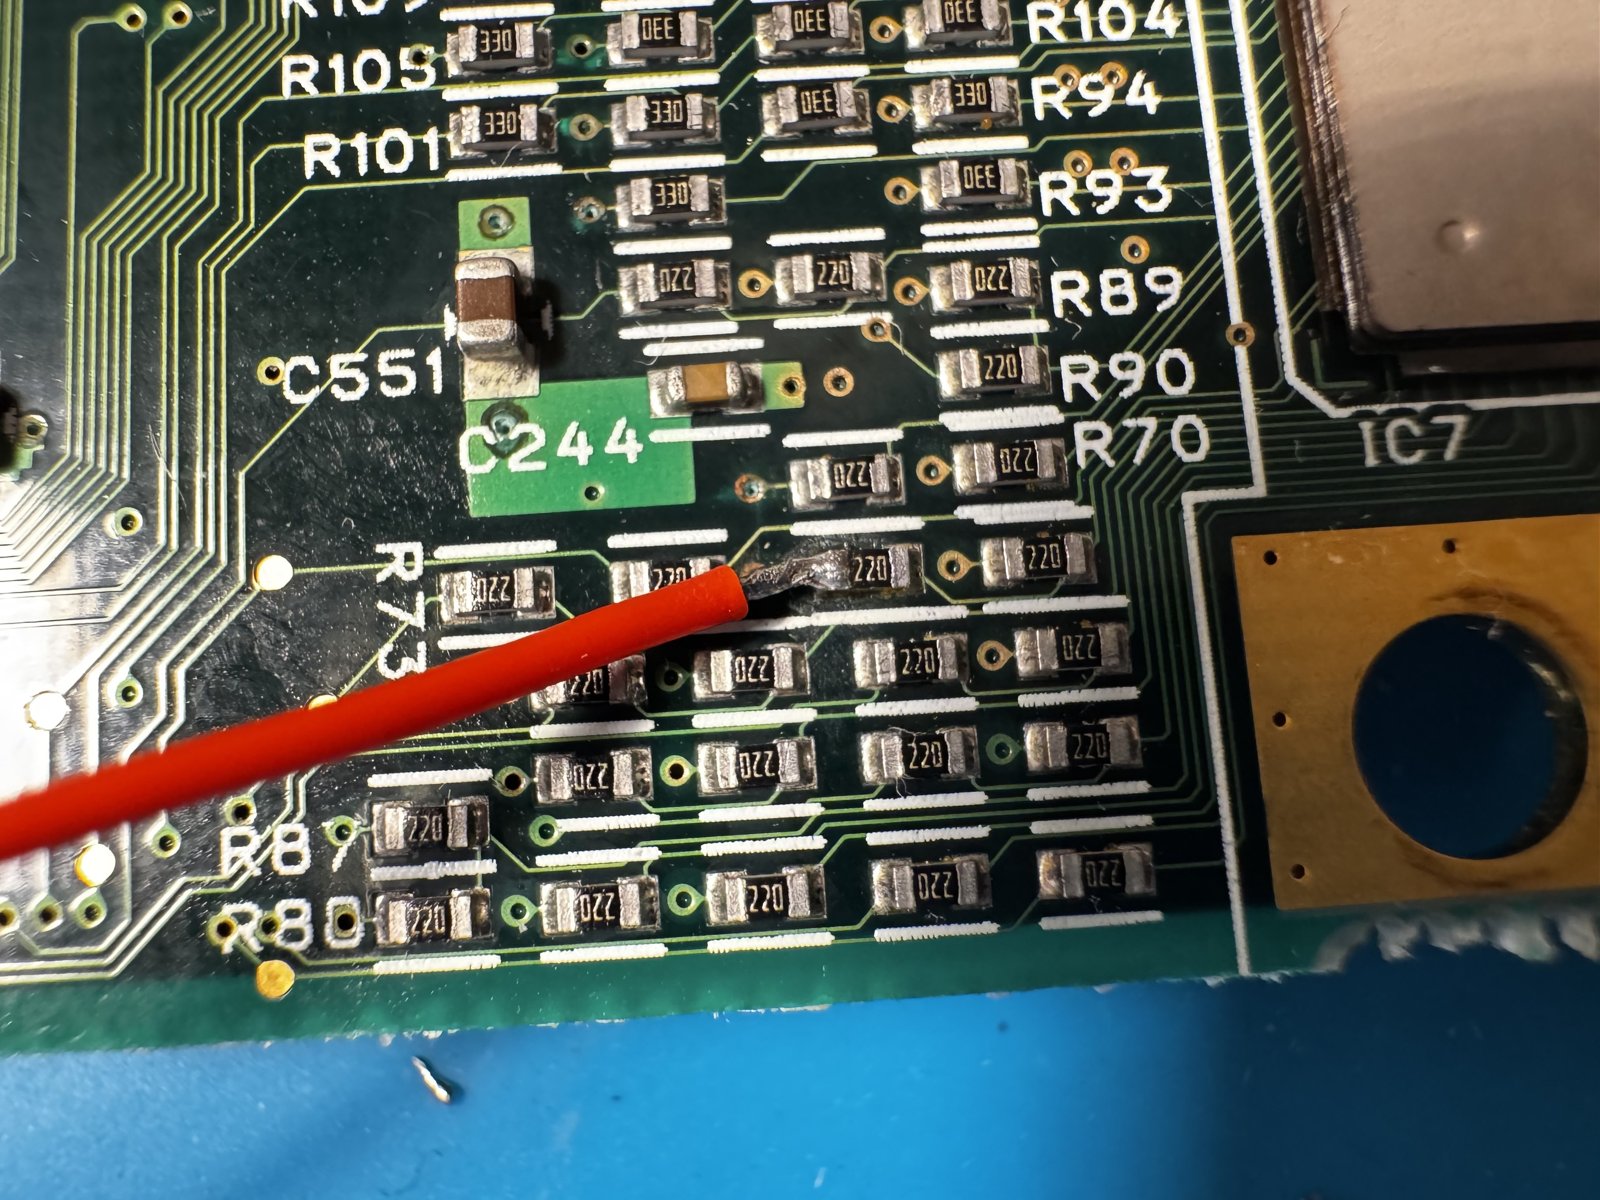
(Fig. 22: The wire on the resistor side. This was the easy part.)
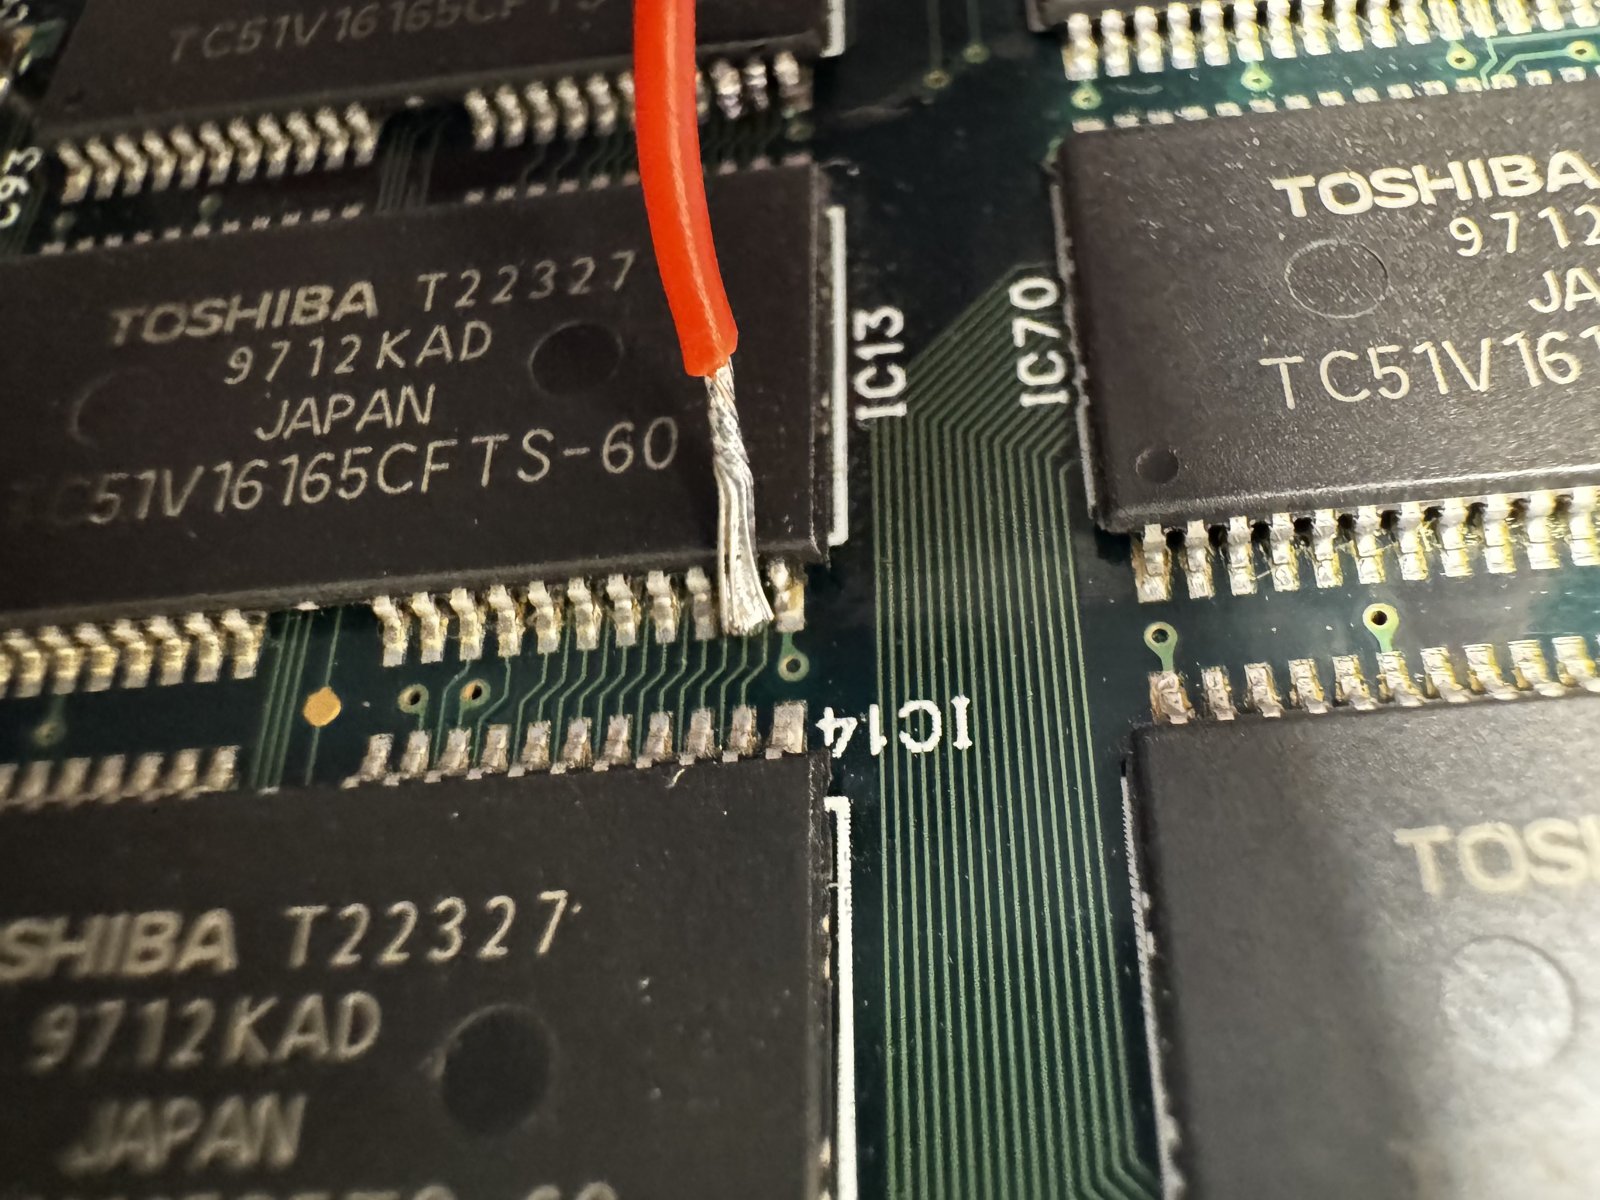
(Fig. 23: On pin 24 of the RAM chip. It took a few attempts, but the connection is right.)
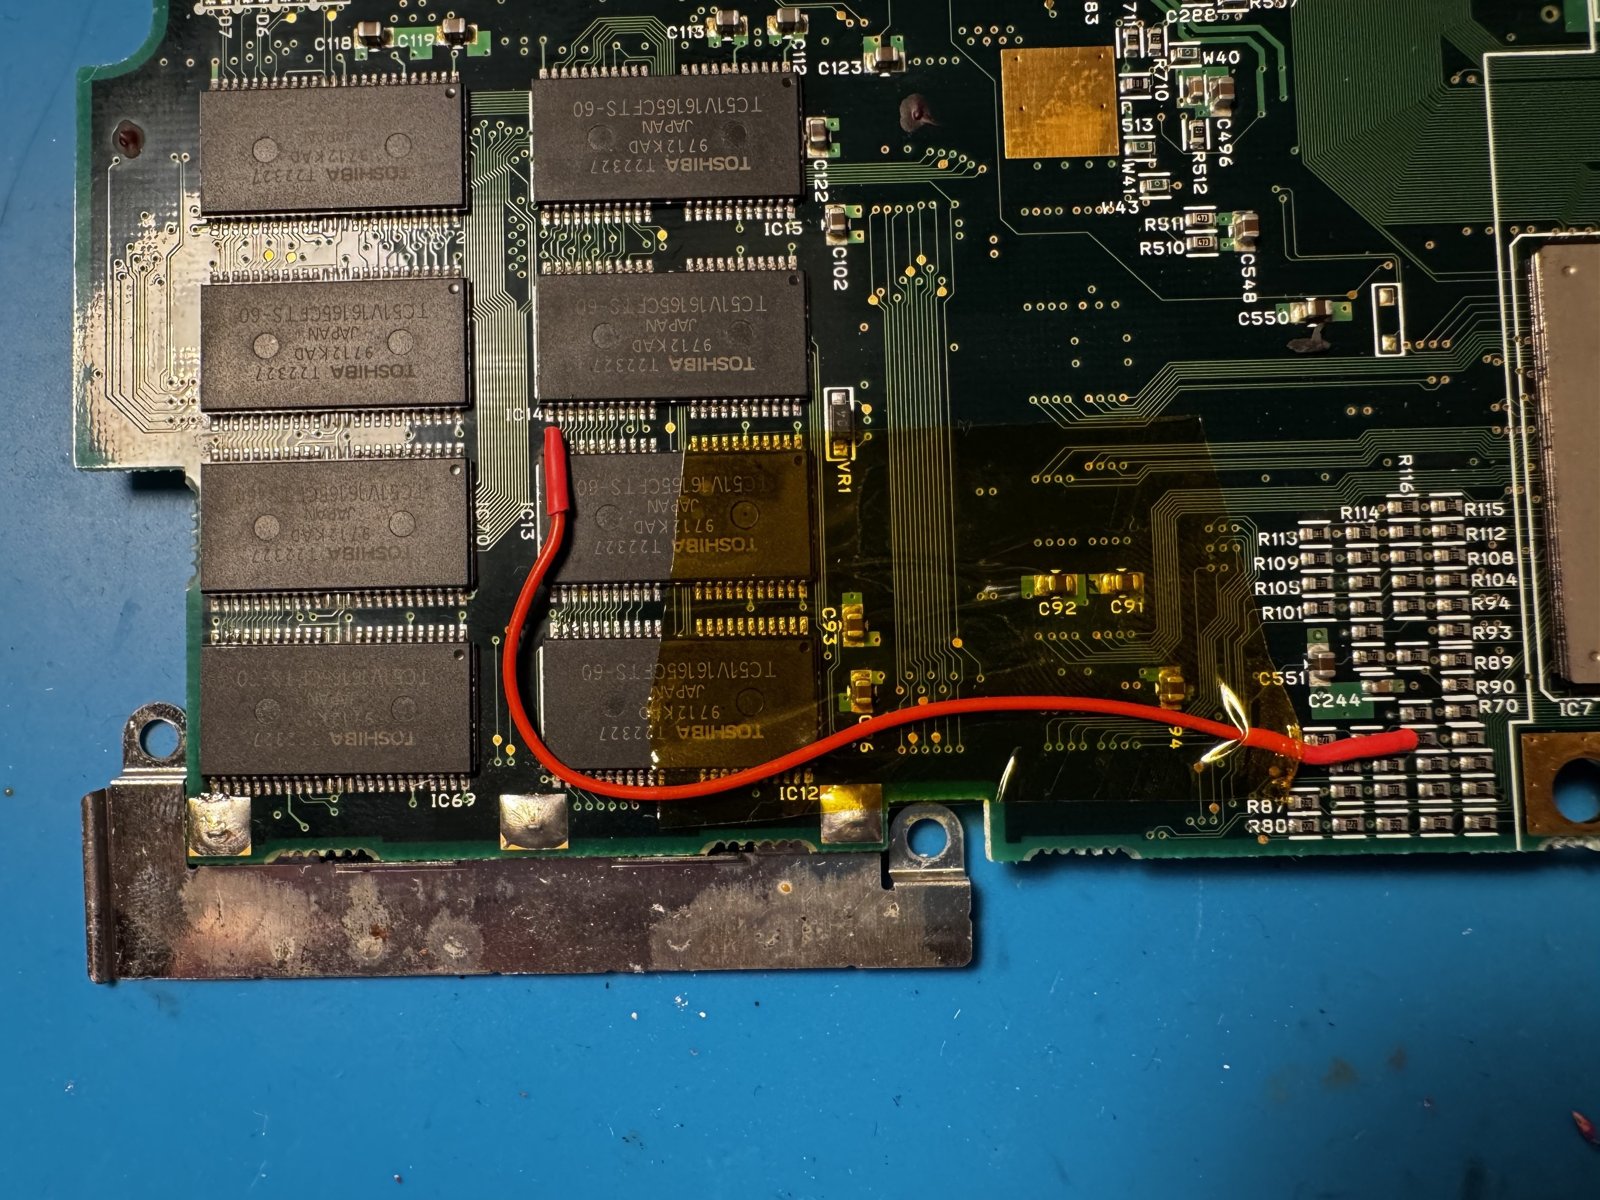
(Fig. 24: The new wire in full length)
Result
And it boots with only the on-board memory:
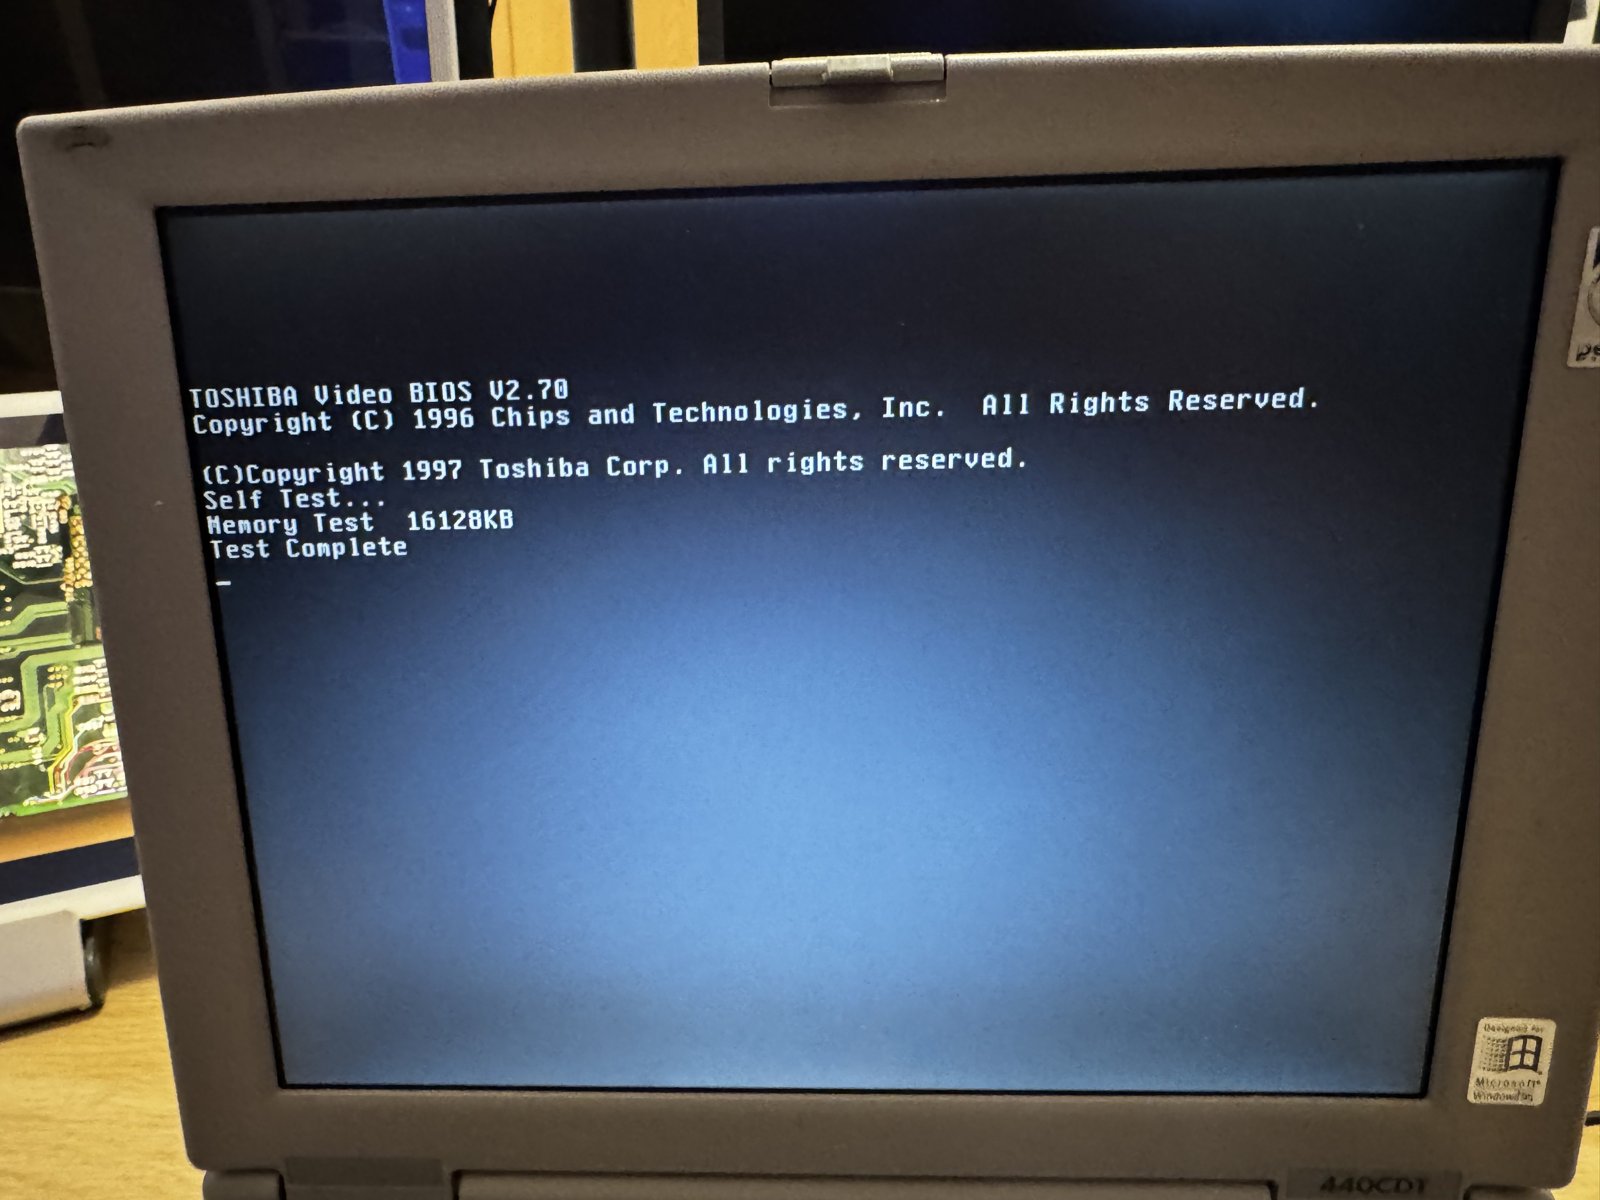
(Fig. 25: POST without a RAM module: 16128KB, no error)
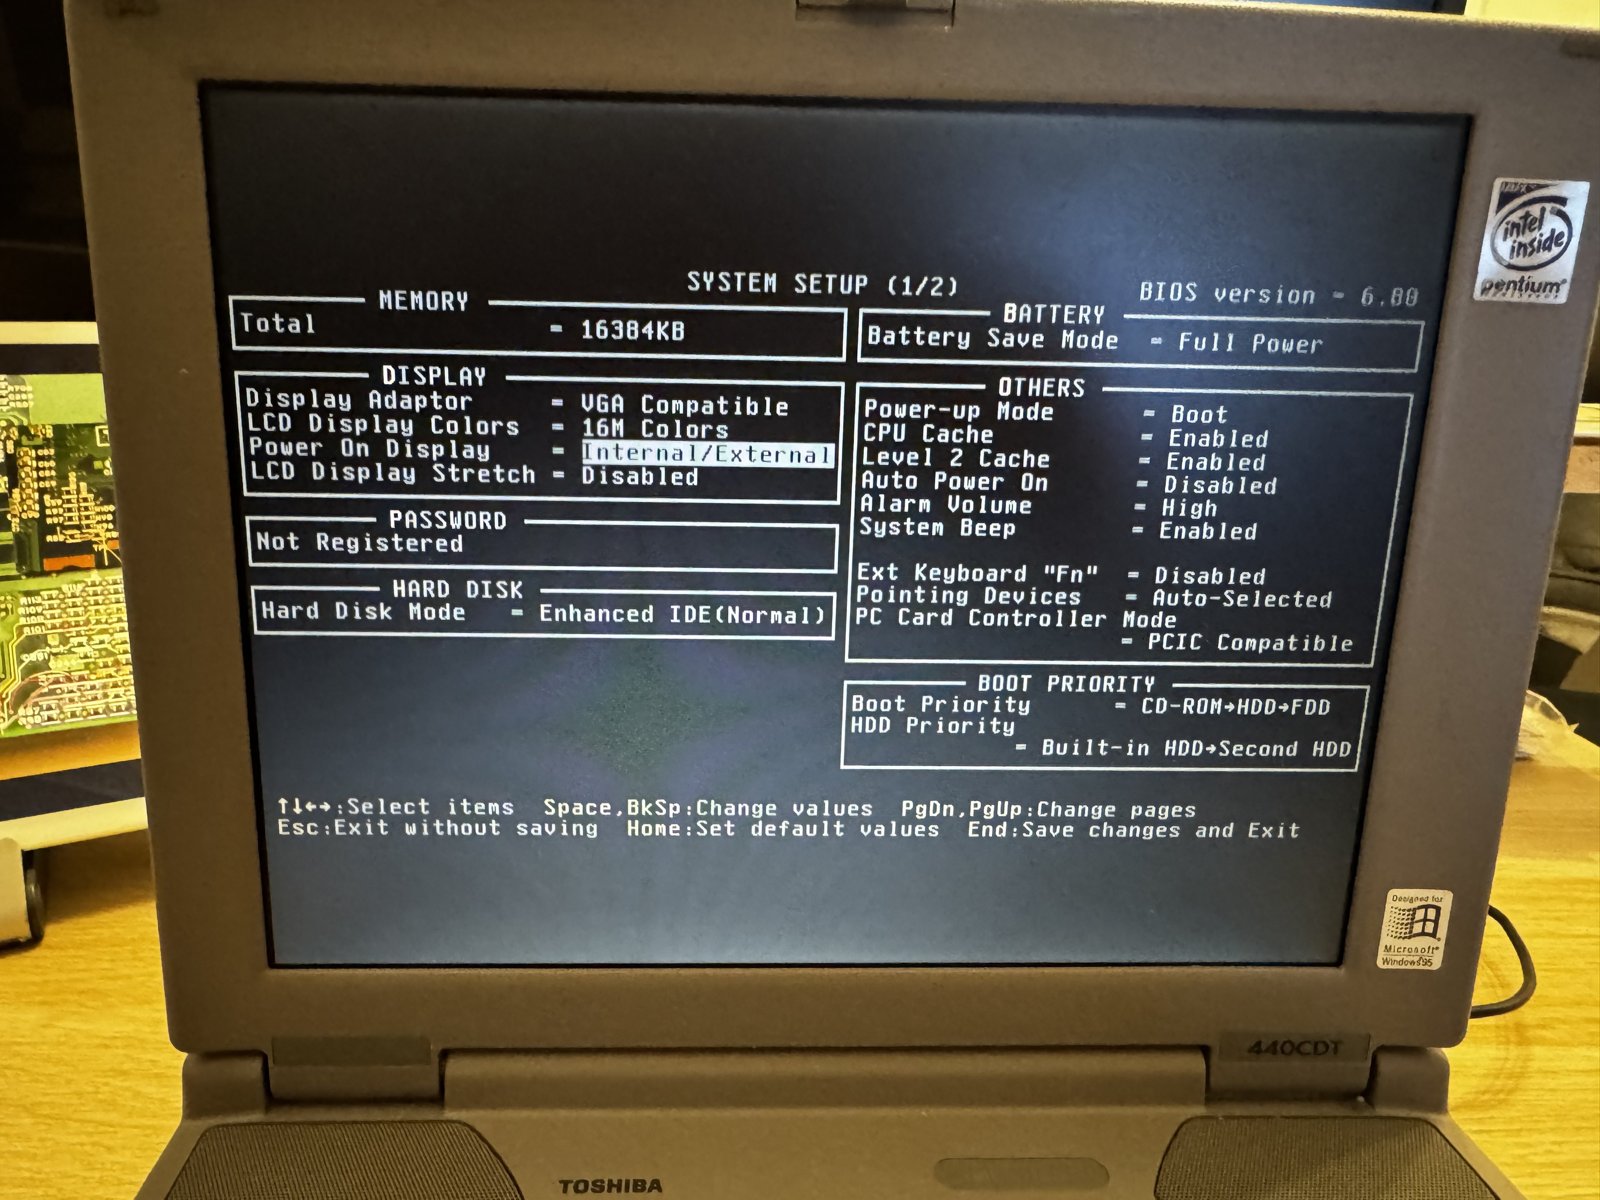
(Fig. 26: The BIOS shows 16384KB)
MemTest86 ran through without errors:
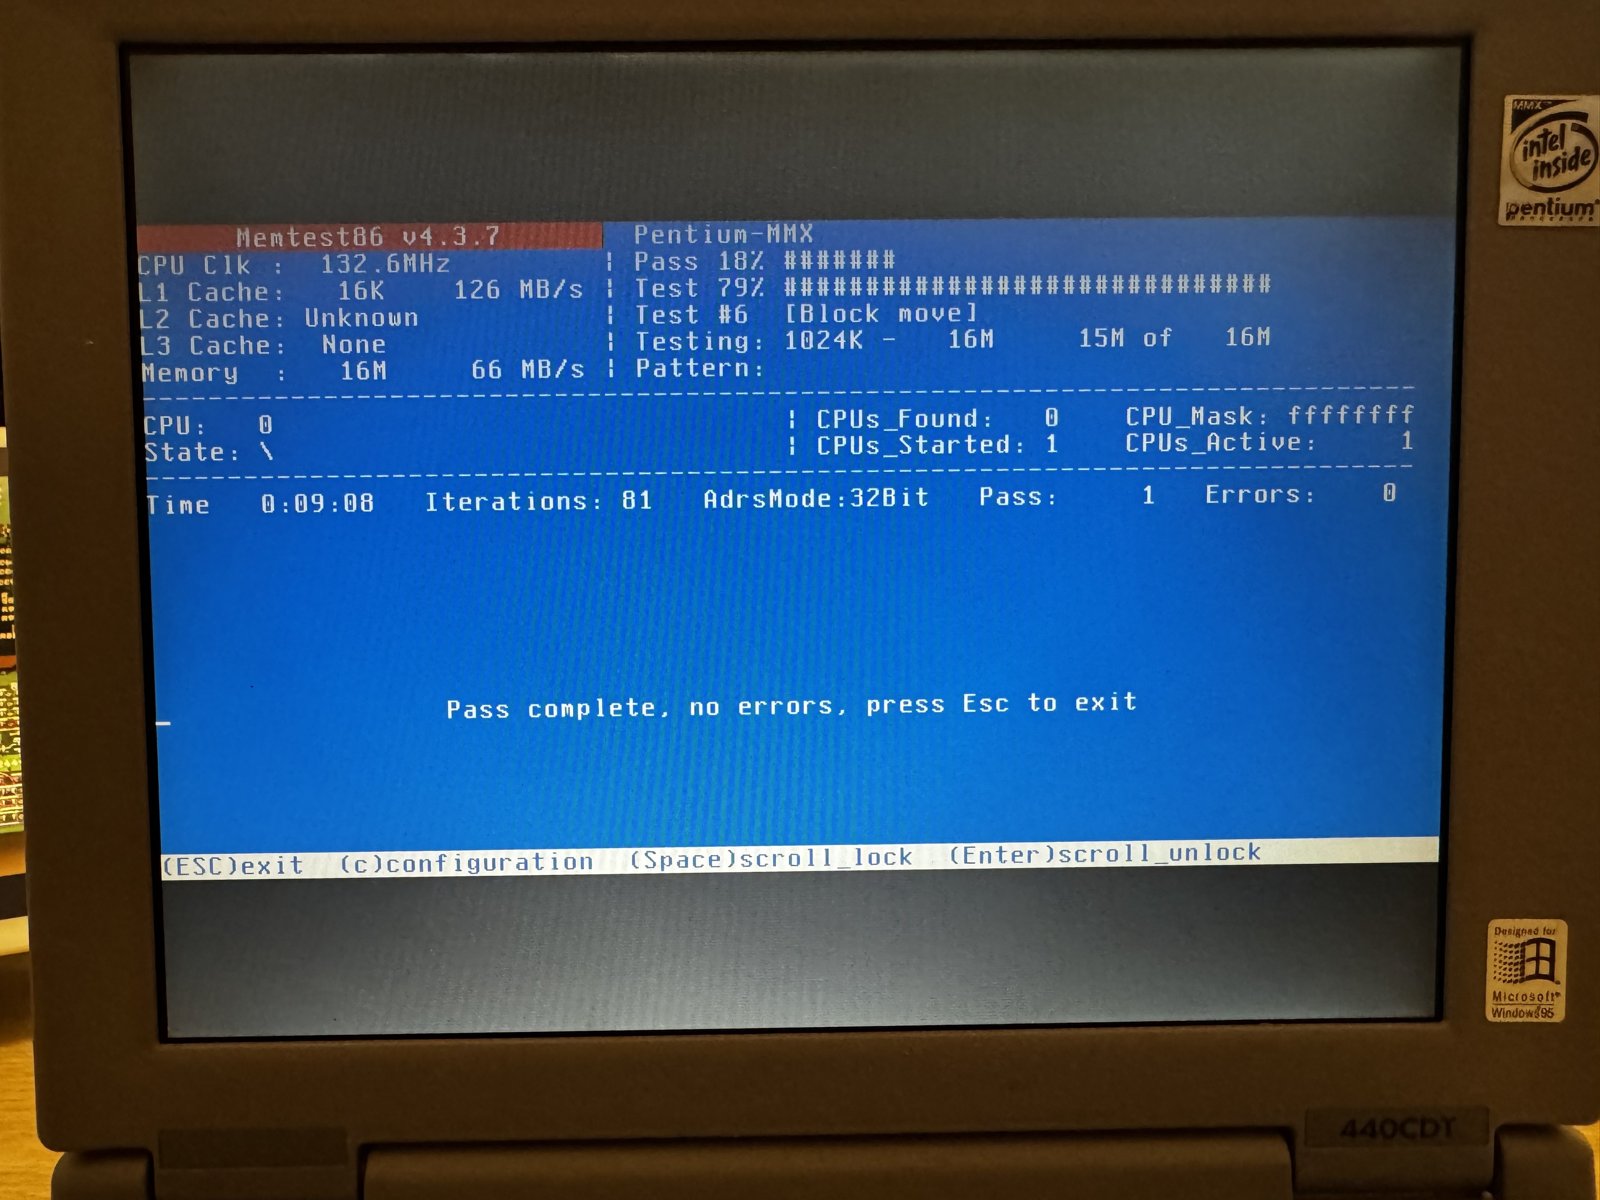
(Fig. 27: MemTest86: pass complete, no errors)
With the 32MB module back in, the Windows 95 setup started without the MS-DOS Extender error:
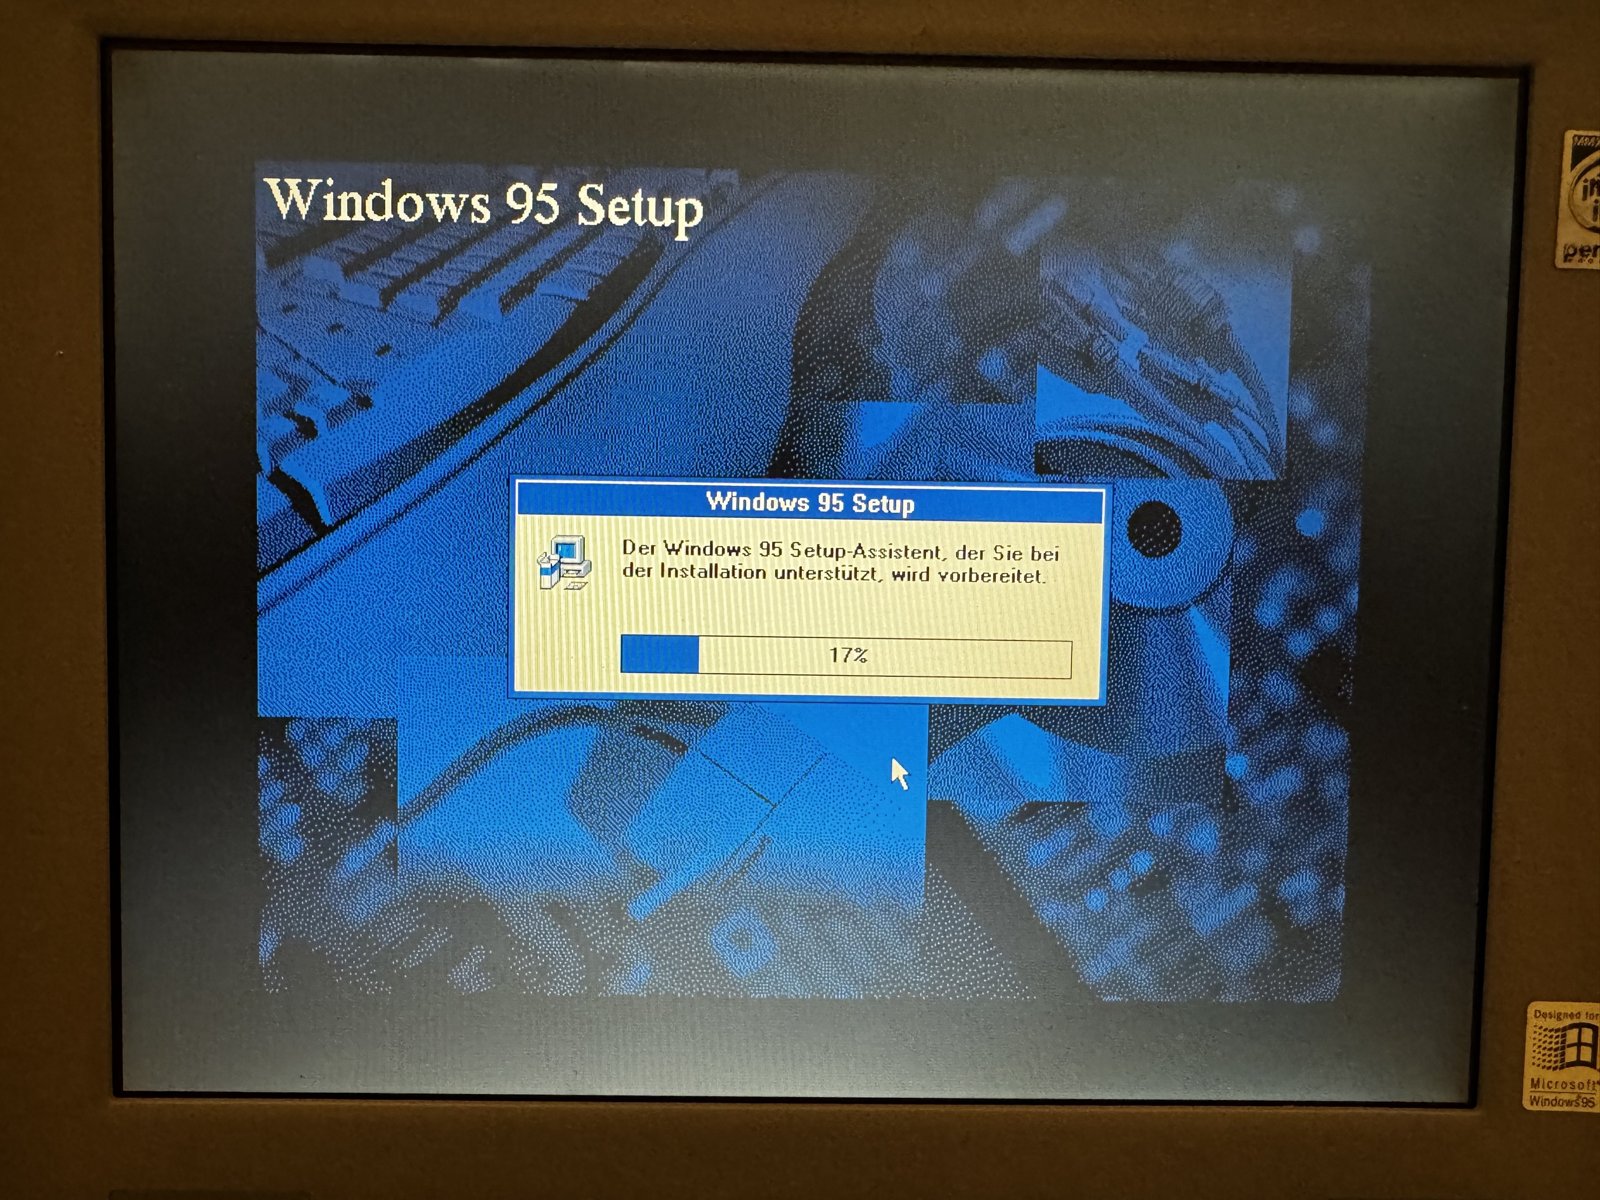
(Fig. 28: The Windows 95 setup finally runs)
Thermalwrong says the patch wire looks a bit big, but it is secured and insulated well, so it should be fine for a while. His own 460CDT board needed ten (!) fixes on broken vias and traces, which he describes in the thread. My repair was easy in comparison.
And the two floppy drives? Both only needed a new belt.