Caution: I won’t take any responsibility for any damage!
Hint: all images can be enlarged by downloading or opening them in a new tab.
Preparation
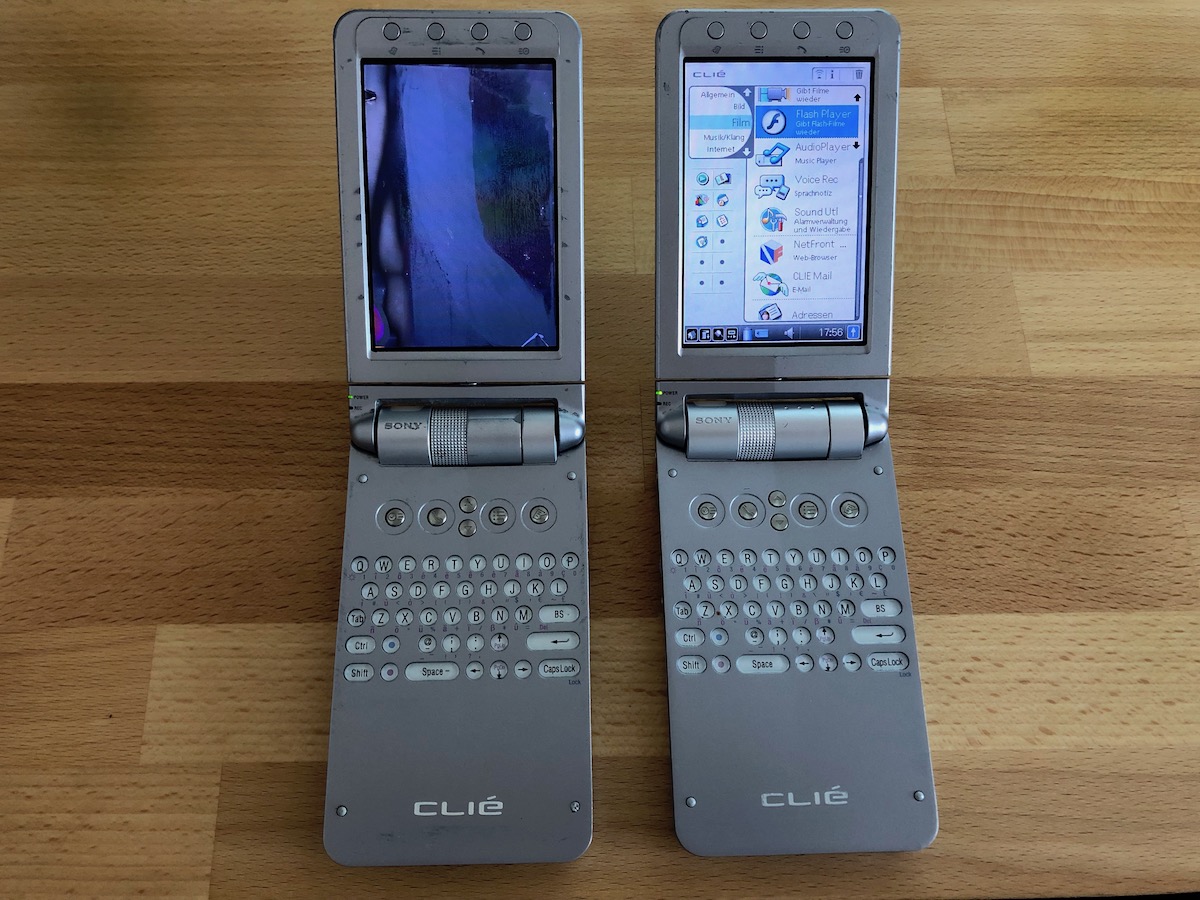
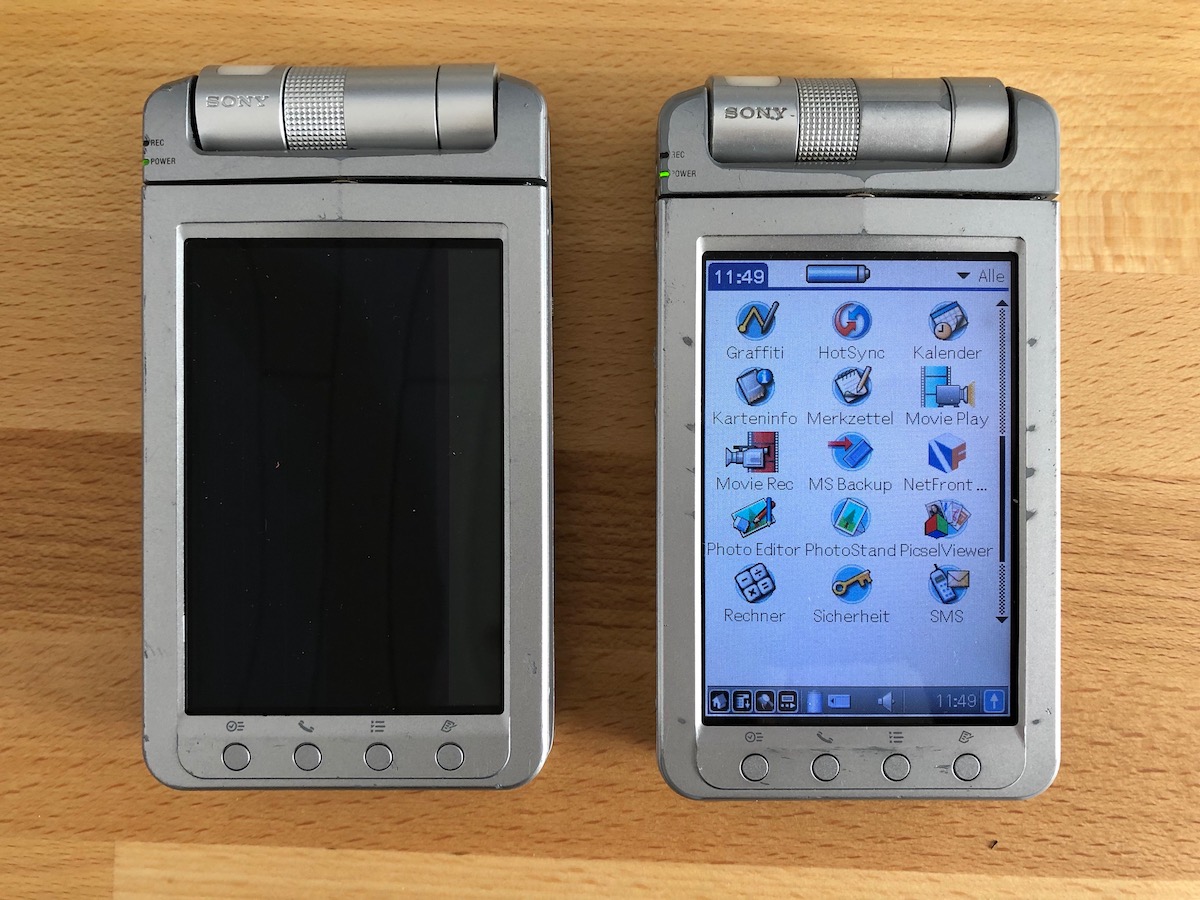
This is the original condition:
- One NX73V with a broken display, but a nicer housing (left).
- Another NX73V with a working display, but a bad housing (right).
Perform the next steps with the battery detached!
Disassembly
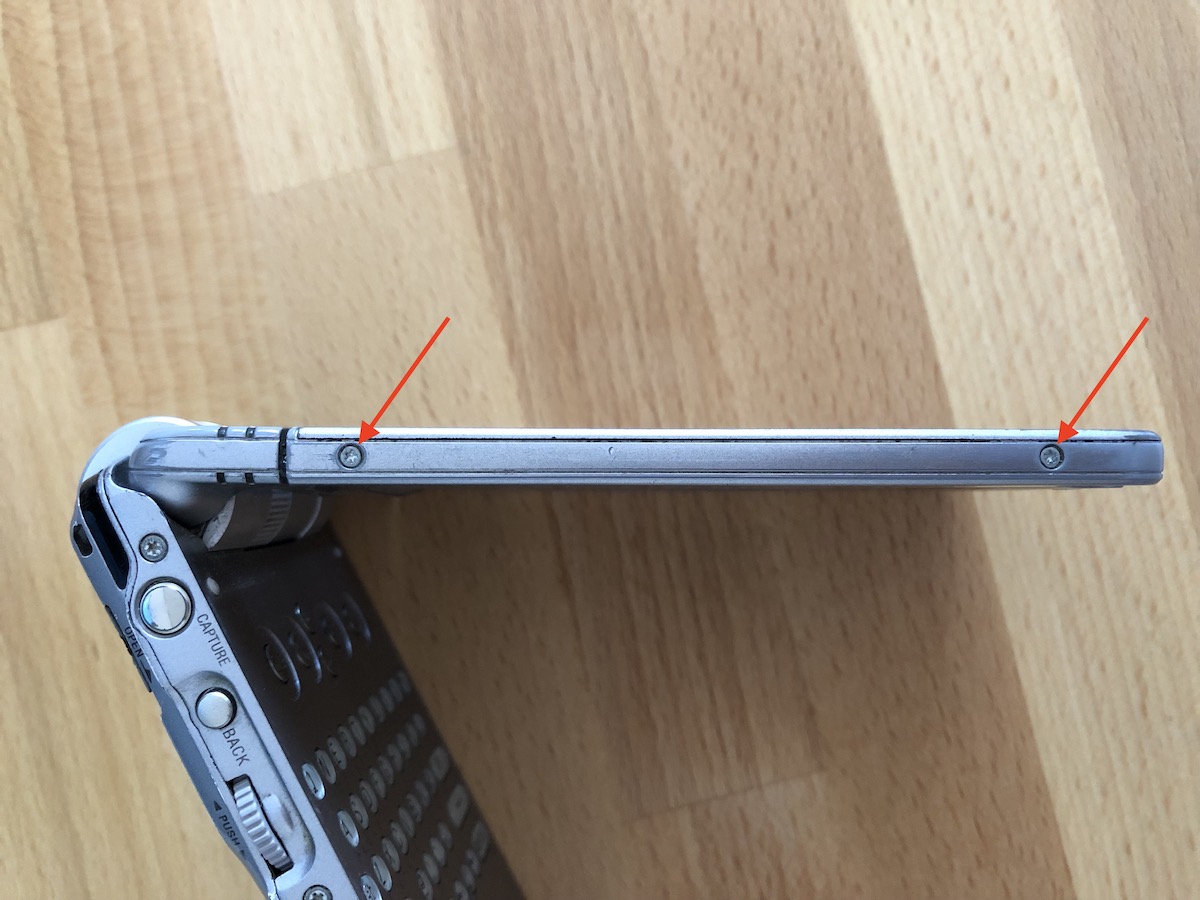
First, we need to unscrew these five-star screws. These are not pentalobe screws; they are some kind of security Torx screws without the pin in the middle (size T7 or T6). I wasn't able to find a fitting screwdriver, so I used a "Philips Ph000" screwdriver, which works fine with a little pressure.
(But be careful not to damage the screw heads, especially when they're tight!)
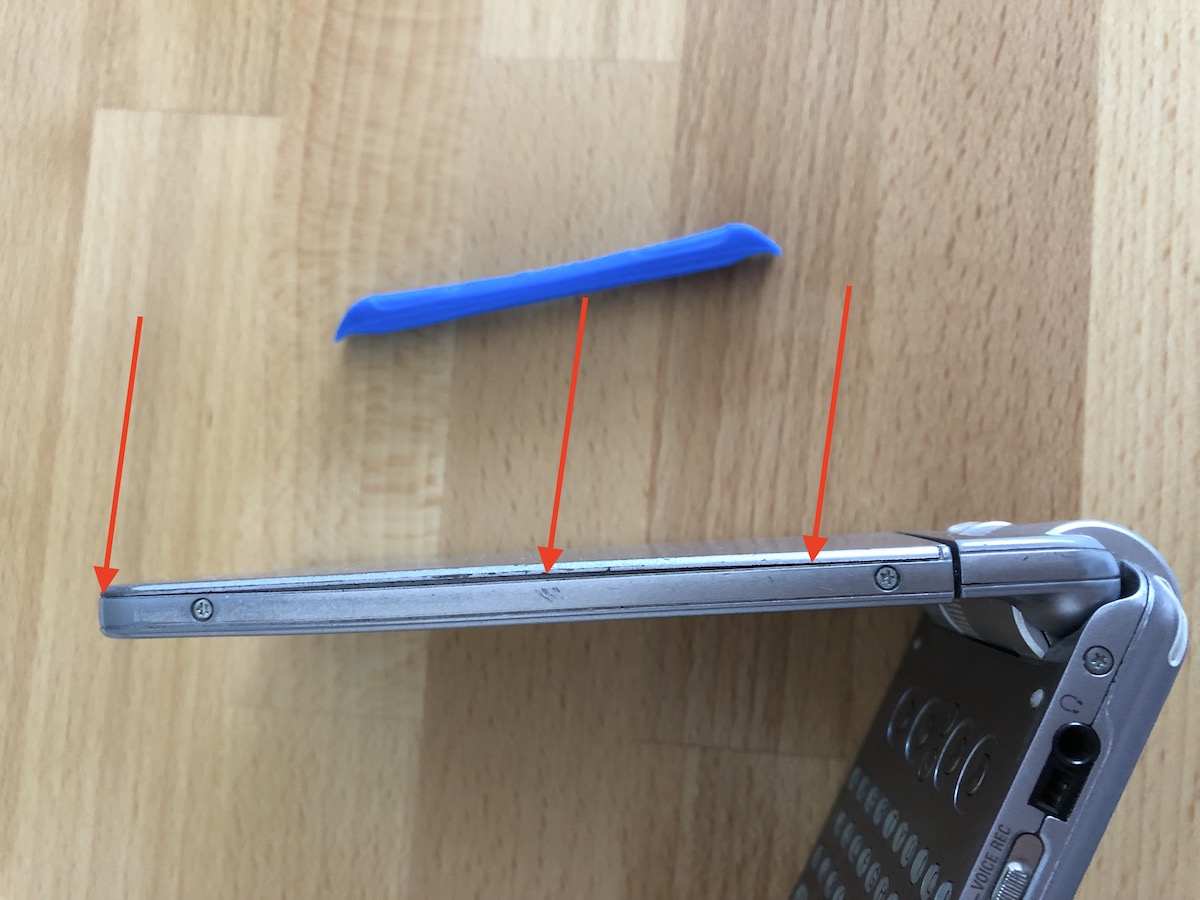
When the display is faced down (like in the "closed" position), we need to loosen the frame with a small and sharp-edged piece of plastic. I used the device opener from iFixit. We need to loosen the frame from all sides (left, right, and top).
(Make sure the screws are removed, not like shown in the picture!)
Carefully flip the screen over out of its housing.
Caution: The 4-button strip is not screwed in place, can fall off easily, and is only attached with a small cable!

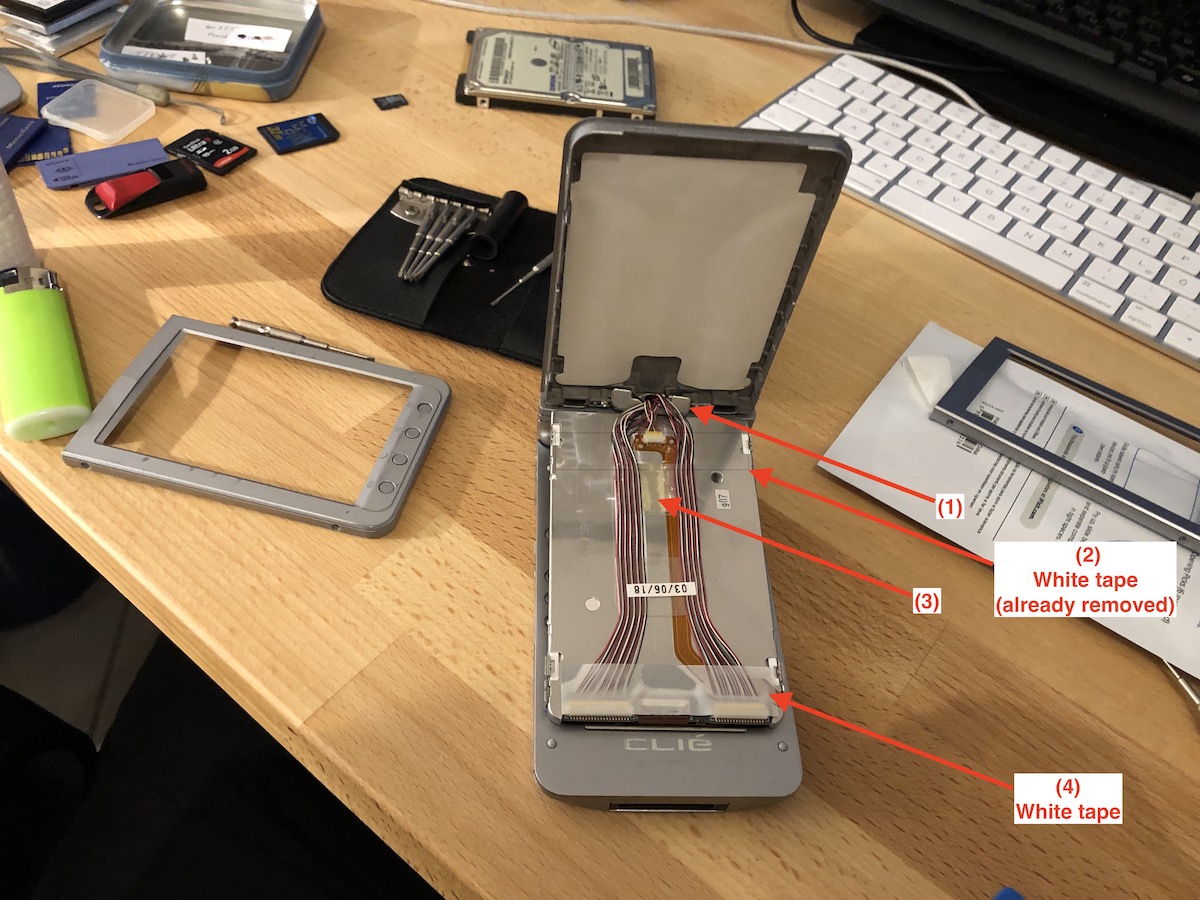
Carefully remove the white tape (4) and (2). Don't lose the small piece which holds the cables together (1). (If it falls off, it is fine; just replace it after the display change.) Carefully lift the cables from the sticky pad (3).
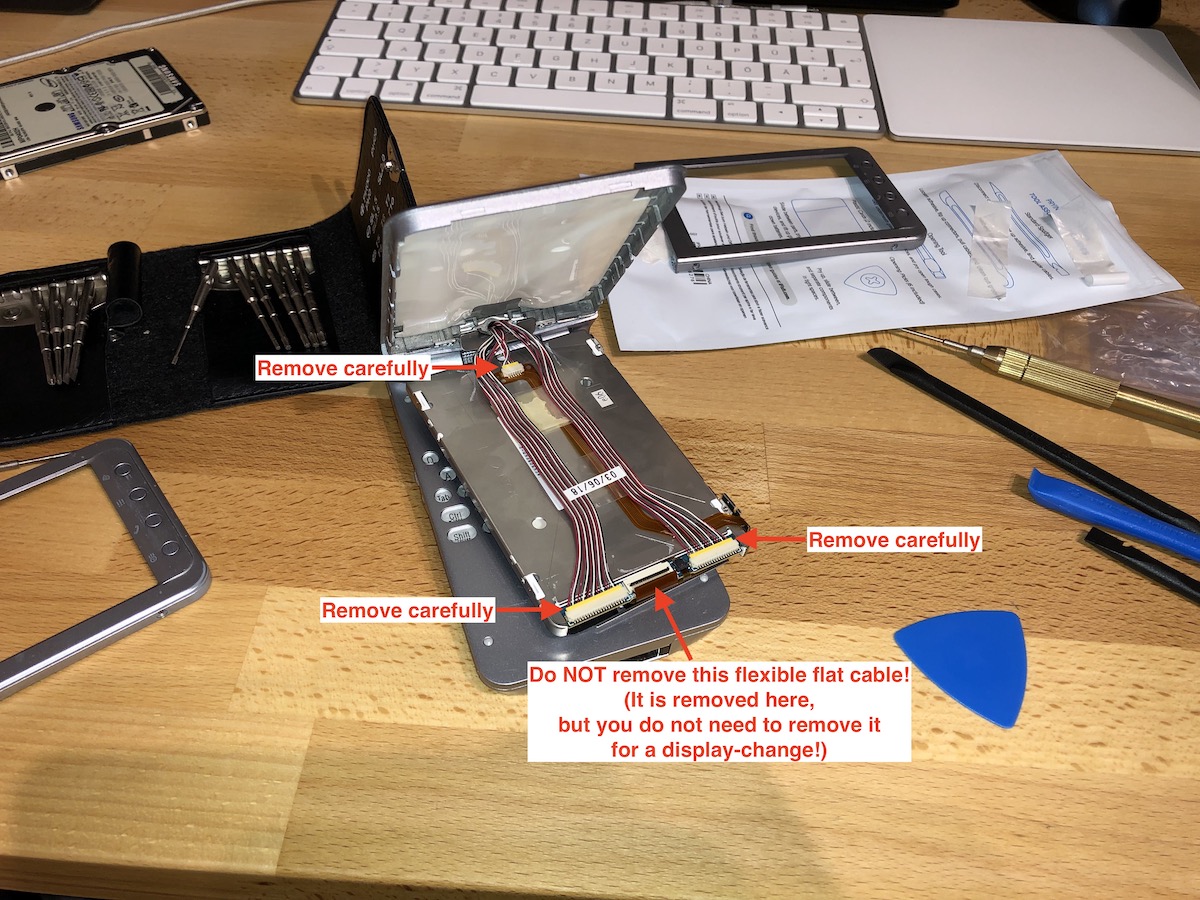
The last step is to carefully unplug all three yellow connectors. And that's it. You are now able to remove the display unit and replace it with another one.
Reassembly
To reassemble the PDA, just follow all the steps in reverse. At the end, you should have an "all new" working NX73V (and a broken one).
