Category: Projects Related to Palm OS PDAs
3D-Rendering of a Palm Pilot
Published on: 2019-10-27
Hint: All images can be enlarged by downloading or opening them in a new tab.
After discovering the "Blender 2.8 Beginner Tutorial Series" from "Blender Guru" and working through Level 1 and 2, I decided to work on my own project. This is my first rendering after this tutorial and a subject in "Maya Modelling" back in 2013/2014. Thematically it is very similar to the other projects on this website:
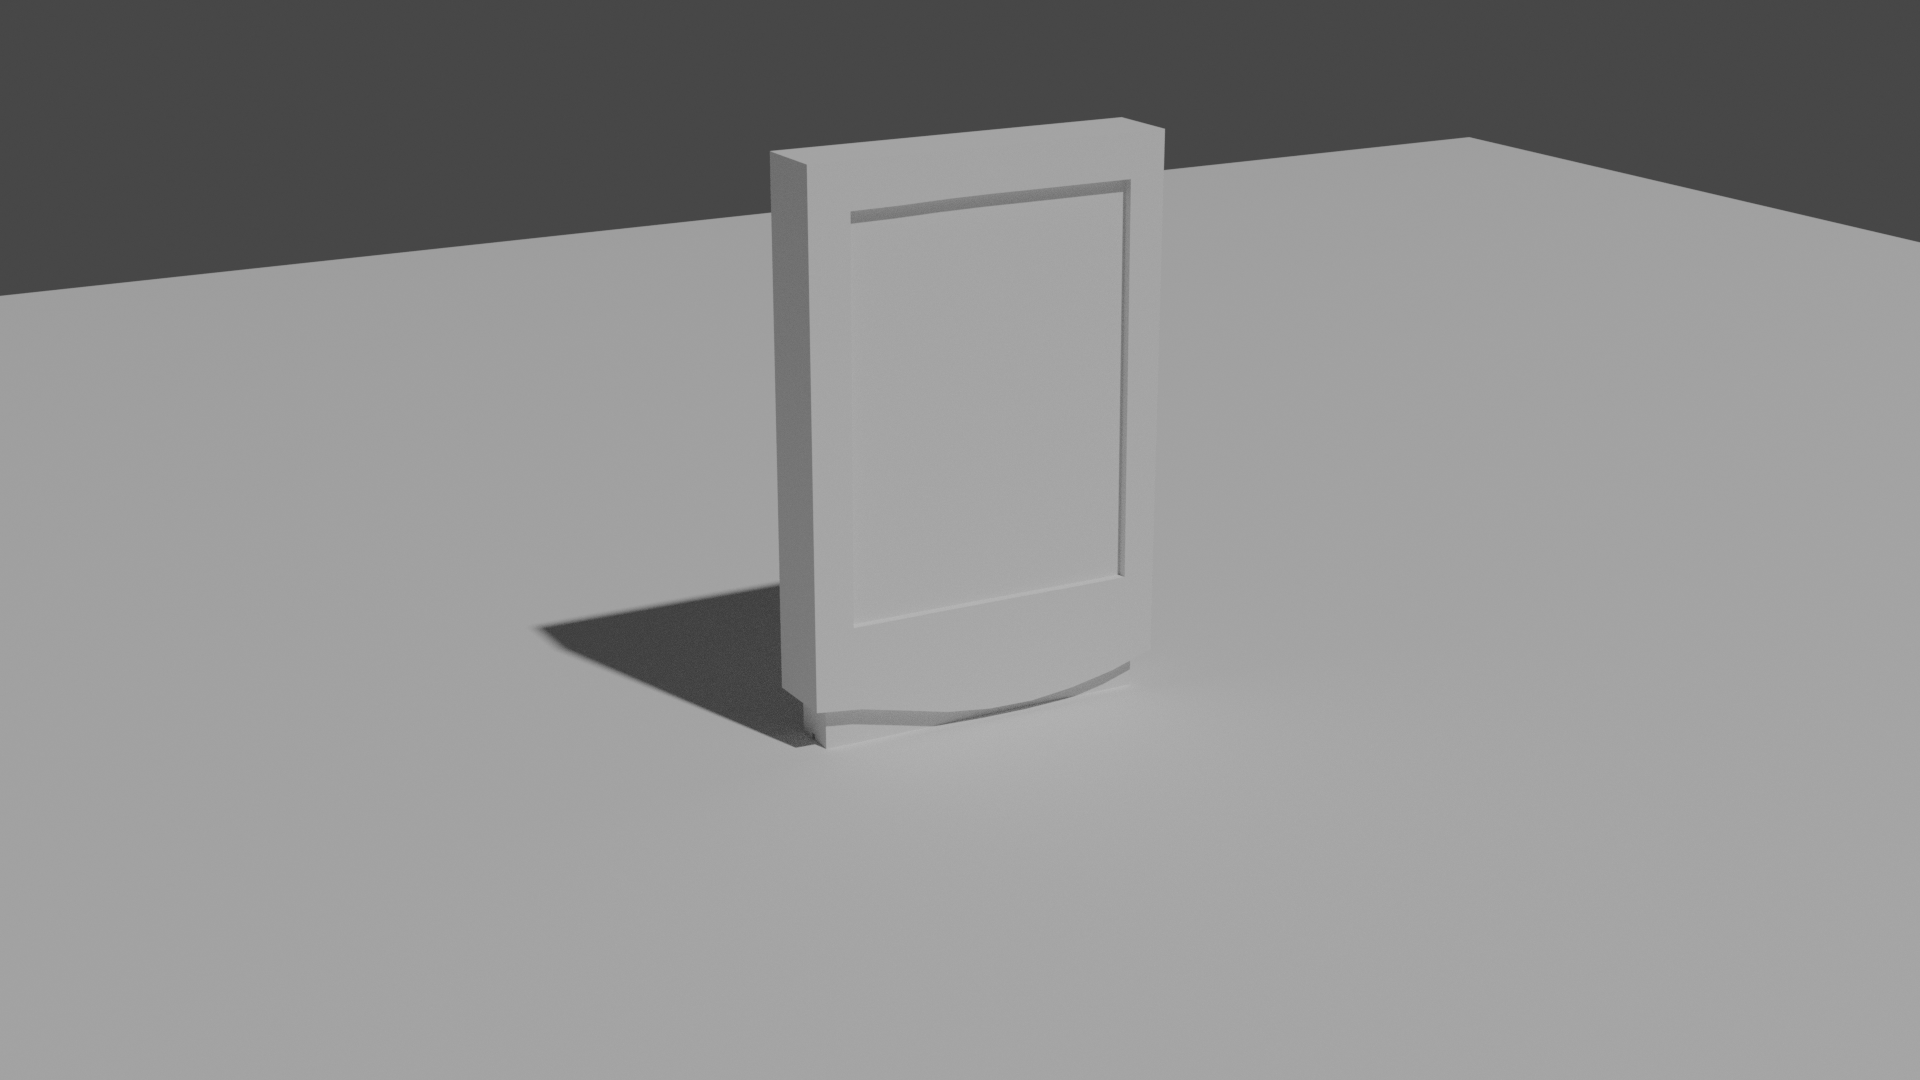
#1: A very basic shape of the Palm Pilot.
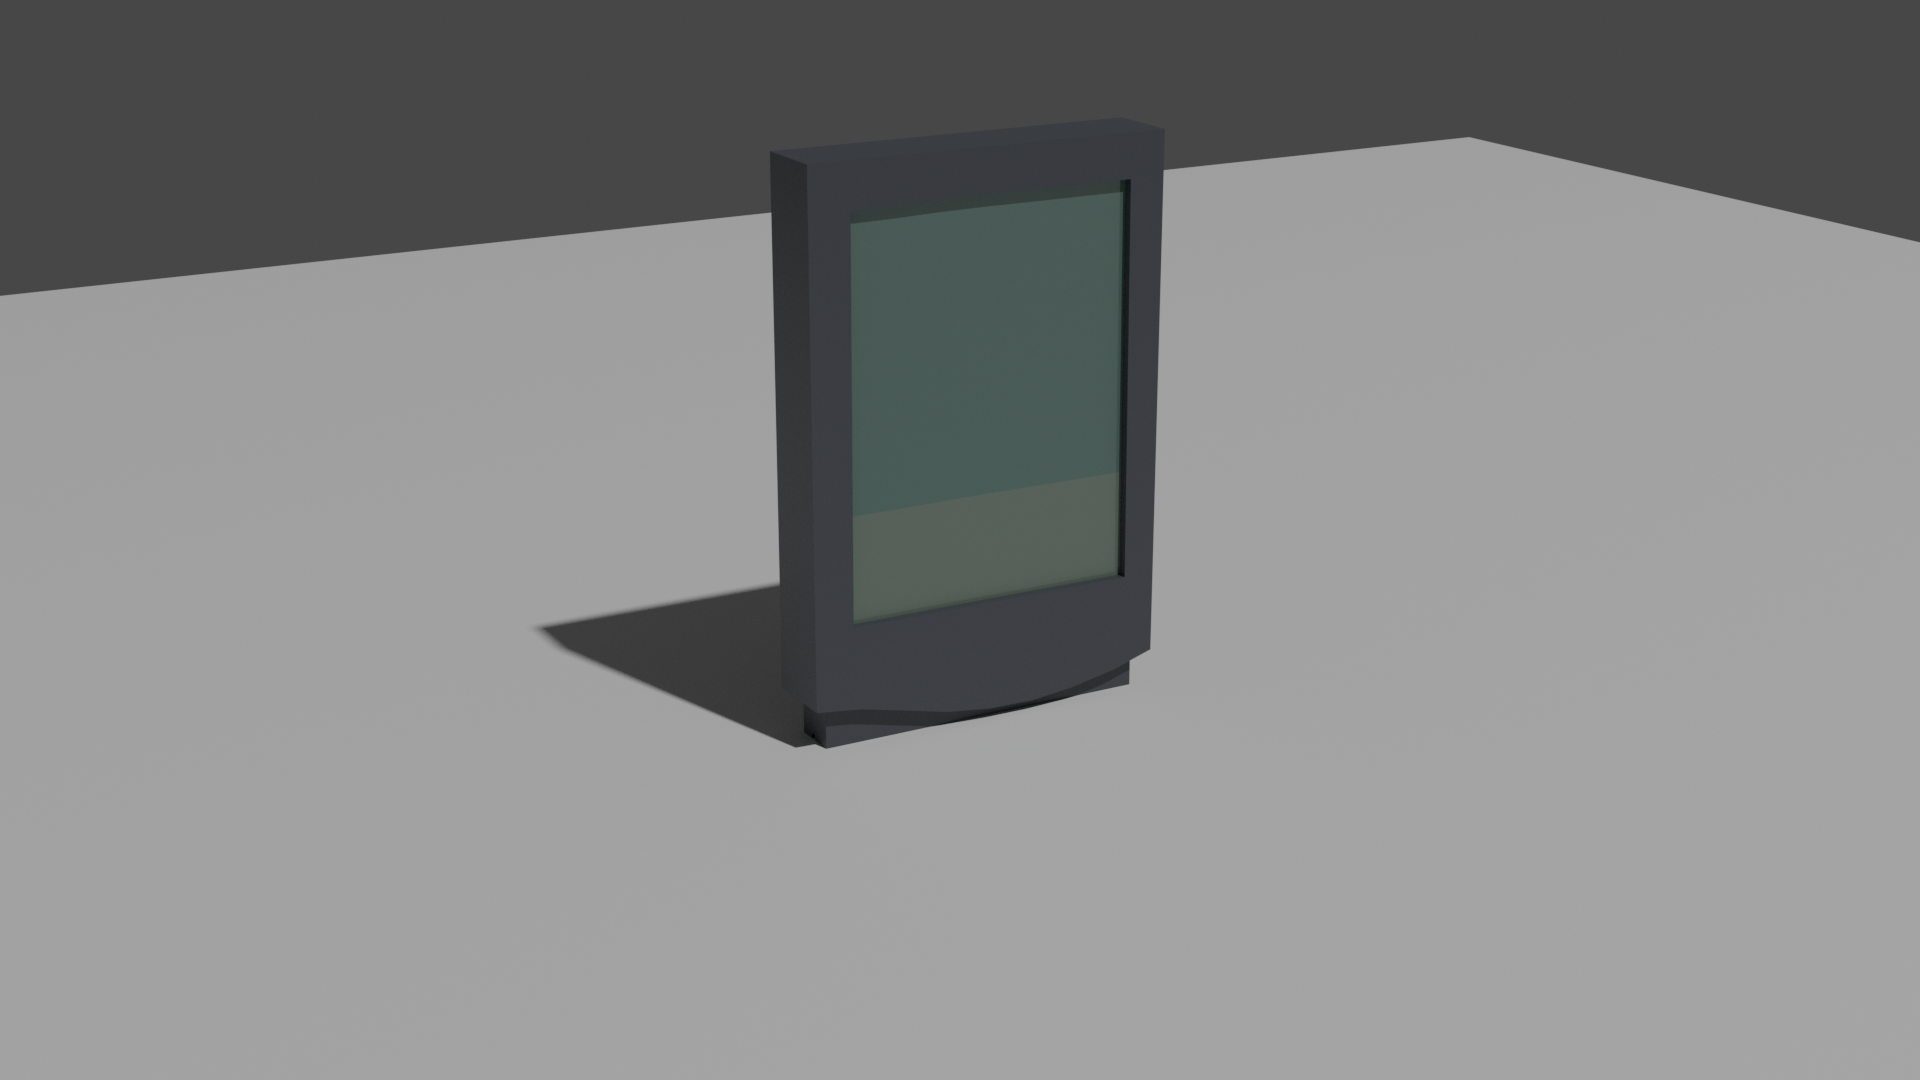
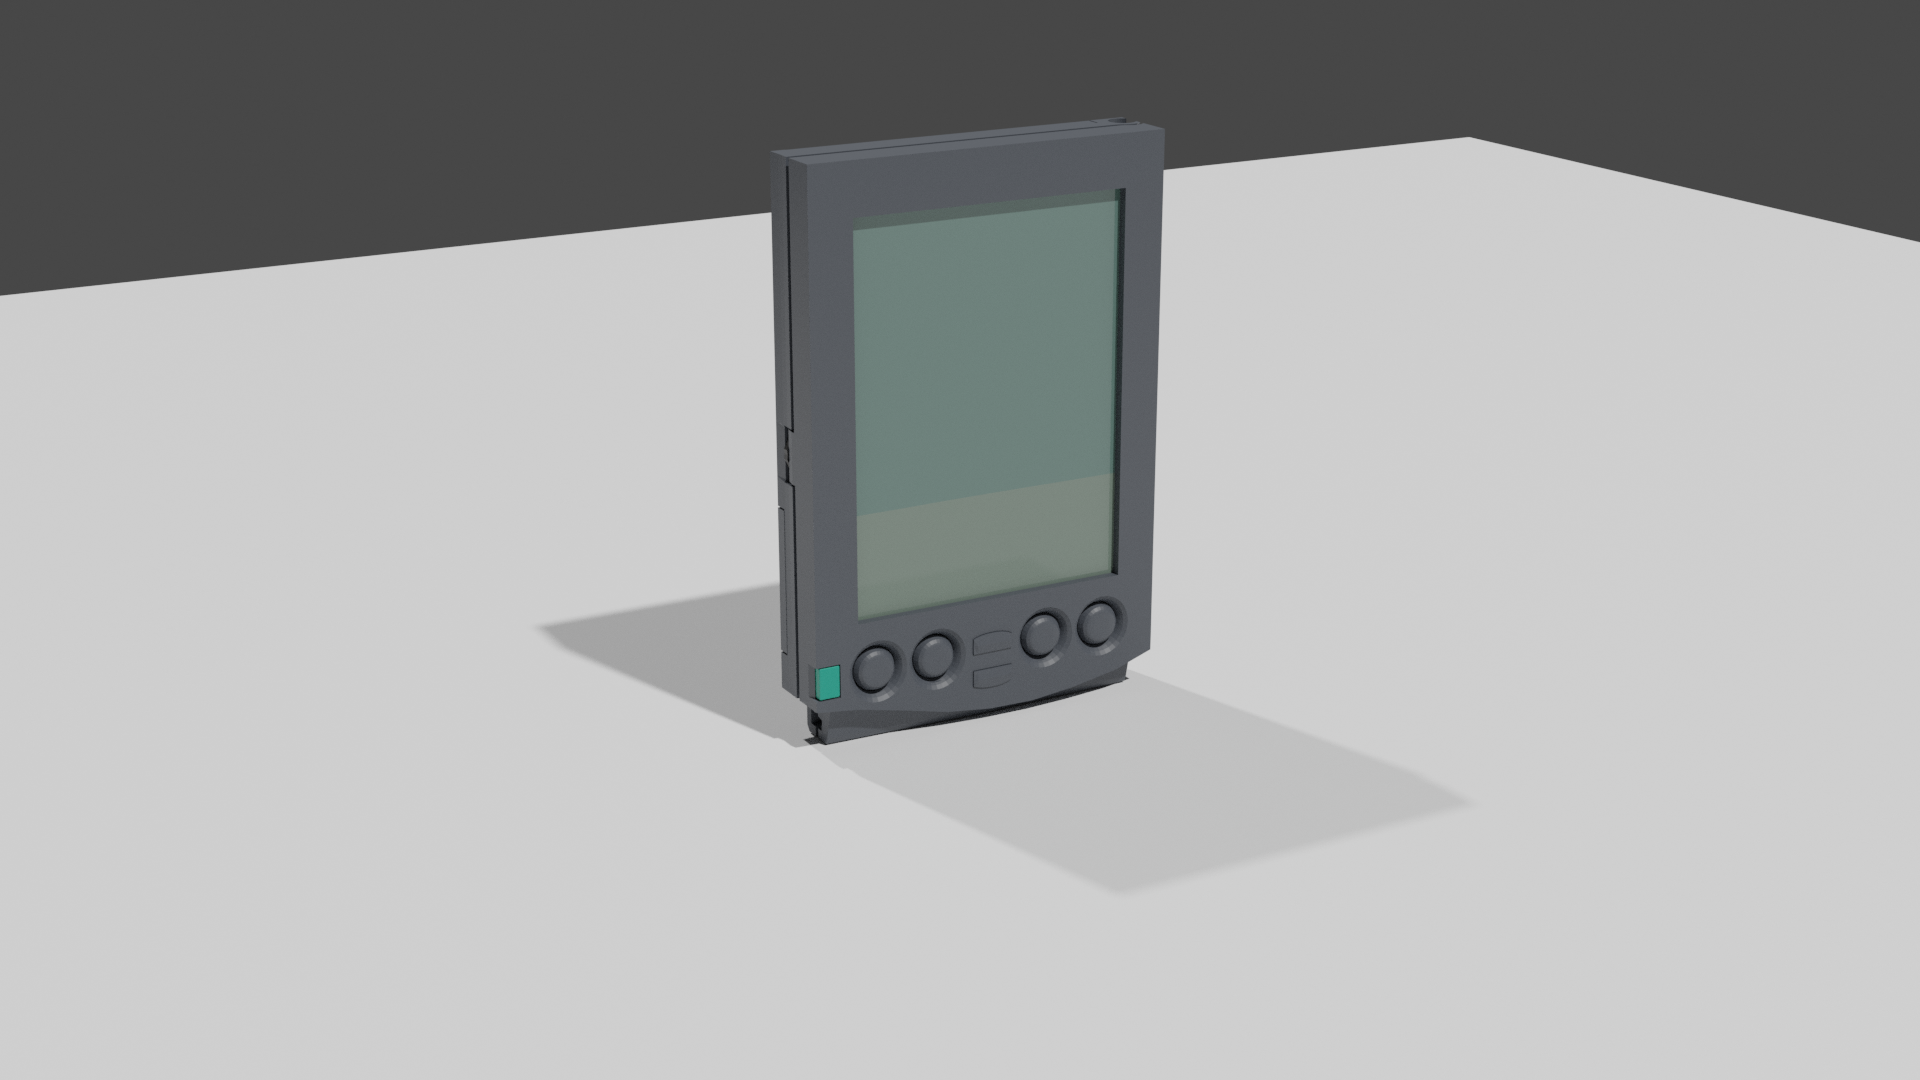
#2: Some colors to see the difference between the screen and the graffiti area.
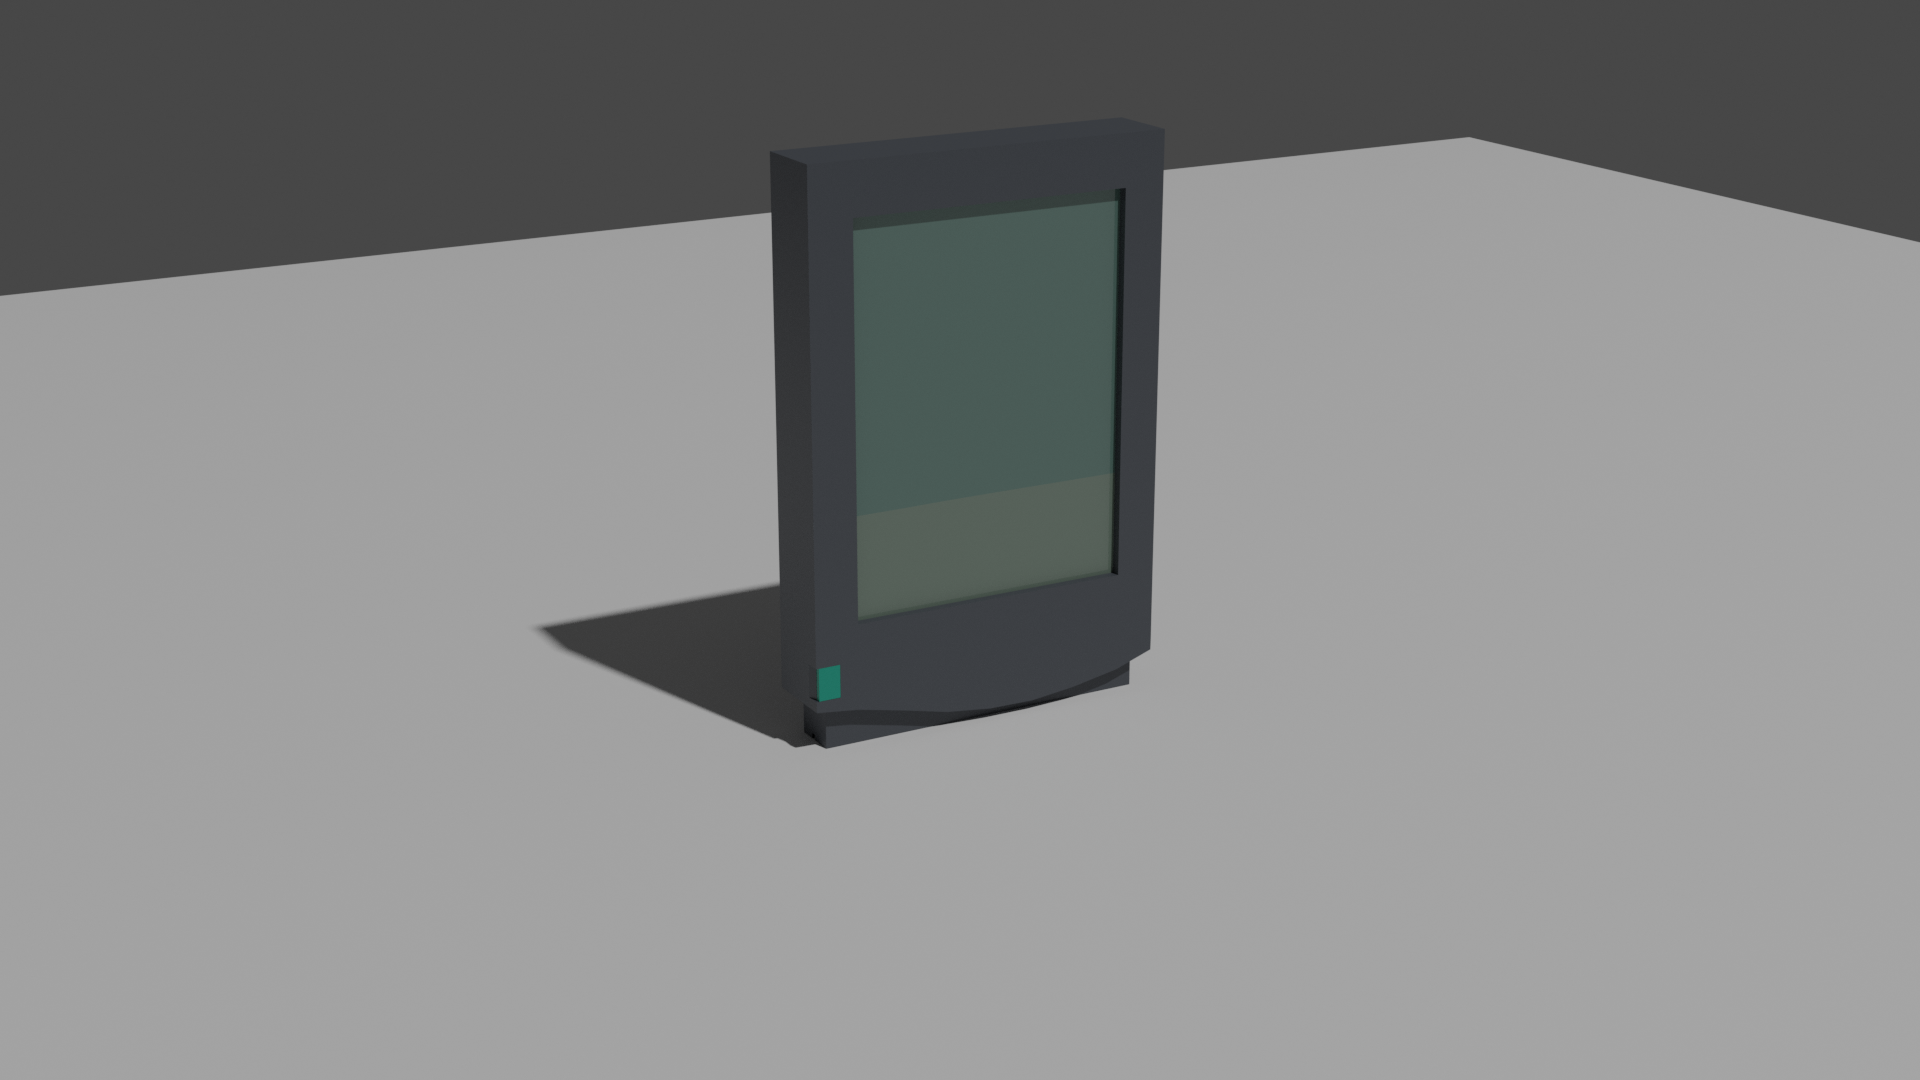
#3: The small green button in the bottom left corner.

#4: Some holes for the push-buttons and a nicer socket.
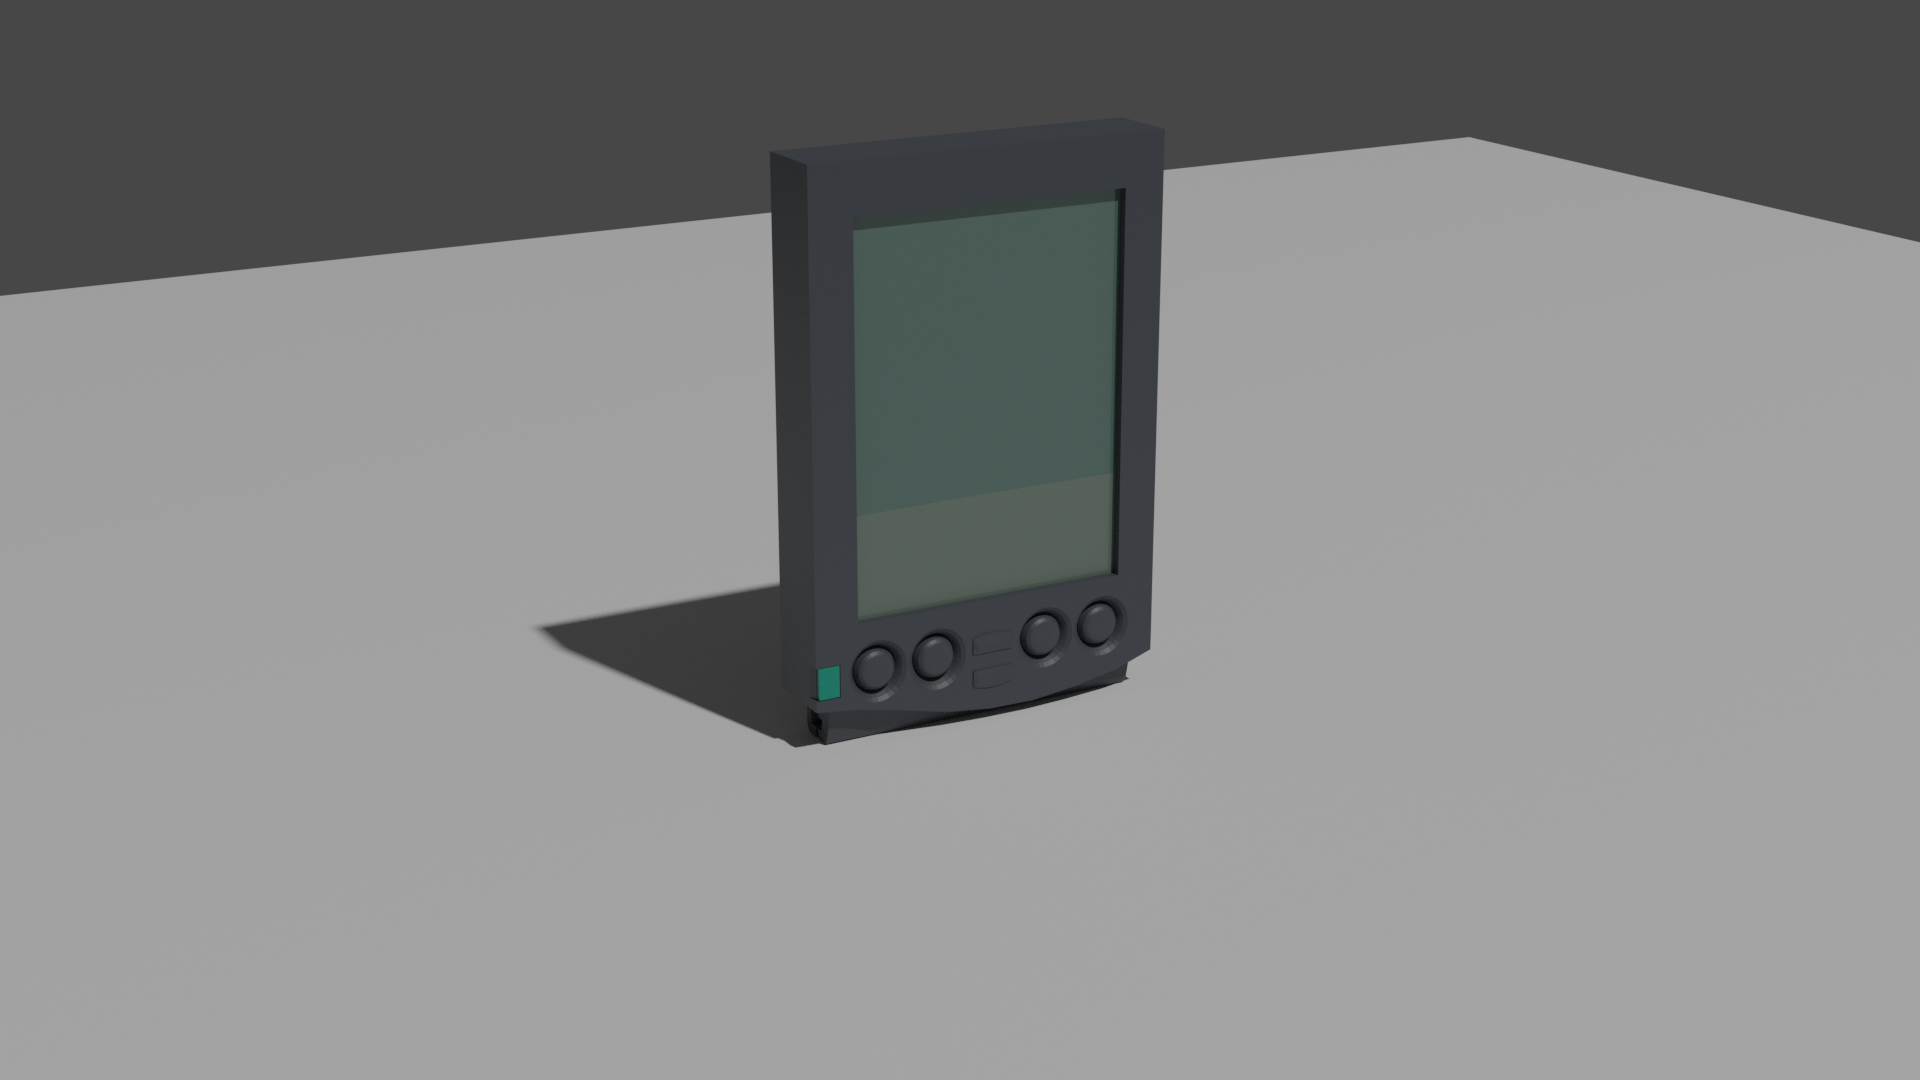
#5: The push-buttons themselves.

#6: A small gap in the case, where the front and back are merged.

#7: The contrast wheel on the left and a hole for the pen.

#8: The battery cover on the backside. In this picture, only visible on the lower left side.
#9: Added a second light source to better see some details like the battery cover, the pen hole, and the contrast wheel.
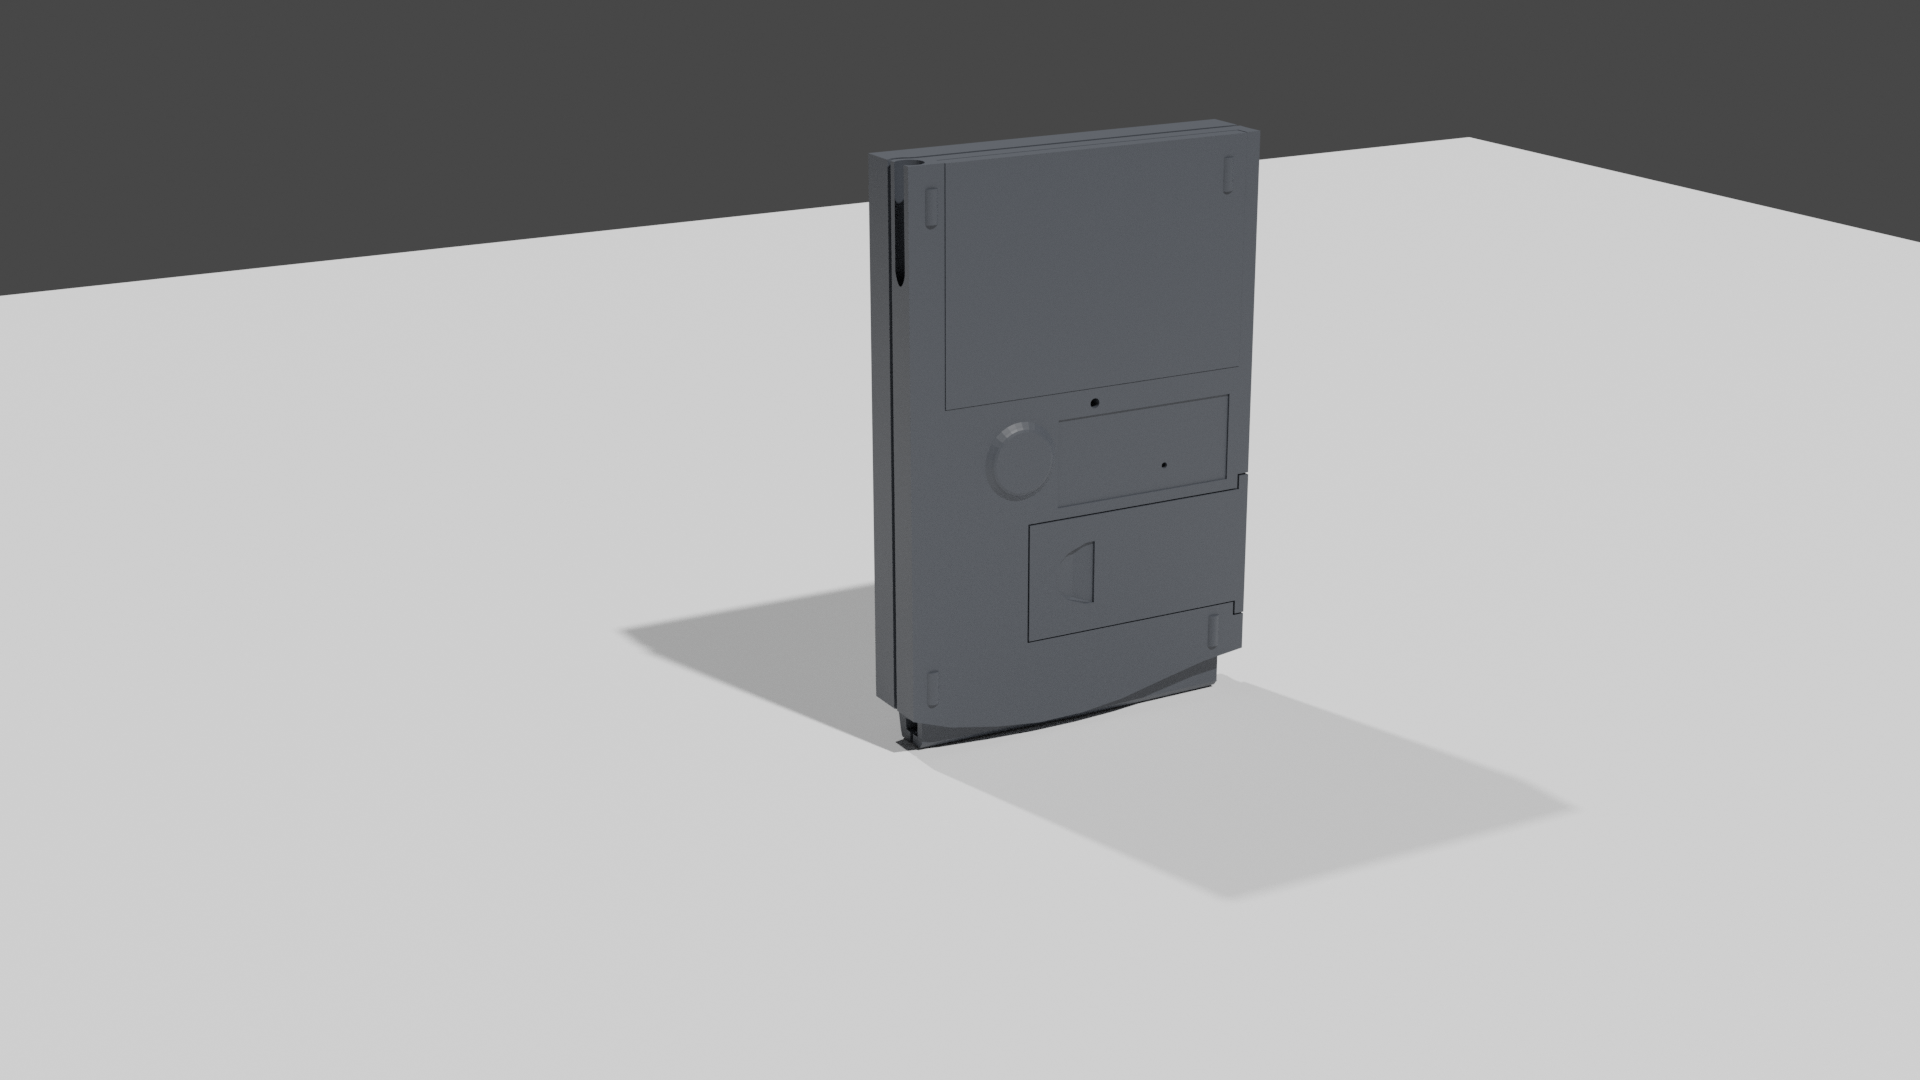
#10: The back view with details like the battery cover, the memory cover, and the sticker area.

#11: The dock connector on the bottom.

#12: A first attempt to attach a logo. (Thanks to a good friend for the advice to create separate planes for the logo. - Thanks, Adam!)

#13: A second logo ("USRobotics") in the upper right corner.
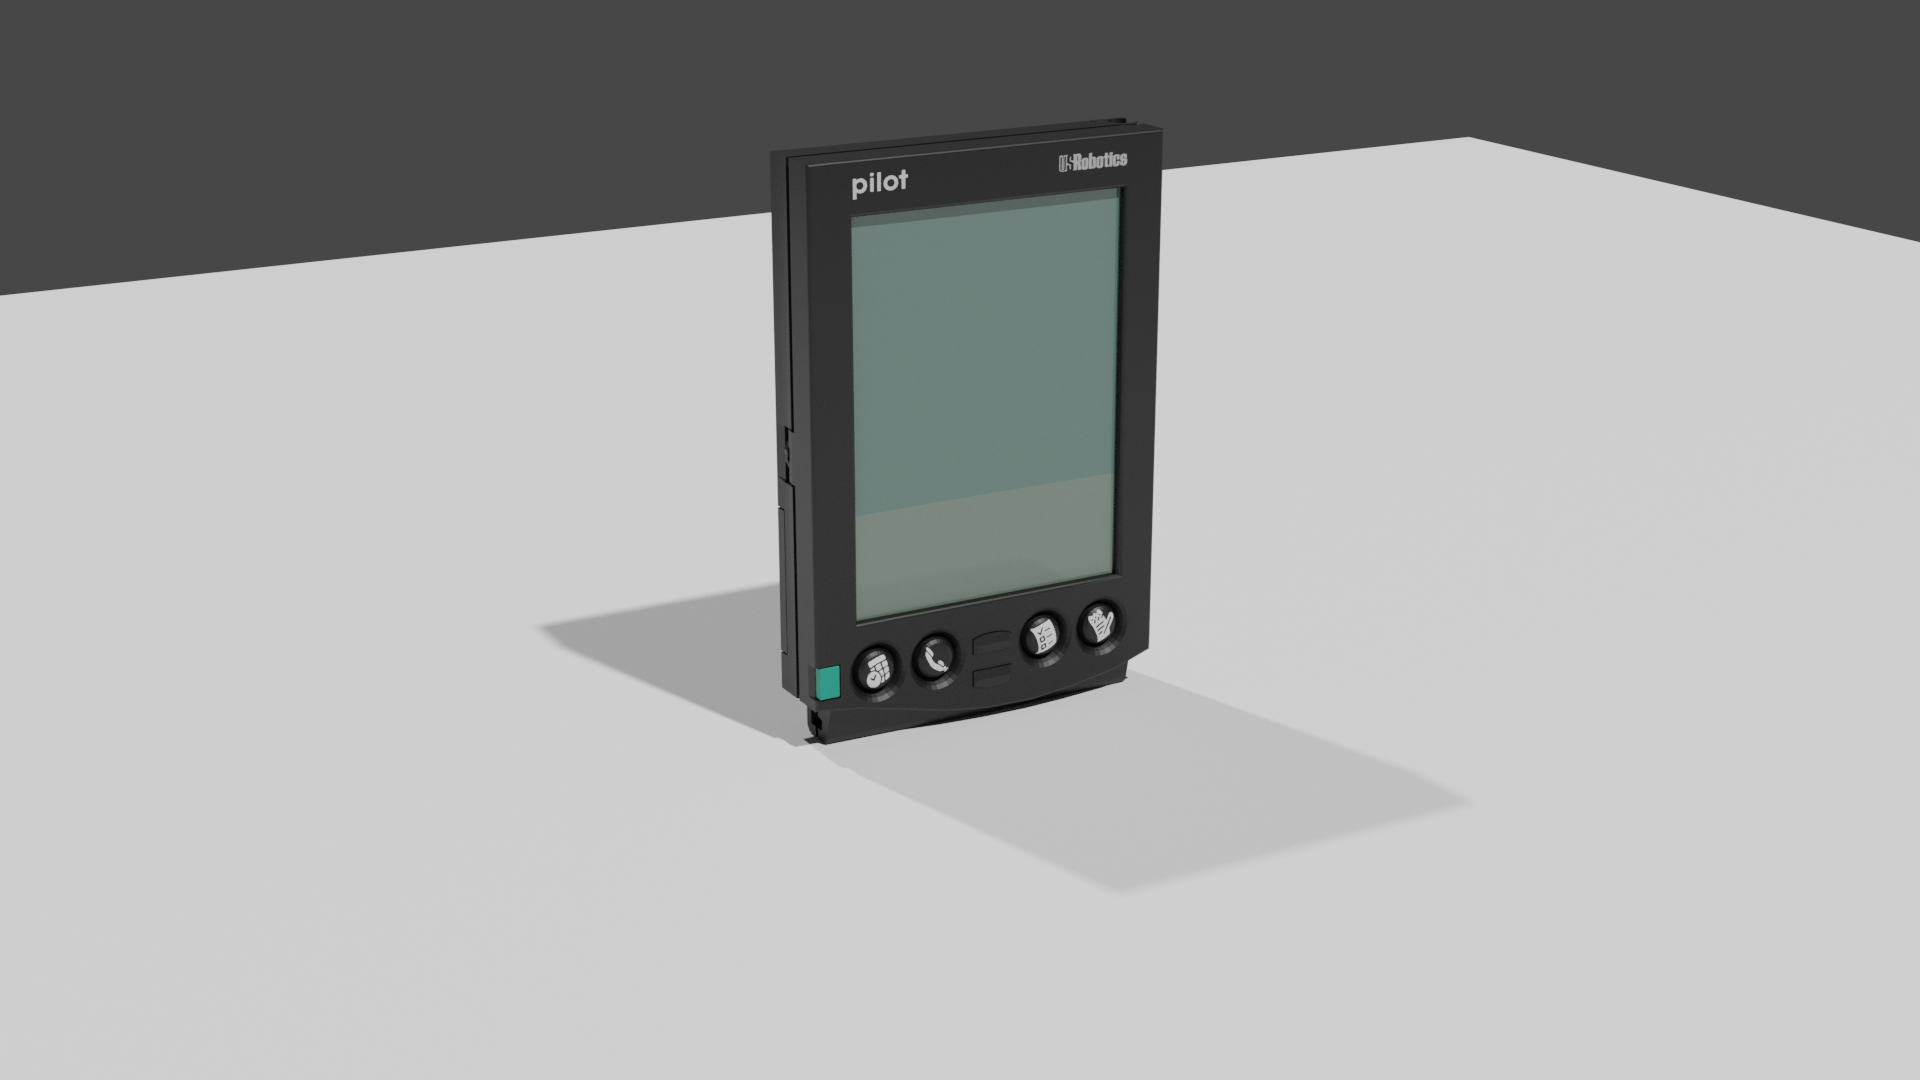
#14: Symbols for the buttons.
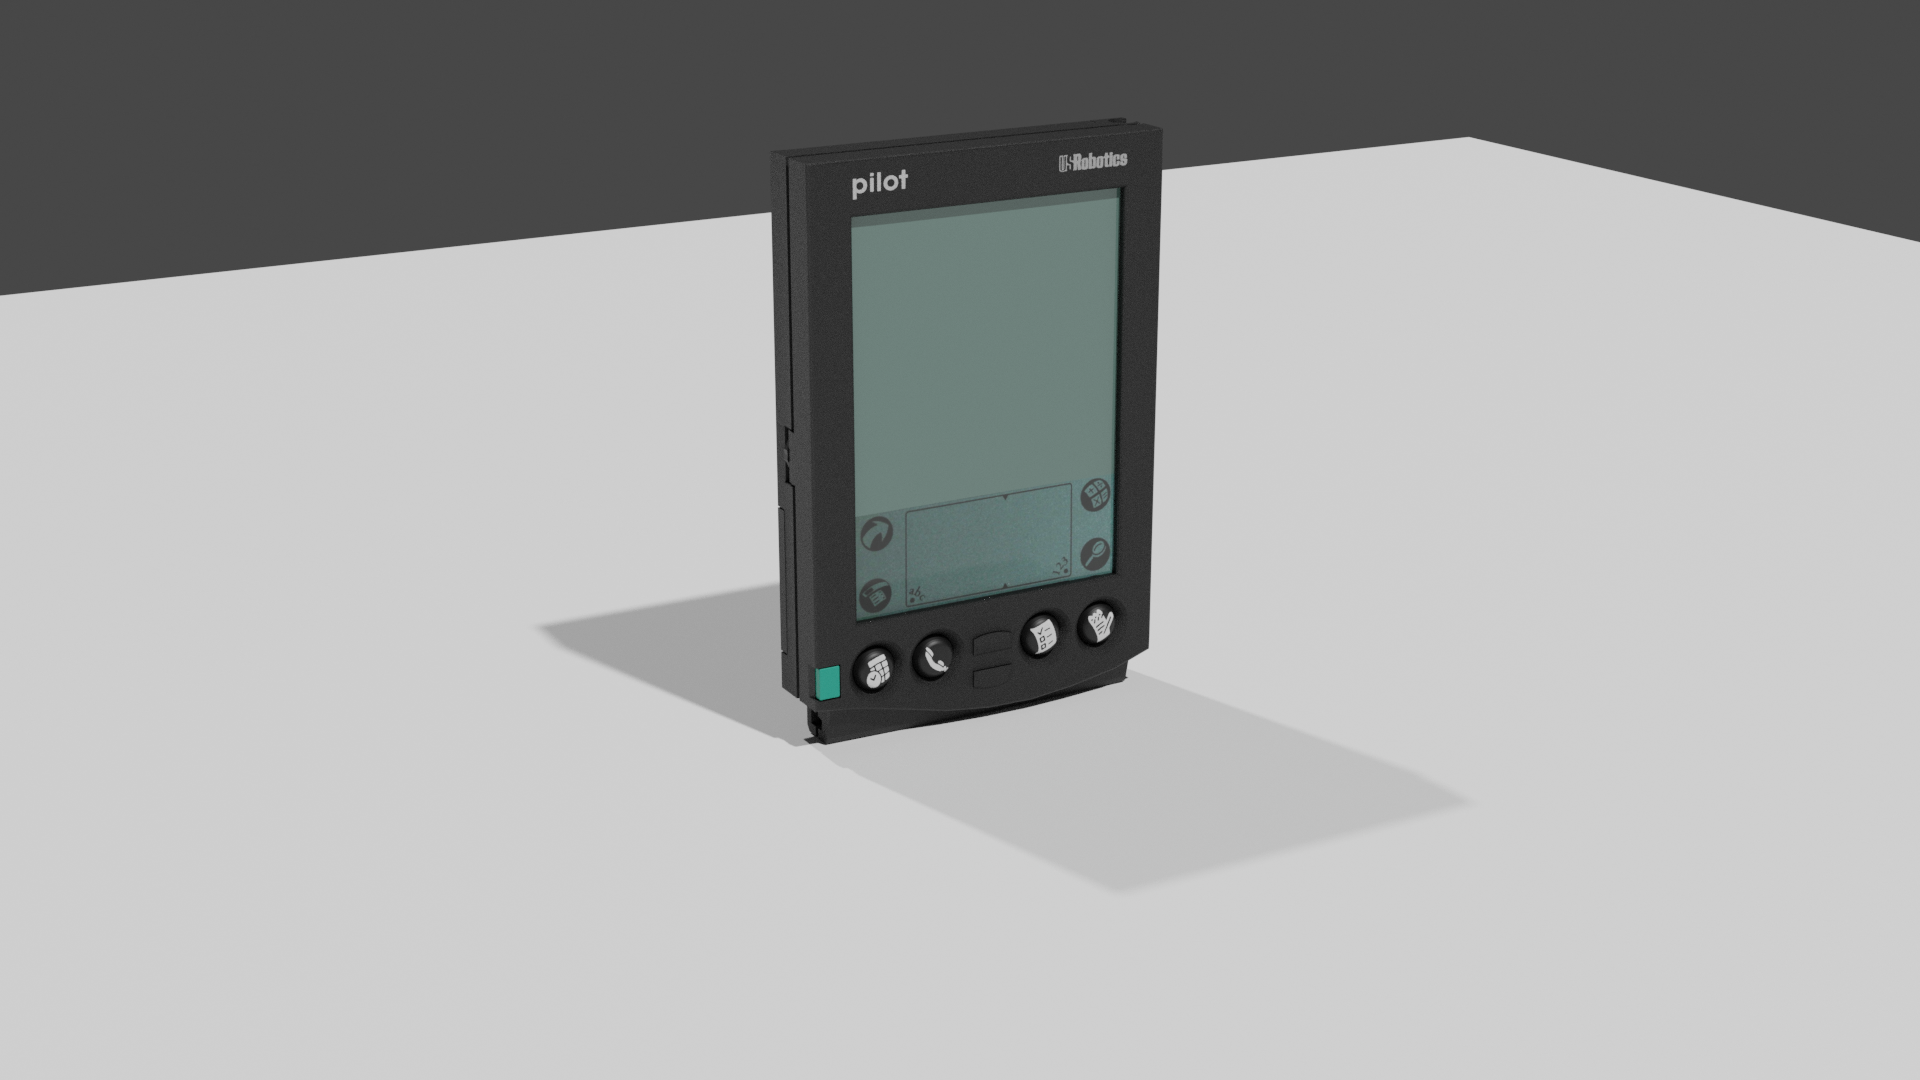
#15: Some texture for the housing and a recognizable graffiti area.
#16: Of course, the stylus must not be missing either.

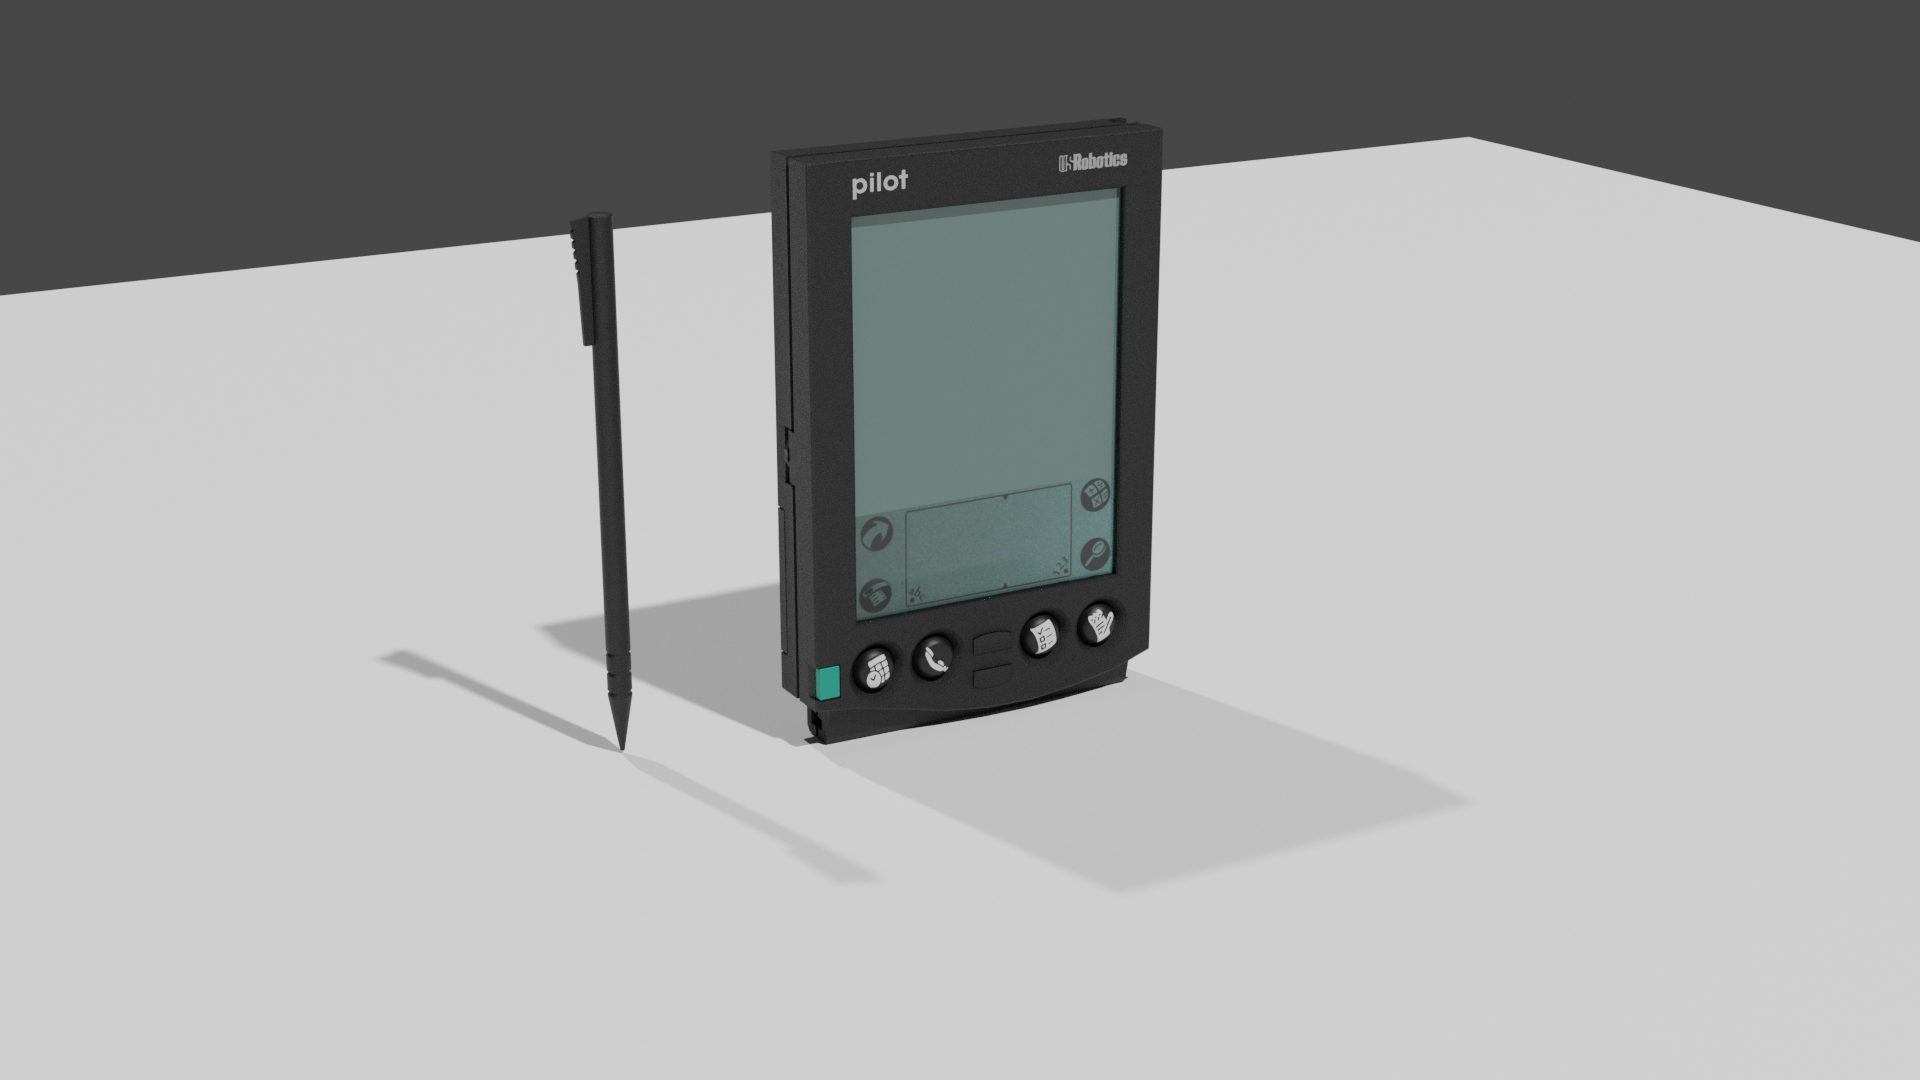
#17: First attempts to render a finished scene: Unfortunately without reflection on the display.
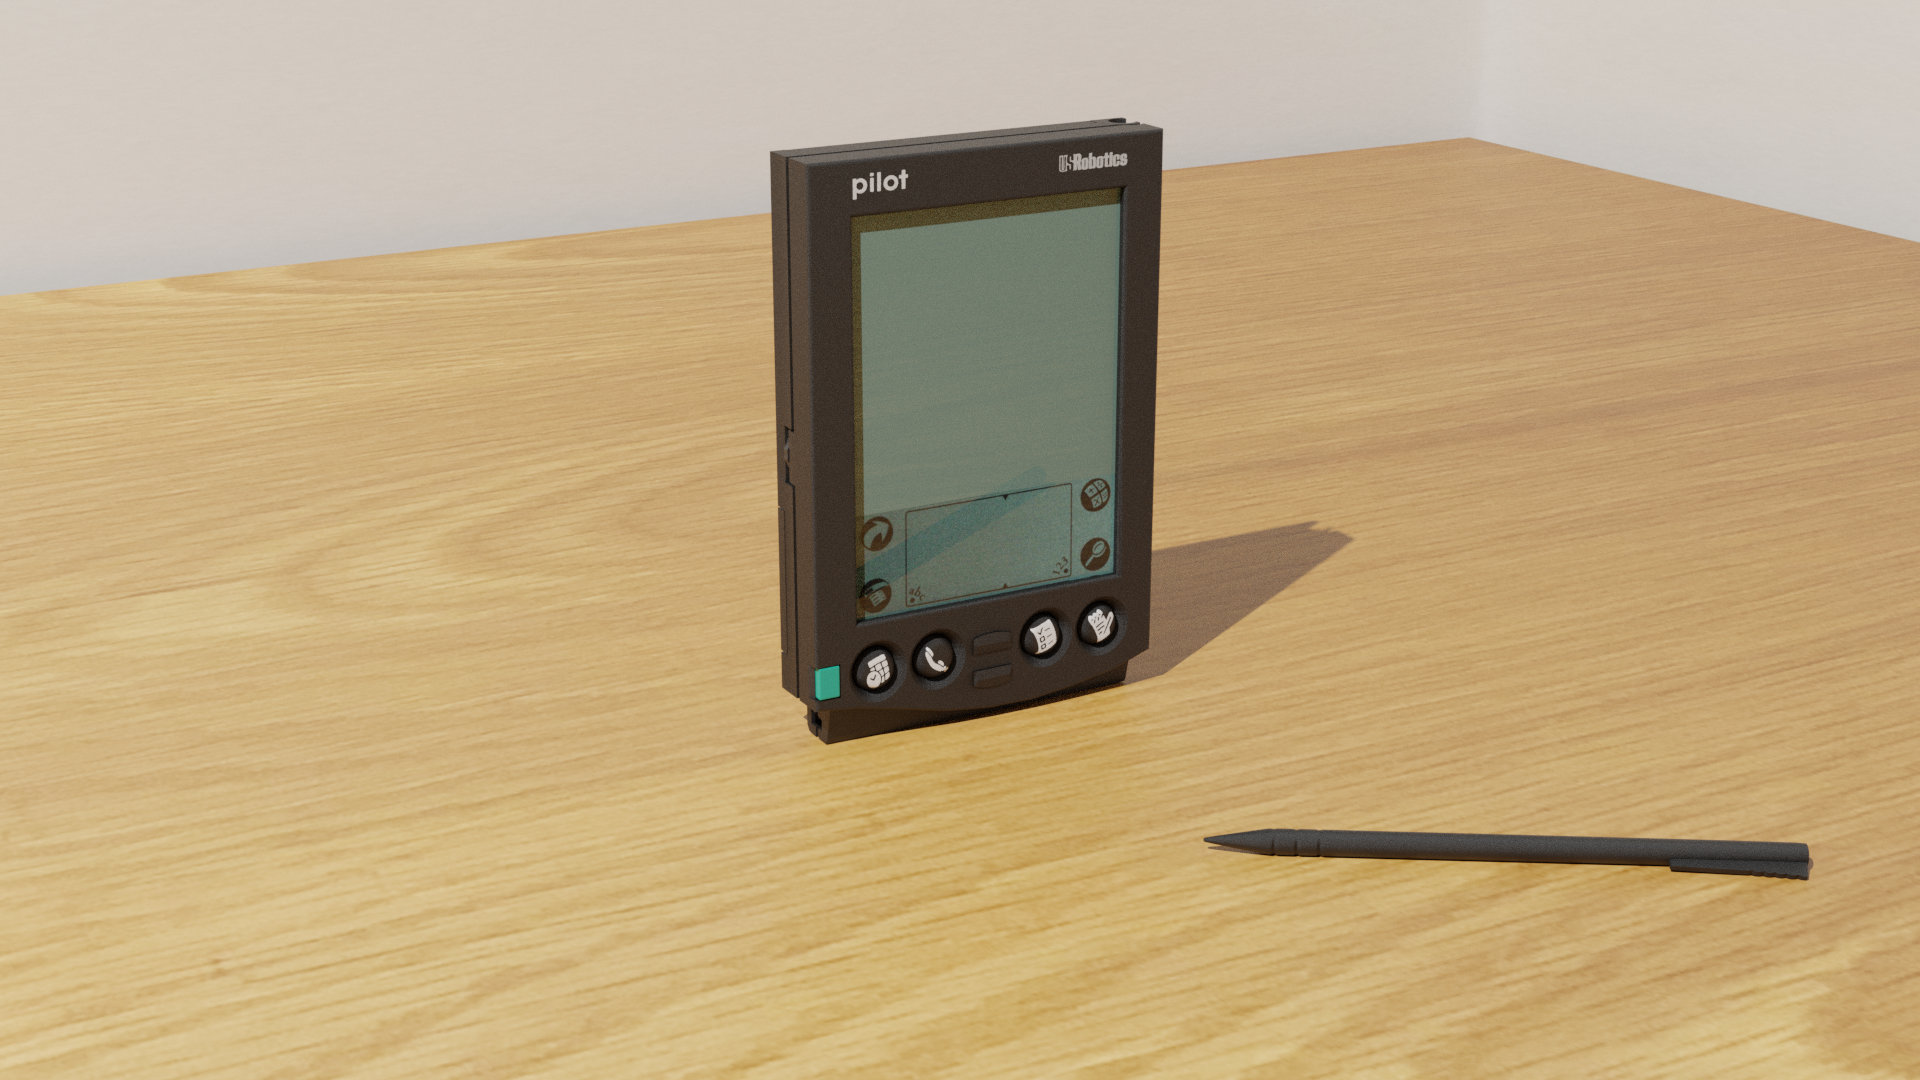
#18: Second attempts: Now the pen is reflected on the display.
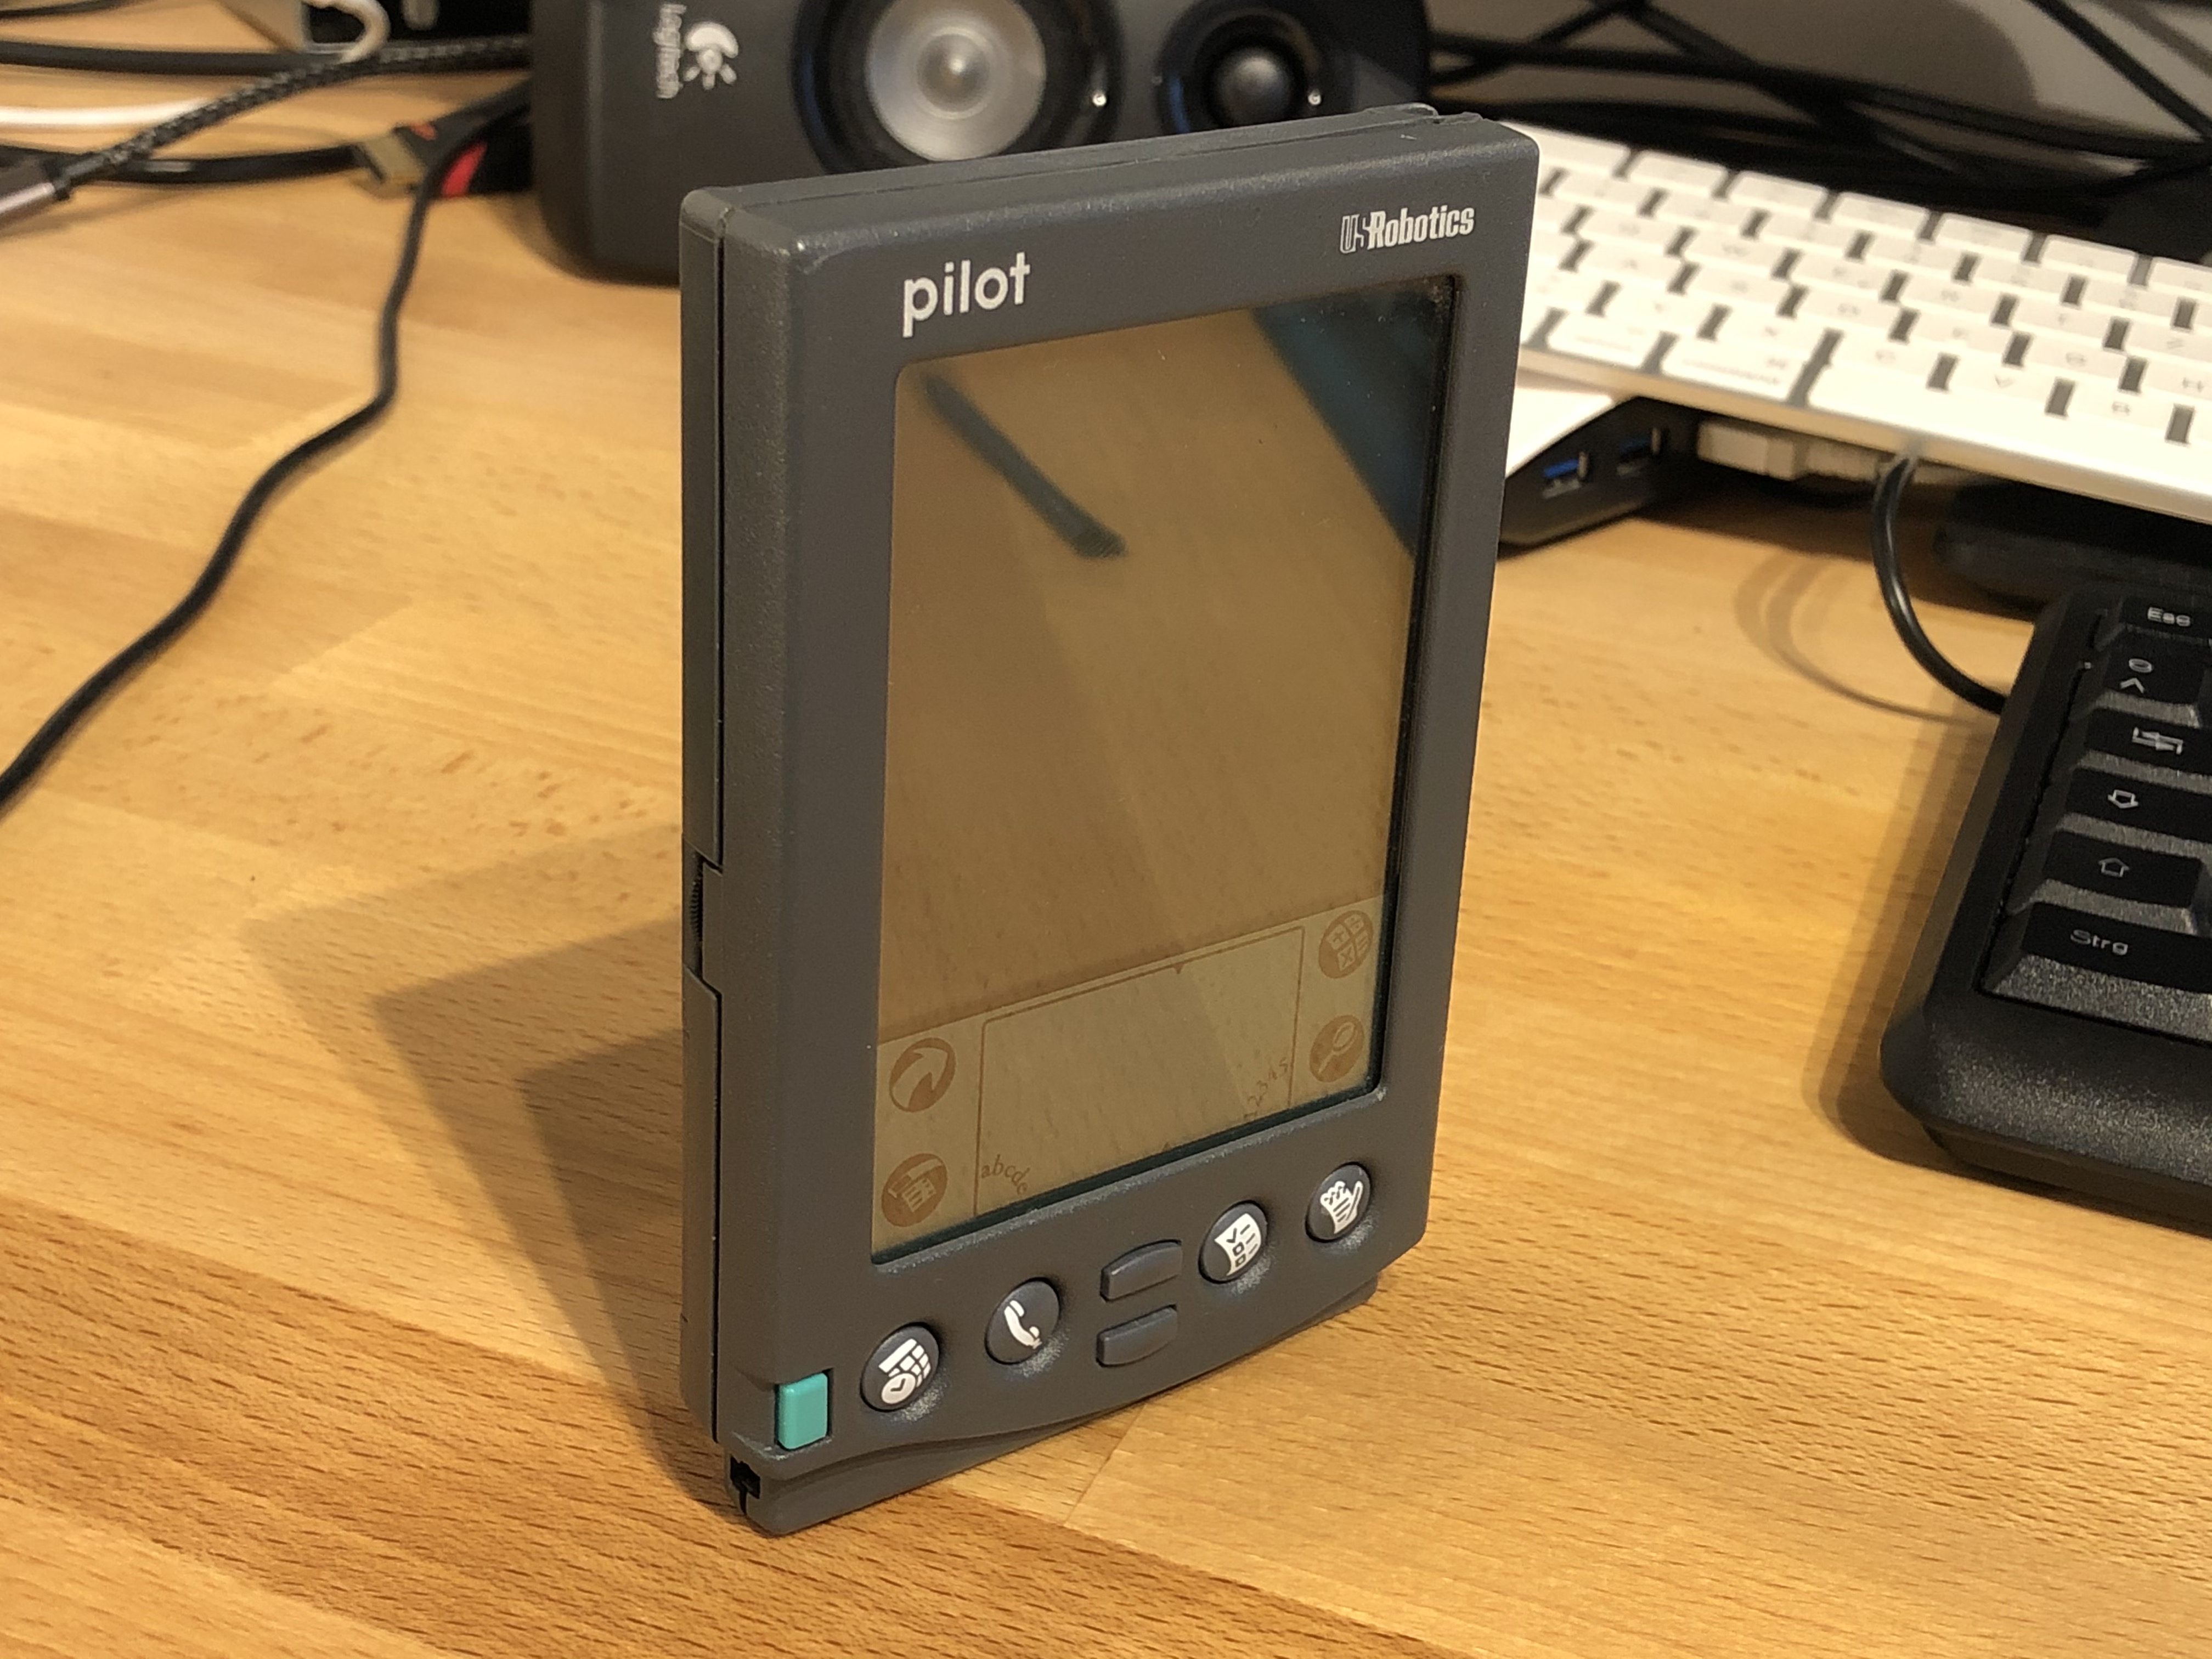
This is a reference picture of a real Palm Pilot 5000.
This is the final rendering in 4K resolution and denoised: 3D_Render_19_4K_Denoised.png
All project data including blender save files and reference pictures: Palm_Pilot_Blender-Sources.zip